


How to Cut Rabbets with a Jointer: A Step-by-Step Guide
Most woodworkers use a jointer to flatten board faces and straighten edges. But if your jointer is equipped with a rabbeting ledge, it can do another useful job: cutting clean, accurate rabbets.
A rabbet is a recessed, L-shaped cut along the edge or end of a board. It's commonly used in cabinetmaking, furniture construction, and other woodworking projects. While you can cut rabbets with a table saw or router, a jointer offers a convenient alternative that leaves a smooth, crisp surface.
In the video above, Woodsmith's Vince shows how to set up a jointer for cutting rabbets, including a technique for making wider rabbets without switching to a dado blade at the table saw.
Why Cut Rabbets with a Jointer?
A jointer's cutterhead removes material across the width of the cut, leaving a smooth surface without the scoring or blade marks that can occur when using a dado blade.
There are several advantages to this method:
- Smooth, clean cuts: The jointer knives produce a crisp shoulder and a flat, clean rabbet surface.
- Quick setup: Adjust the fence to control the width and the infeed table to control the depth.
- No dado blade change: Cut rabbets without changing blades at the table saw.
- Wide rabbets: A jointer can cut rabbets wider than the capacity of a typical dado blade setup.
Before getting started, make sure your jointer is designed for rabbeting. Not all jointers have the necessary rabbeting ledge or cutterhead clearance. Follow the manufacturer's instructions for this operation.
How to Set Up a Jointer for Cutting Rabbets
Cutting rabbets on a jointer starts with three basic setup steps.
1. Prepare the Cutterhead Guard
On a jointer designed for rabbeting, the standard cutterhead guard may need to be removed to expose the portion of the knives used for the cut.
In the video, Vince demonstrates removing the guard from a jointer equipped with a dedicated rabbeting ledge. This ledge extends from the infeed table and helps support the workpiece during the operation.
Safety note: Removing a cutterhead guard exposes the knives and increases the risk of serious injury. Only perform this operation if your jointer's manufacturer specifically permits it, and use the prescribed guarding, workholding, and feeding procedures. Disconnect power before making adjustments.
2. Adjust the Fence to Set the Rabbet Width
The distance between the jointer fence and the outer end of the cutterhead determines the width of the rabbet.
For example, to cut a 1/2"-wide rabbet, position the fence so the exposed cutting width measures 1/2".
Measure carefully and make sure the fence is securely locked before cutting.
3. Set the Infeed Table for Rabbet Depth
The height of the infeed table determines how much material is removed with each pass.
In the demonstration, Vince begins with a 1/8" depth of cut and makes additional passes to reach the desired rabbet depth.
Use a depth of cut permitted by your jointer's manufacturer, and avoid trying to remove too much material in a single pass.
Cutting a Narrow Rabbet
With the jointer properly set up, the workpiece is fed along the fence while the cutterhead removes material from its edge.
The important part is maintaining consistent contact with the fence throughout the cut. This keeps the rabbet straight and helps produce a uniform shoulder.
For deeper rabbets, make additional passes, adjusting the infeed table as needed within the machine's specified limits.
The result is a clean, accurately sized rabbet with a smooth surface that's ready for assembly.
How to Cut Wide Rabbets with a Jointer
One particularly useful application is cutting rabbets wider than a typical dado blade can handle.
The setup is similar to cutting a narrow rabbet. The fence establishes the width, while the infeed table determines the depth of each pass.
The main difference is the orientation of the workpiece.
Instead of standing the board on edge, Vince positions it flat on the jointer table. This allows the cutterhead to remove material across a wider area.
Because the workpiece is lying flat, maintaining control and consistent downward pressure is especially important. Use the push pads and other workholding devices specified by the jointer manufacturer, keeping hands well away from the exposed cutterhead.
As with narrow rabbets, work toward the final depth in multiple passes rather than attempting the entire cut at once.
Jointer vs. Table Saw: Which Is Better for Cutting Rabbets?
Both tools can produce accurate rabbets, but each has advantages.
A table saw equipped with a dado blade is a versatile choice for cutting rabbets, especially when you're already set up for other joinery operations. A router can also be useful for cutting rabbets on larger panels or assembled workpieces.
A jointer offers a convenient alternative when you want a smooth surface without changing blades or setting up another machine.
The best choice depends on the size of your workpiece, the rabbet dimensions, and the capabilities of your tools.
Get More from Your Jointer
A jointer is one of the most useful machines for preparing lumber, but its capabilities don't necessarily end with flattening faces and straightening edges.
With a jointer designed for rabbeting and the proper setup, you can create clean, accurately sized rabbets for a variety of woodworking projects.
The next time your project calls for a rabbet, consider whether your jointer is equipped to handle the job. It's another way to get more versatility from a tool you already have in your shop.
More Woodworking Joinery Tips & Techniques
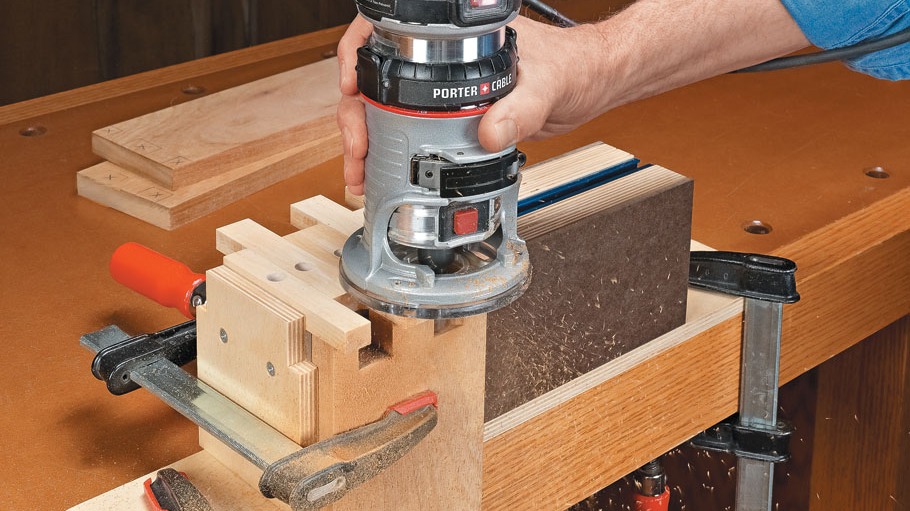
Looking for more ways to improve your woodworking skills? From traditional mortise-and-tenon joints to clever table saw and router techniques, there's always something new to learn. Explore our Joinery collection for practical tips, techniques, and tricks to help you cut stronger, more accurate joints and build better woodworking projects.
LEARN MORE → Explore Woodworking Joinery Tips & Techniques


