A dovetail jig gets a lot of use in my shop. But it always seems to take quite a bit of time to get my router bit set just right and all the settings on my jig perfect before I can even start routing dovetails. I decided it was time to take note of some of the tips and tricks I’ve learned over the years about routing half-blind dovetails and put them all in one place. You’ll learn how to adjust your router and dovetail jig to make clean, accurate cuts every time. Like how a sharp bit and proper router setup can save you some trouble later on. And how to get the most out of your jig. There are some other handy tips that’ll help you out, too. They’re little things, but they add up to great results.
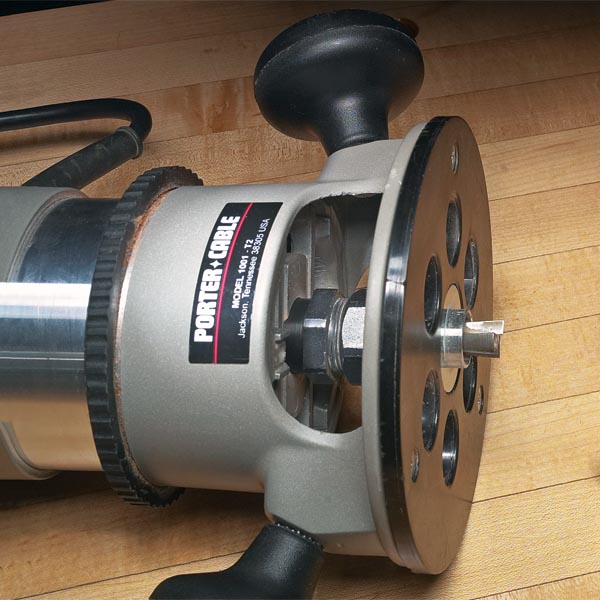
Invest in a good carbide bit for better cuts and longer life. Then clean and hone your bit occasionally to eliminate burning.
Double-check to make sure the bit is tight in the collet. You don’t want the bit to “climb” out of the collet during use.
You can’t guarantee that the bit is exactly centered in the bushing, so use a centering cone to help position the bushing and baseplate. Plus, it’s a good idea to hold the router in the same orientation all the time to help ensure a good-fitting joint.
When adjusting bit depth, remember “heighten to tighten, lower to loosen.” In other words, if your dovetail joint is too loose, you should increase the bit depth. On the other hand, for a joint that’s too tight, reduce the depth of cut.
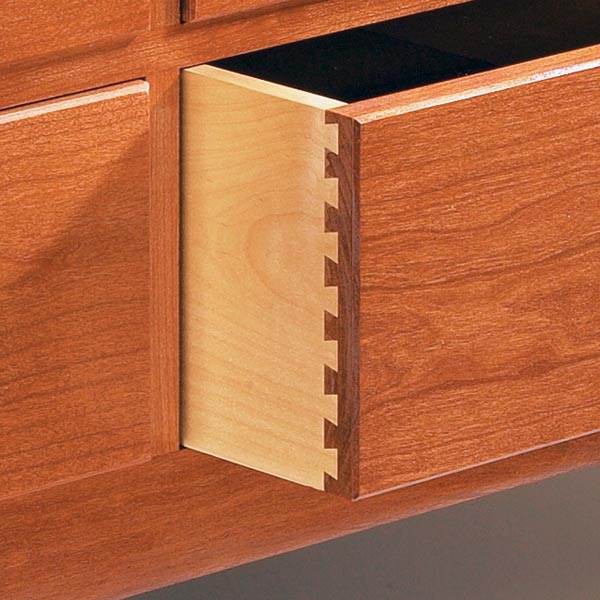
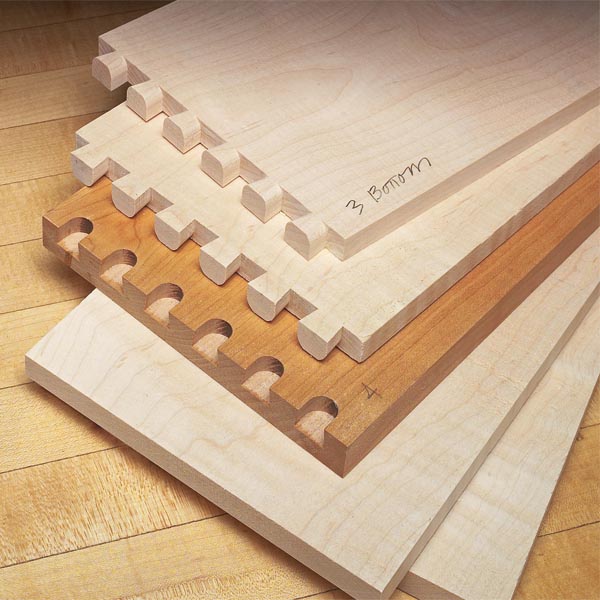
It might take some trial and error to get the exact setup for a perfect joint. Have plenty of extra stock on hand for test cuts. And be sure to use stock milled to the same thickness that you’ll be using to construct your drawers.
Start with flat, square workpieces. Cup or twist in a workpiece will cause trouble getting a proper fit. Plus, make sure the ends of the workpieces are square, otherwise you’ll get a poor fit and your drawer may be twisted.
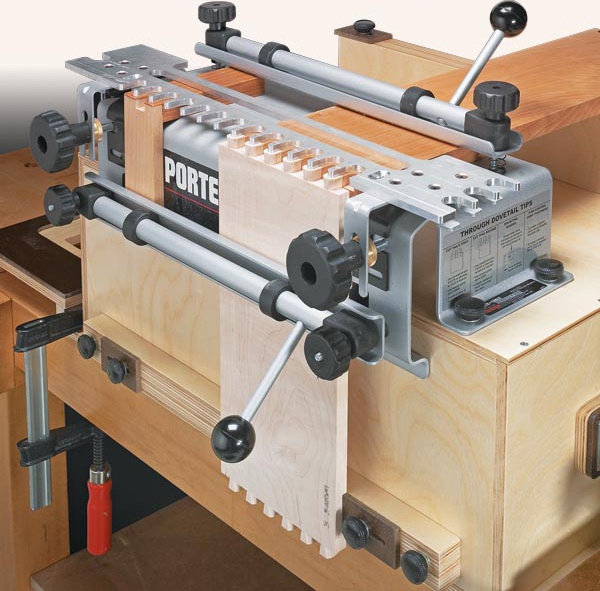
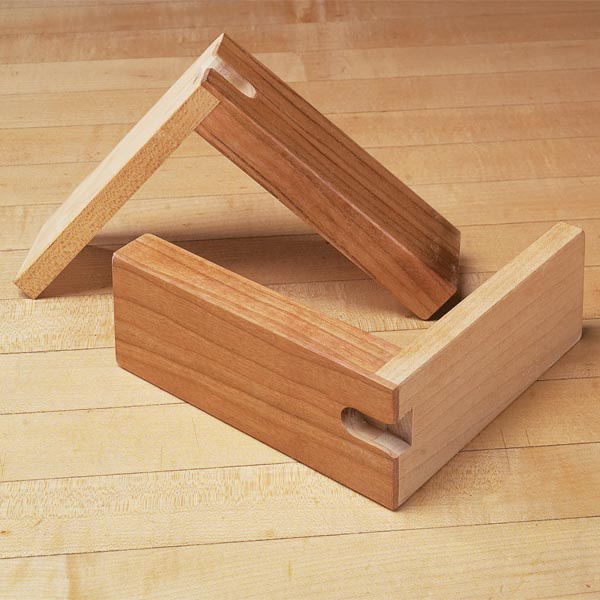
Make clamping blocks. An L-shaped clamping block the same thickness as your workpiece keeps the clamping bar from “racking” so they’ll apply consistent pressure across the workpiece. Then, once you have a perfect cut, rout a dovetail in the block to use as a depth gauge for your next project.
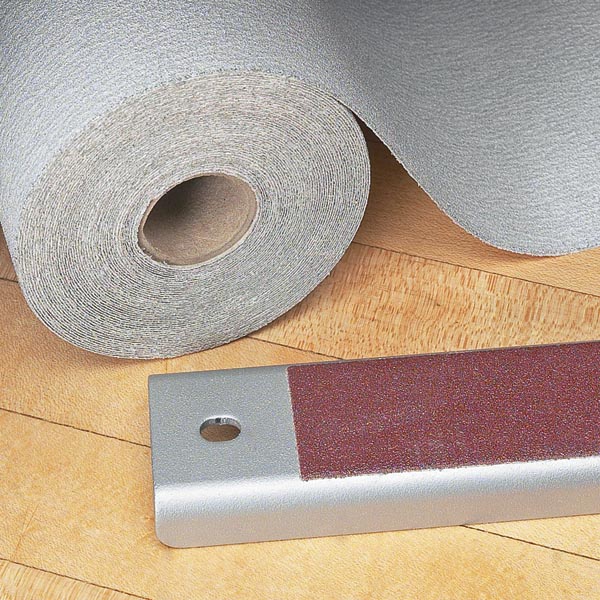
Some jigs have a rough surface on the clamping bars to securely hold the workpiece. If yours doesn’t, add some self-adhesive sandpaper to the clamping bars of your jig for extra holding power.
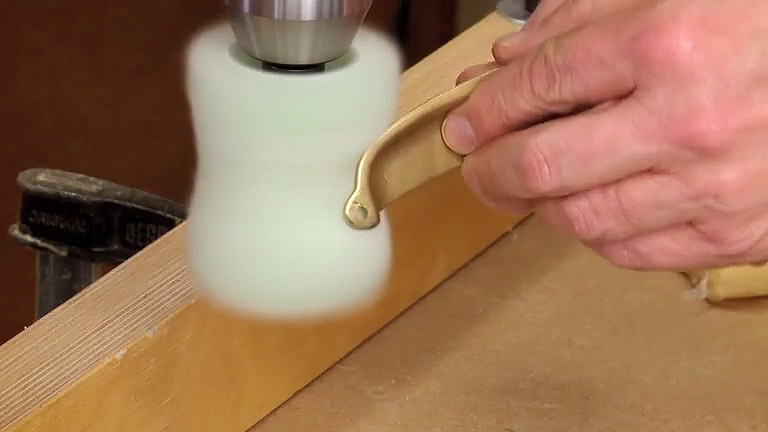
Chipout sometimes occurs on drawer sides. One trick that can eliminate chipout is making a light scoring cut along the front of the drawer side before cutting the dovetails. You can also start with wider workpieces and then trim them to size, removing any tearout that may occur at the edges.
Don’t try to adjust too many things at once. Taking it one small step at a time is the best way to hone in on a flush joint and snug fit.
A platform, like this workcenter, gives you extra height to make routing dovetails more comfortable. You can better see what you’re doing while routing at eye level.