

How to Cut Perfect 45-Degree Miters on a Table Saw
Tight-fitting miter joints start with an accurately adjusted table saw blade. Whether you're building a wooden box, picture frame, or cabinet, even a small error in the blade angle can leave gaps at the corners and prevent the assembly from coming together square.
Fortunately, setting your table saw blade to an accurate 45° angle doesn't have to be difficult. Here are two simple methods for dialing in the blade before making your cuts.
Cut Miters by Tilting the Table Saw Blade
When making mitered corners for a box, one approach is to lay the workpiece flat on the table saw and tilt the blade to cut a 45° bevel.
This method provides a stable reference against the saw table, but the blade angle needs to be accurate. If the bevel is slightly off, the adjoining pieces won't form a tight 90° corner.
Before cutting your project parts, take a moment to verify the blade angle using a reliable setup gauge.
Tip 1: Use a Drafting Triangle to Set 45°
One of the simplest ways to set a table saw blade to 45° is with an inexpensive plastic drafting triangle.
With the saw unplugged and the blade stopped, raise the blade to provide enough surface for checking the angle.
Place the triangle on the saw table and position its 45° edge against the blade plate, avoiding the teeth. Adjust the blade tilt until the triangle rests flush against the blade.
This provides a quick, straightforward way to establish the correct bevel angle without relying solely on the saw's built-in angle scale.
Tip 2: Use a Digital Angle Gauge
A digital angle gauge offers another convenient way to set the table saw blade accurately.
Start by placing the gauge on the saw table and zeroing the display. Then position the gauge against the blade plate and adjust the blade tilt until the desired angle is reached.
Some hinged digital angle gauges display the obtuse angle between the table and blade. In that case, a reading of 135° corresponds to a 45° bevel.
Digital gauges are especially handy when you need to set angles other than 45° or make frequent adjustments.
Check Your Setup Before Cutting Miters
Once the blade is adjusted, make a test cut on scrap material and check the fit of the joint before cutting your finished project parts.
Taking a little extra time to set and verify the blade angle helps eliminate gaps and produces cleaner, more accurate miter joints.
Whether you prefer a simple drafting triangle or a digital angle gauge, both methods can help you get better results when cutting miters at the table saw.
More Woodworking Jigs & Fixtures
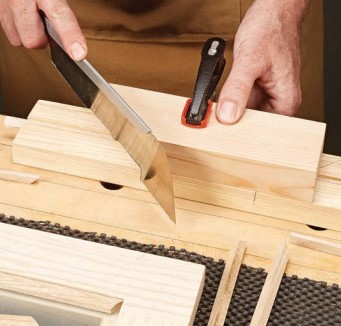
Looking for more clever ways to make woodworking easier and more accurate? From shop-made miter boxes and cutting guides to table saw sleds, router jigs, and handy workholding accessories, the right jigs can make a big difference in your workshop. Explore our collection of practical woodworking jigs and fixtures designed to improve precision, save time, and help you get better results on every project.
READ MORE → Explore More Woodworking Jigs & Fixtures