


Wood dye is a great choice when you want to add color without hiding the character of the wood. But getting an even, streak-free result takes a little preparation — especially when you're using water as the solvent.
For this mantel clock, Bryan uses a water-based dye and a simple foam brush to work the color into all the project's details. The process isn't difficult, but there are a few steps that make a noticeable difference in the finished appearance.
Raise the Grain Before Applying Water-Based Dye
Before applying the dye, there's an important step that can save you trouble later.
Because the dye is mixed with water, it will cause the wood fibers to swell and stand up when it hits the surface. This is commonly referred to as raising the grain.
Instead of letting that happen for the first time while applying the dye, raise the grain beforehand.
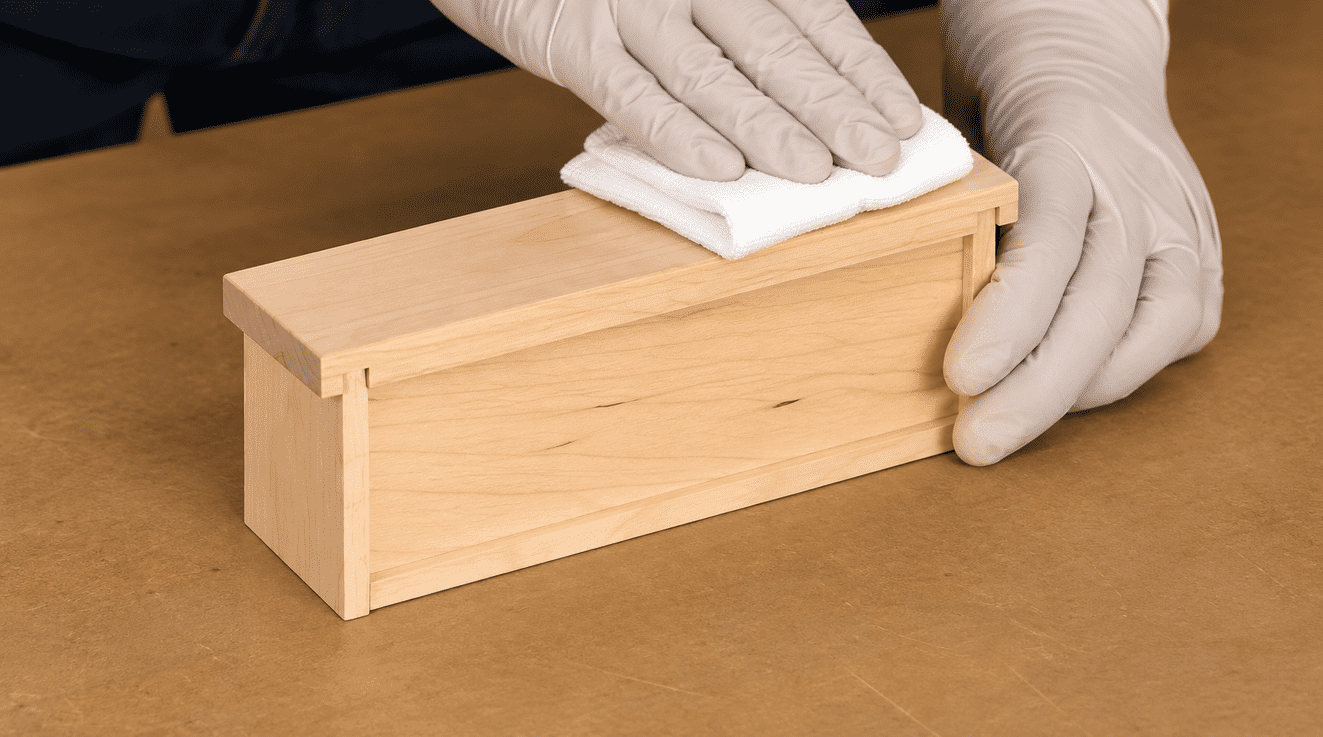
Take a damp cloth and wipe down all the wood surfaces that will receive dye. The moisture causes the loose fibers to swell and stand proud of the surface.
Let the wood dry before moving on.
Sand the Raised Grain Smooth
Once the dampened wood has dried, the surface may feel noticeably rougher than it did before. Lightly sand the surfaces with 220-grit sandpaper to knock down the raised fibers.
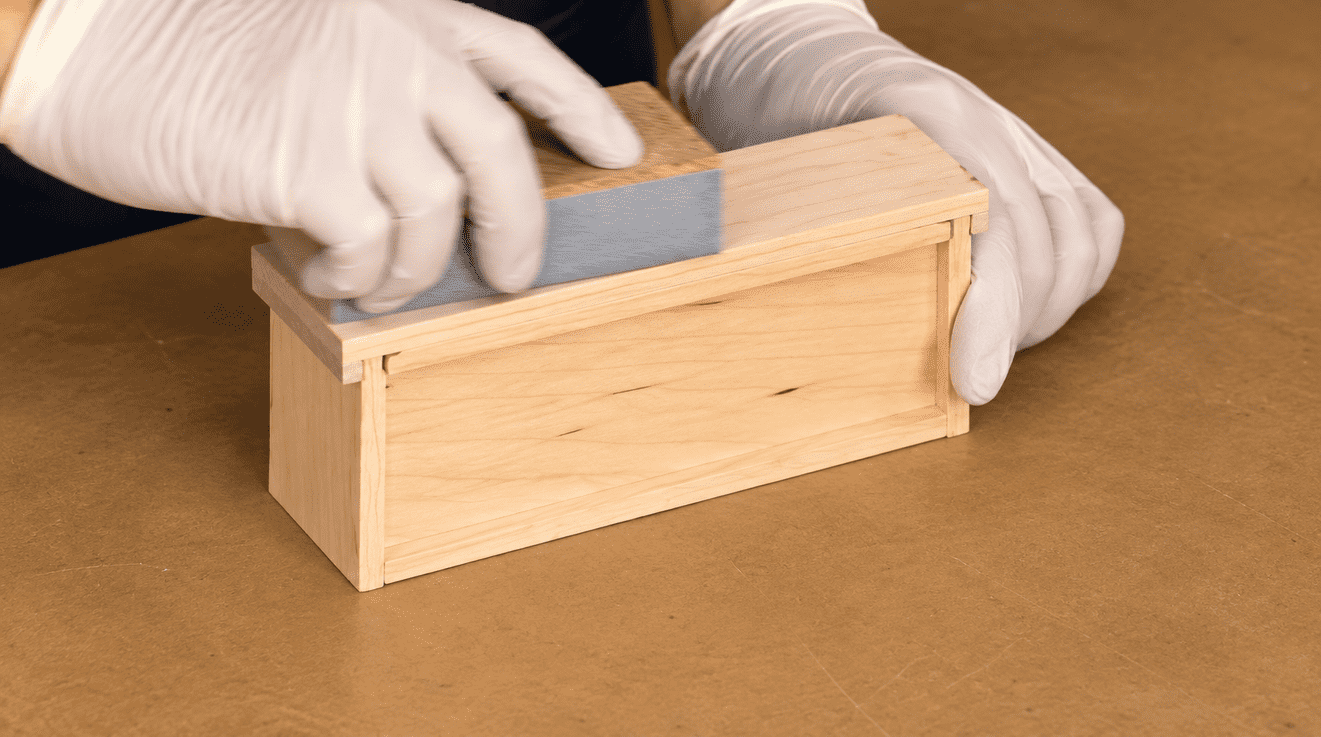
The goal isn't to aggressively sand the project again. You're simply smoothing the fibers raised by the water.
Now, when the water-based dye is applied, you'll start with a smoother surface.
Woodsmith Tip: Raise the Grain First. If you're planning to use a water-based dye, make raising the grain part of your surface preparation. Dampening, drying, and lightly sanding the wood beforehand takes care of those raised fibers before color is applied.
Choose an Applicator
There are several ways to apply wood dye.
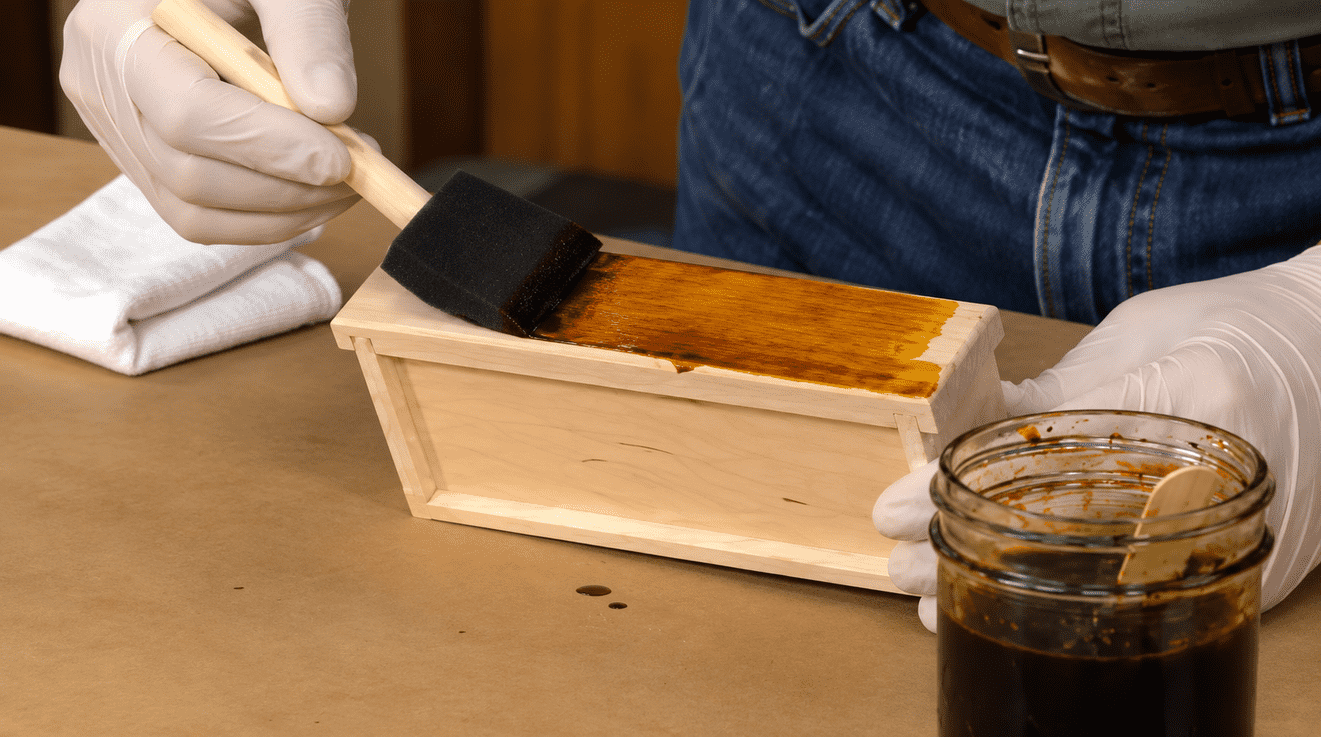
You can spray it or wipe it onto the surface with a rag. For this project, Bryan prefers a foam brush.
A foam brush is flexible enough to reach into the nooks and crannies of a project like this mantel clock, making it easier to get dye into detailed areas while still covering the larger surfaces quickly.
RELATED ARTICLE: Best Applicators for Wood Finish: Brushes, Rags & Foam
Flood the Surface with Dye
One of the goals when applying dye is to avoid streaks and uneven patches of color.
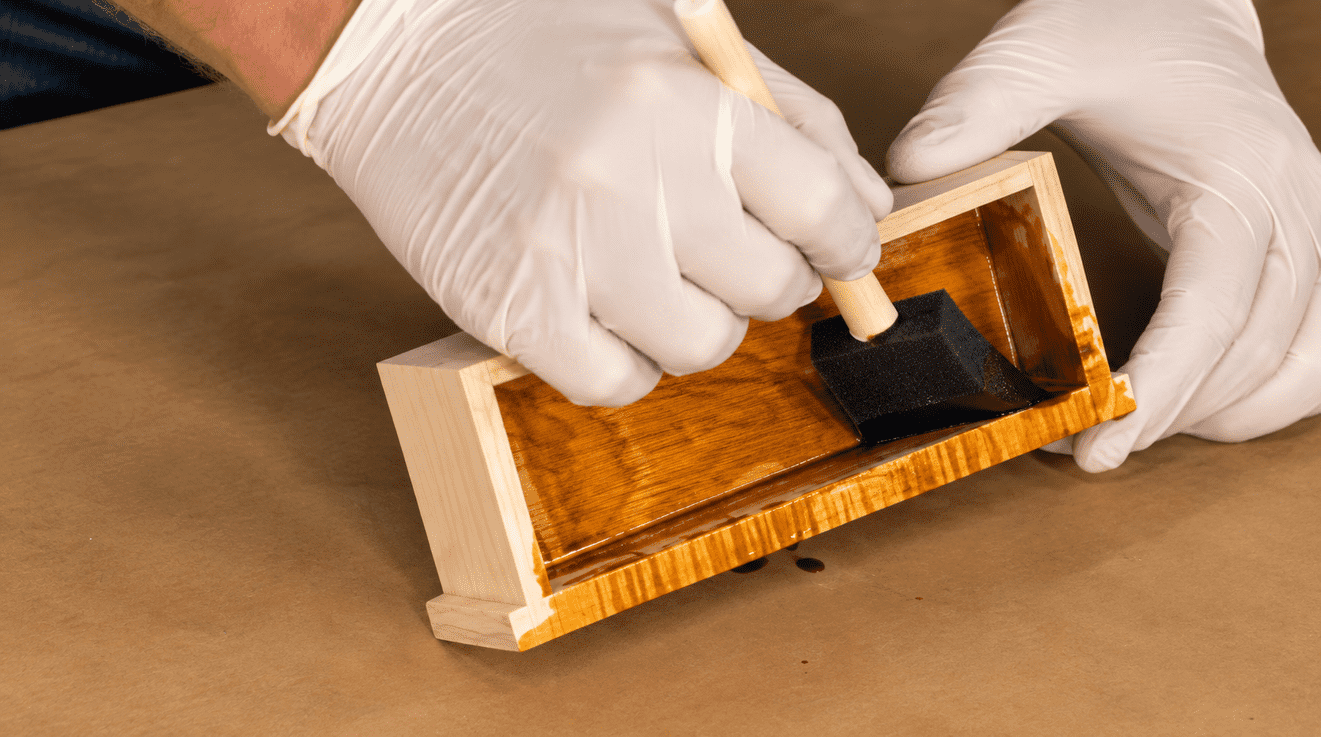
Rather than trying to brush on a thin, perfect coat, Bryan floods the surface with dye.
Apply enough dye to wet the surface evenly, working it into the corners and details as you go.
This gives you an opportunity to get consistent color across the project before the dye begins to dry.
Wipe Away the Excess
After the wood has been thoroughly wetted with dye, wipe away the excess.
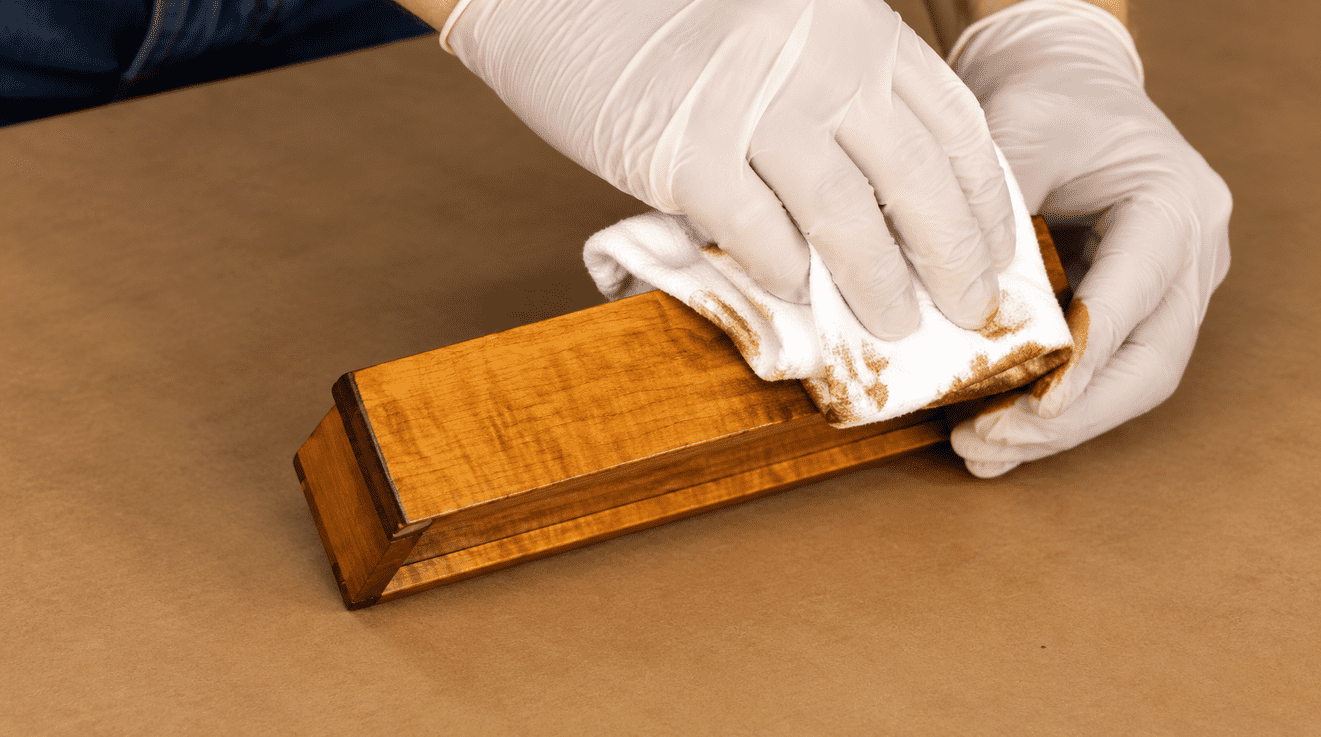
This helps even out the color and eliminates excess liquid that could otherwise contribute to streaks.
Work systematically across the project so the dye remains as consistent as possible from one area to another.
Don't Judge the Color While It's Dry
There's one more characteristic of dye that's important to understand.
The dyed wood can look surprisingly flat and drab after it dries.
That doesn't necessarily mean you've chosen the wrong color or need another coat.
Without a clear finish, the dry surface doesn't show the same depth and richness that it will have when the finishing process is complete.
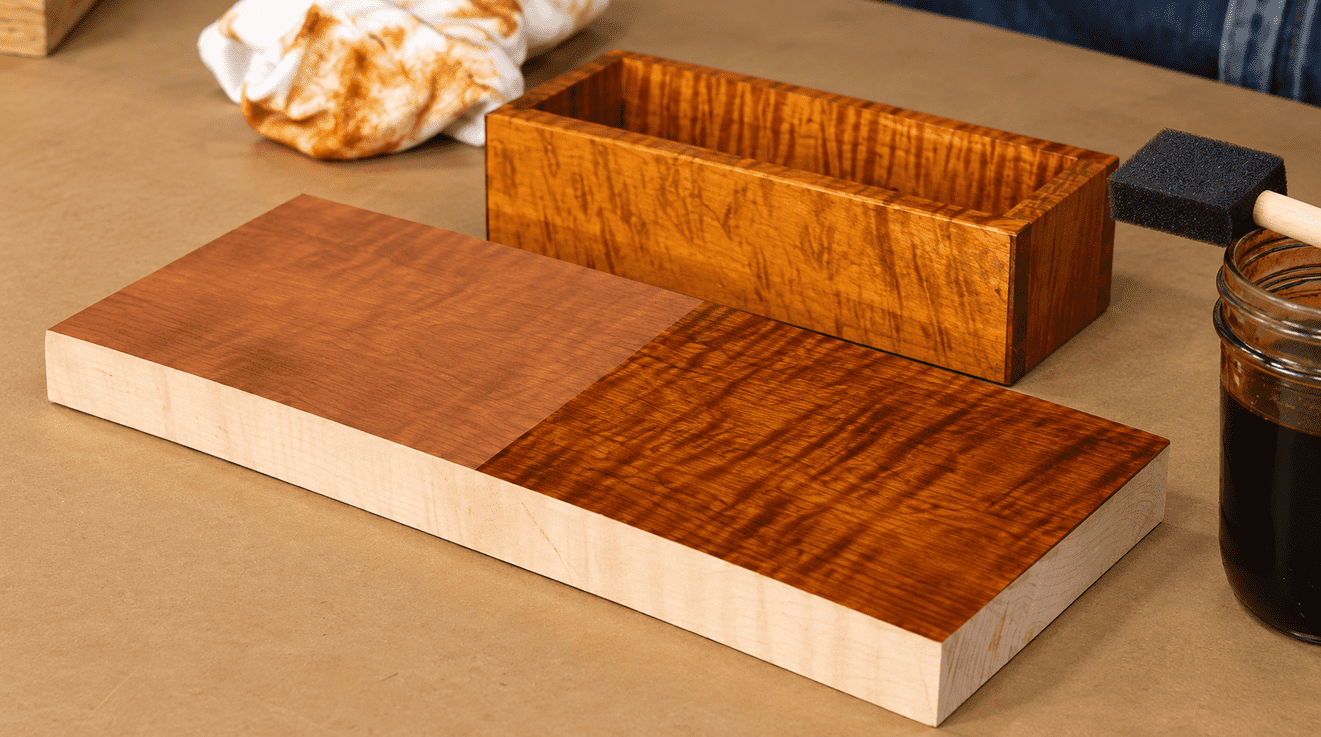
Once a clear finish is applied, the color comes alive and the grain becomes much more pronounced. So when you're evaluating a dye color, keep the complete finishing schedule in mind rather than judging the dry dye by itself.
A Simple Process for Better Dye Results
Applying wood dye doesn't require a complicated finishing routine. The key is preparing for the way a water-based dye interacts with the wood and applying the color evenly.
The basic process is straightforward:
- Dampen the wood to raise the grain.
- Let it dry and sand with 220-grit to smooth the raised fibers.
- Apply the dye liberally with a foam brush, rag, or spray equipment.
- Flood the surface to encourage even color.
- Wipe away the excess before it dries.
- Allow the dye to dry before continuing with your finishing schedule.
On a detailed project like this mantel clock, the result is rich color that enhances the project while still allowing the wood grain to play a major role in its appearance.
Learn More About Wood Dye
Applying the dye is only half the story. Liquid dye concentrates make it easy to adjust both the intensity and tone of the color before it ever reaches your project. Learn how to mix dye with water, build color gradually, and create a custom shade that complements the wood.
LEARN HOW TO MIX & USE WOOD DYE → How to Use Dye Stain to Bring Out Wood Grain


