

BAND SAWN TAPERS
Tapers are a great way to add a bit of visual interest to a project. A taper jig at the table saw works well, but making the jig can be time-consuming. Instead, I cut many of my tapers at the band saw, as you can see in the legs I cut in the photos below.
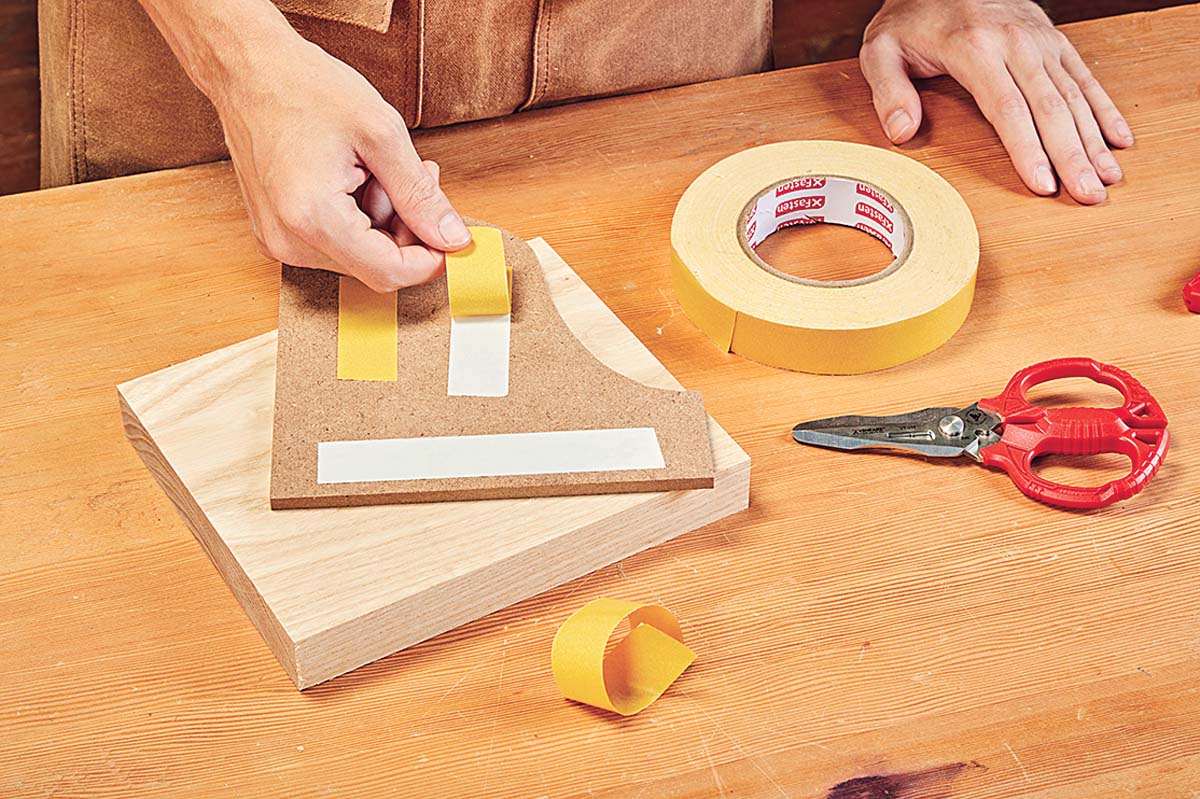 |
When shaping, I create a hardboard template to ensure that all the workpieces come out identical. |
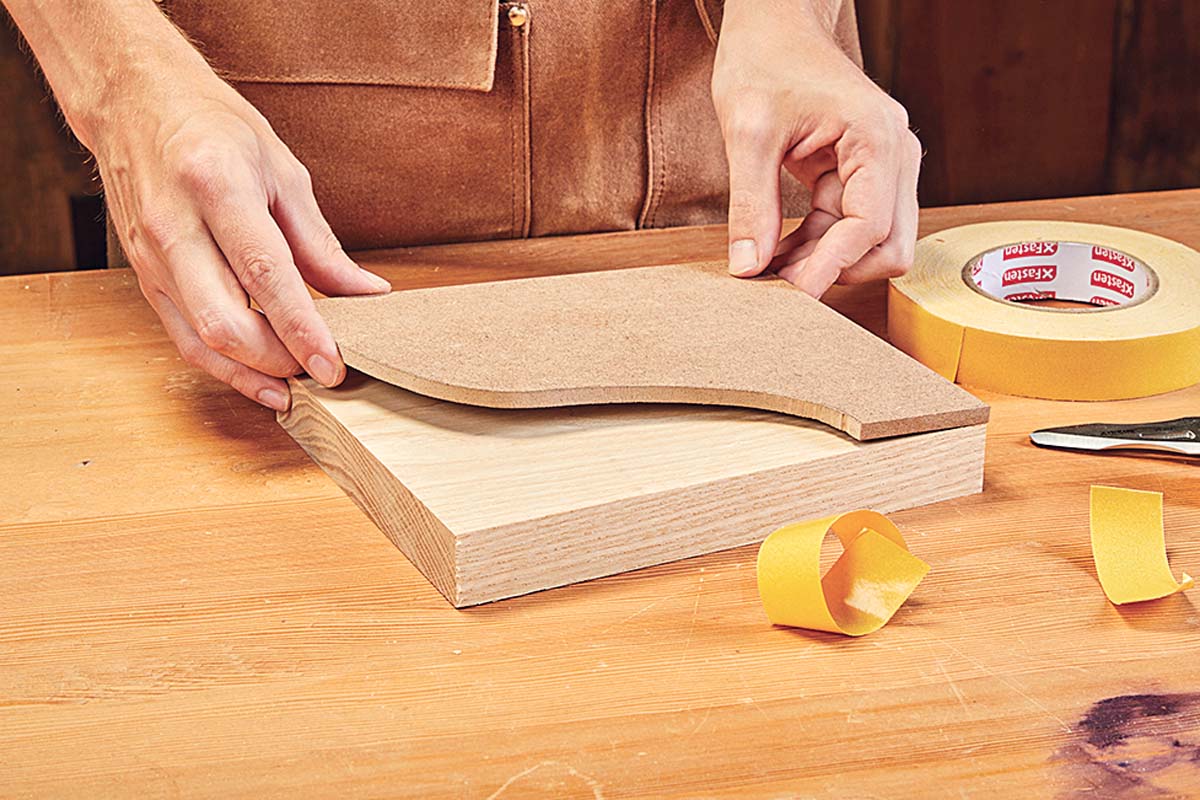 |
Stick the template down to the workpiece. Double-sided tape provides plenty of strength here. |
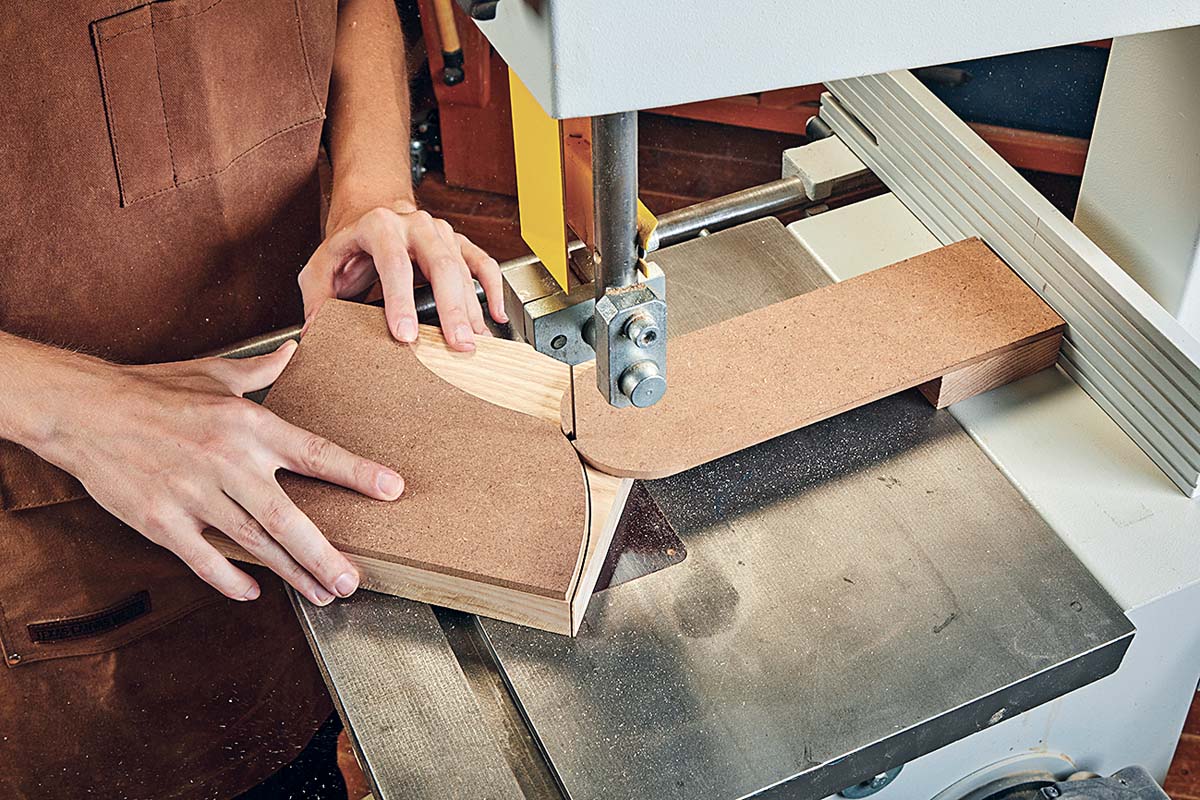 |
The hardboard rub block registers directly against the template, leaving a small amount of waste to be routed off. |
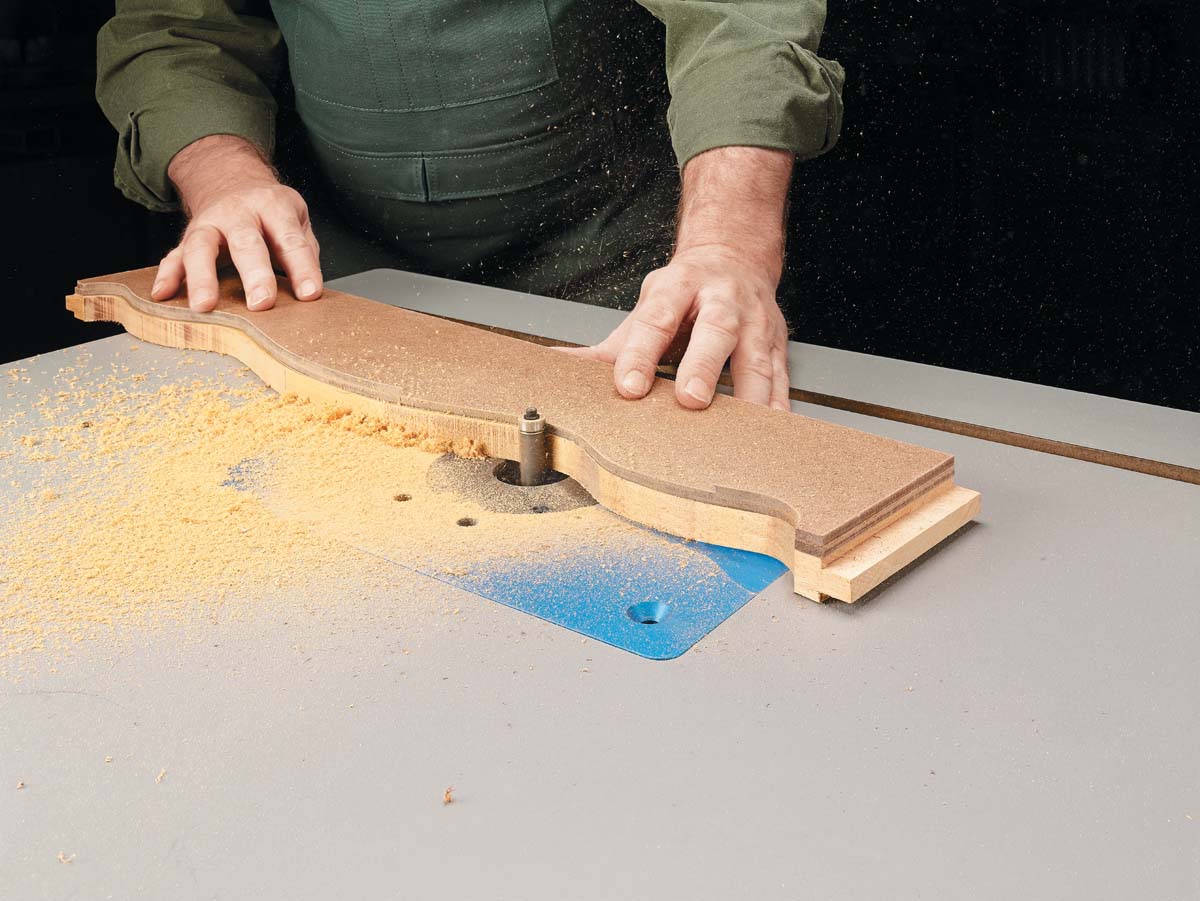 |
A flush-trim bit at the router table is the best way to clean off blade marks, registering the bit against the template. |
LAYOUT.
For cutting these tapers, I start with a slightly oversized workpiece. I then mark the start and end points of the taper and connect them using a straight-edge (Step 1).
CUTTING.
The best blade to use when cutting a taper is a 1⁄2"-wide blade with 3 or 4 teeth per inch. To keep the blade as steady as possible, set the guide assembly just above the workpiece, as in Step 2. Make the cut freehand in one, even pass.
In my opinion, it’s worth it to make a few practice cuts on scrap boards first. It’s pretty easy to get a good cut after you’re warmed up. Stay to the waste side of the layout line to keep some extra material for jointing. Once you’ve done the first side, flip the workpiece and make the second cut (Step 3).
JOINTING.
To finish the tapers, joint the tapered faces down to their final size. This will leave you with a smooth, clean leg. Just be sure to joint “downhill” with the grain, as shown in Step 4, to keep from tearing out the tapered faces.
TEMPLATE SHAPING
One of my most common operations at the band saw is shaping a piece using a template. You can see the technique for shaping a set of corbels on the opposite page. It begins with a hardboard template (Steps 1 and 2), but one trick I like to use is a rub block.
RUB BLOCK.
This is a piece of hardboard with a rounded end and a notch to accept the blade. The hardboard will register against the template, leaving material for the flush trim bit, as in Step 3. Once you’ve made the cut, you can flush-trim it to final shape (Step 4). Remove the template and use it to make your next piece.
 |
| Rub-block spacer equals workpiece thickness and the notch depth determines cut offset |
| The gap of the rub block leaves 1⁄16" of material outside the template for the router. I made the spacer from a cutoff piece of my original board so it matched the thickness of my workpieces. |


