


Cutting a curved furniture part at the bandsaw gets you close to the final shape, but it rarely leaves a finished edge. Blade marks, small bumps, and flat spots can interrupt what should be a smooth, flowing curve.
You could reach immediately for sandpaper, but there's a faster and more controlled way to refine the shape first.
A rasp and file make an effective one-two combination for smoothing bandsawn curves. Use the rasp to remove blade marks and fair the curve, then follow with a file to refine the surface before final sanding.

Why Use a Rasp and File After the Bandsaw?
Rasps and files may look similar, but their different cutting surfaces make them well suited to two stages of the same job.
A rasp has individual raised teeth that remove wood aggressively. It's the tool to reach for when you need to remove bandsaw marks, eliminate small high spots, or make minor corrections to the shape.
A file has lower, more closely spaced cutting edges. It removes material more slowly and leaves a finer surface, making it ideal for cleaning up after the rasp.

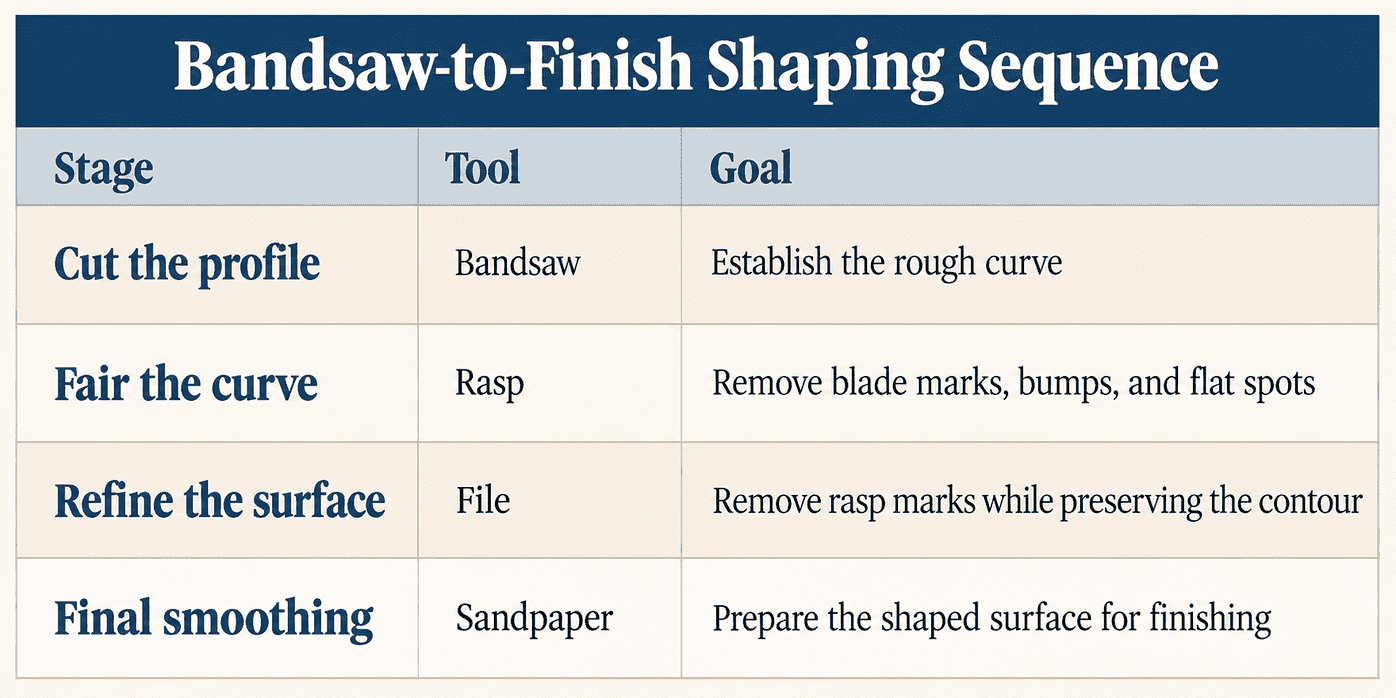
The basic progression is simple:
Bandsaw → Rasp → File → Sandpaper
Each step removes the marks left by the previous tool while bringing the curve closer to its finished surface.
New to Rasps and Files?
Learn the differences between coarse and medium rasps, half-round files, and round files in our guide to Files and Rasps for Woodworking.
RELATED ARTICLE → CHOOSE FILES & RASPS
Check the Curve Before You Start
Before reaching for a rasp, take a close look at the bandsawn edge. You're looking for more than just blade marks. Check for:
- High spots along the curve
- Small bumps and irregularities
- Flat spots where the bandsaw wandered
- Transitions that don't flow smoothly
- Areas that remain outside your layout line
The goal isn't simply to make the edge smooth. You want to refine the shape while preserving the intended curve.
If your layout line is still visible, use it as a guide. If necessary, redraw reference lines before you begin shaping.
Secure the Workpiece
Clamp the part firmly before you start.
Position the workpiece so the edge you're shaping is fully accessible. You want enough clearance to use long strokes without hitting the bench, vise, or clamps.
A comfortable working position also makes it easier to control the tool with both hands.
Remove Bandsaw Marks with a Rasp
Start with a rasp appropriate for the amount of material you need to remove.
If the curve is already close to the final shape and you're mainly removing blade marks, a finer rasp may be all you need. If you're correcting larger irregularities or reshaping the contour, start with a coarser rasp.
A half-round rasp is especially useful for curved woodworking parts because it gives you a flat cutting face on one side and a rounded surface on the other.
Grip the rasp with one hand on the handle and the other near the tip. Using both hands gives you better control over the pressure and direction of the cut.
Use Long Strokes to Fair the Curve
It's tempting to attack every individual bandsaw mark with a few short strokes. But that can create a series of small dips and flat spots.
Instead, use long, controlled strokes that cover a larger portion of the curve.
This allows the rasp to blend high spots into the surrounding surface and helps create a smoother, more continuous contour.
Think about the shape as a whole rather than concentrating only on individual saw marks.
Woodsmith Tip: Watch the Scratch Pattern. There's an easy way to tell when the rasp has finished its job. Continue working until the bandsaw marks disappear and are replaced by a consistent scratch pattern from the rasp. Once the surface looks uniform, it's usually time to move to the next tool.
Work Downhill with the Grain
Grain direction affects how cleanly a rasp or file cuts.
Whenever possible, arrange the workpiece so you're working downhill with the grain. This helps the cutting teeth work with the wood fibers rather than lifting them.
When you need to remove wood quickly, working somewhat across the grain can be more aggressive. But as the curve approaches its final shape, shift toward strokes that follow the grain for a cleaner surface.
The direction may change as you move around a complex curve, so don't assume you need to work the entire edge from one direction.

Use the Right Face for the Curve
A half-round rasp or file is especially versatile because its two faces handle different contours.
Outside Curves
Use the flat face for broad outside curves.
The flat surface bridges across high spots and helps blend them into the surrounding contour. Long strokes are especially helpful here.
Inside Curves
Flip the tool over and use the rounded face for inside curves.
The tool's radius needs to fit the curve you're shaping. For a particularly tight inside curve, a smaller round rasp or round file may be a better choice.
This combination lets you handle many curved furniture parts with only a couple of tools.
Refine the Curve with a File
Once the bandsaw marks are gone and the curve has the shape you want, switch to a file.
The file isn't there to dramatically change the contour. Its job is to remove the rasp marks and refine the surface.
Use the same controlled strokes you used with the rasp, but lighten the pressure. Let the file's teeth do the cutting.
Again, watch the scratch pattern.
You're finished with this stage when the deeper rasp marks have disappeared and been replaced by a consistent, finer surface from the file.
Check the Curve by Sight and Touch
Stop frequently and check your progress.
Look along the edge rather than directly at it. Viewing the part from different angles can reveal flat spots and abrupt transitions that are difficult to see straight on.
Then use your hands. Your fingertips are remarkably good at detecting small bumps, dips, and changes in a curve. Run them along the edge and pay attention to any spot where the contour doesn't feel continuous.
If you find a high area, blend it into the surrounding curve rather than concentrating exclusively on that one spot.
Finish with Sandpaper
Once the file leaves a smooth, consistent surface, switch to sandpaper.
At this point, the shaping should already be finished. Sandpaper is there to remove the fine file marks and prepare the surface for finishing — not to correct the basic contour.
That's the advantage of working through the tools progressively.
Don't Sand Away a Bad Curve
It's easy to think of sanding as the solution to every rough bandsawn edge. But sandpaper isn't always the most efficient tool for correcting the shape itself.
A rasp removes wood quickly while still giving you direct control over the contour. A file then lets you make progressively finer adjustments without erasing the shape you've established.
The process is straightforward: Cut the curve. Fair it with a rasp. Refine it with a file. Then sand it smooth.
Once you get comfortable with that progression, rasps and files become an efficient way to turn a rough bandsawn edge into a smooth, flowing curve without another machine setup.

Learn More About Shaping Wood by Hand
Ready to go beyond cleaning up bandsaw marks? Learn how tool angle, grain direction, pressure, and different rasp and file profiles can help you create and refine complex contours.
RELATED ARTICLE → How to Shape Wodd with Rasps & Files


