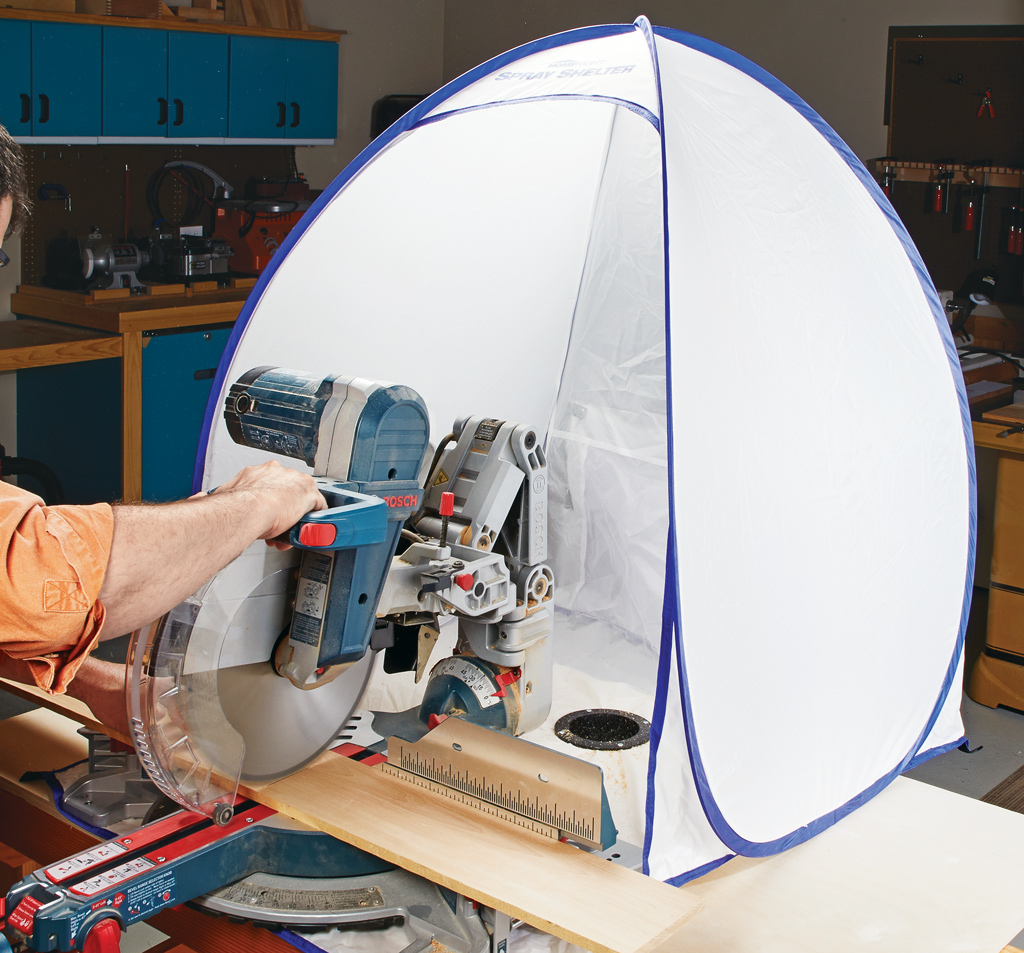
Woodworkers tend to look at the miter saw in one of two ways. For some, it's primarily a tool for breaking long boards into manageable lengths before taking them to the table saw. Others expect a miter saw to make accurate crosscuts and miters that are ready to use right off the saw.
The problem comes when you want fine-cutting results from a saw that's normally used for rough work.
One thing that can get in the way is the factory throat plate. The opening around the blade is often much wider than the blade itself. As the teeth exit the bottom of the workpiece, the wood fibers next to the cut have little support. The result can be tearout and a ragged bottom edge. A shop-made zero-clearance miter saw insert provides support immediately alongside the blade. And the version shown in the video above has another advantage: Instead of replacing the entire insert after the kerf gets chewed up, you simply slide in a new hardboard center strip.
Why Use a Zero-Clearance Insert on a Miter Saw?
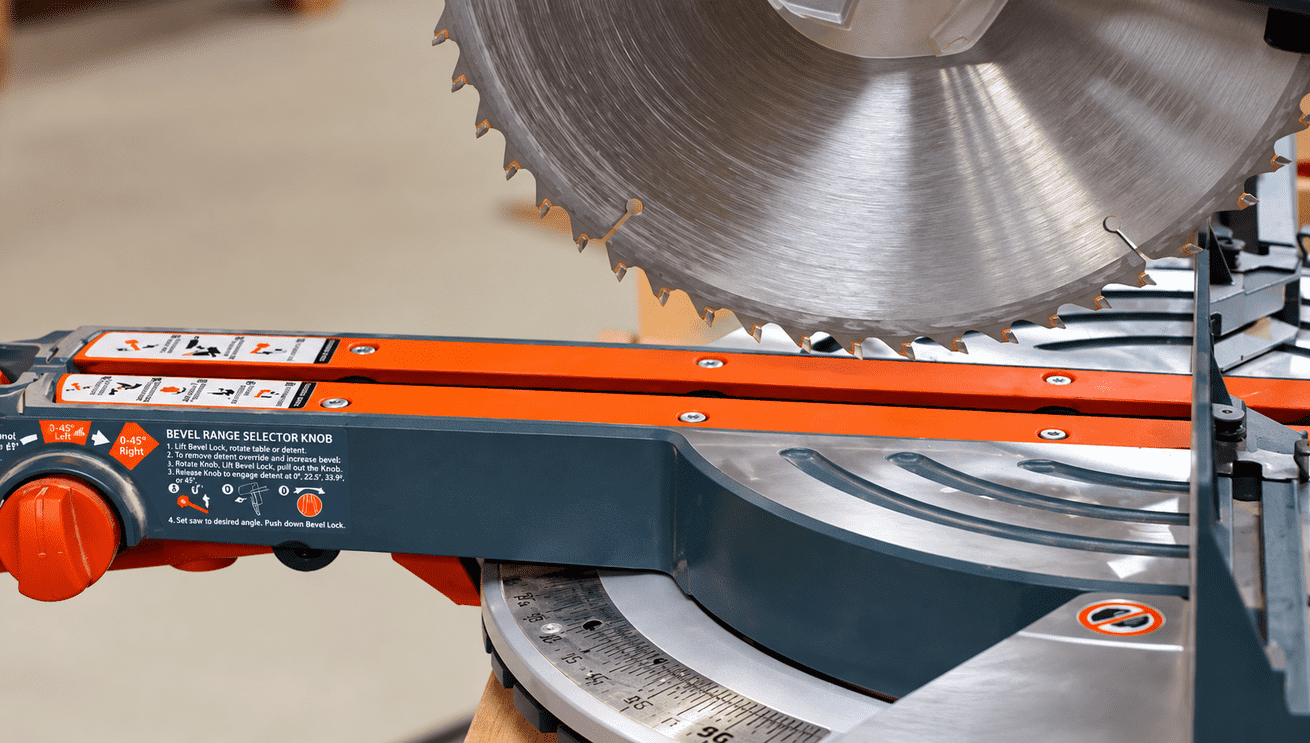
The factory insert on a miter saw has to accommodate the movement and cutting capacity the saw was designed to provide. That can leave a substantial opening around the blade.
For everyday rough crosscutting, that's usually not a problem.
But when you're making a fine cut, the unsupported fibers along the bottom face of the workpiece can break away as the blade exits.
A zero-clearance insert closes up that opening. After the blade cuts its own kerf through the insert, the material comes right up to the sides of the blade.
That extra support can result in a cleaner bottom edge with less tearout.
A Replaceable Zero-Clearance Insert
You could simply make a solid replacement throat plate and cut a zero-clearance kerf through it. But there's a drawback.
Every time the kerf gets enlarged or damaged, you'd need to make another throat plate.
This design solves that problem with two parts: - A UHMW plastic insert plate replaces the factory throat plate. - A removable hardboard strip fits into a dovetail-shaped groove running down its center.
The saw blade cuts through the hardboard rather than the UHMW plate. Once that strip becomes worn or the opening gets too large, slide it out and replace it with a fresh one.
That restores the zero-clearance surface without having to build another complete insert.
Start with a UHMW Plastic Blank
The main insert starts as a piece of 1⁄2"-thick UHMW plastic.
UHMW stands for ultra-high-molecular-weight polyethylene. For this project, what's important is that it's a smooth plastic that's easy to machine with ordinary woodworking tools. It's also commonly used for shop-made jigs and fixtures.
Start by removing the miter saw's fences as necessary to access the throat plate. Then remove the screws securing the existing insert.
Safety Note: Disconnect the miter saw from power before removing the throat plate, fences, or making adjustments around the blade.
Use the Factory Insert as a Template
Rather than trying to measure the shape of the throat opening, use the original insert pieces as templates.
Apply strips of double-sided tape to the UHMW blank and position the factory inserts on top, carefully aligning the edges.
Then trace the required shape onto the plastic.
A fine-point permanent marker works well because pencil marks can be difficult to see on UHMW.
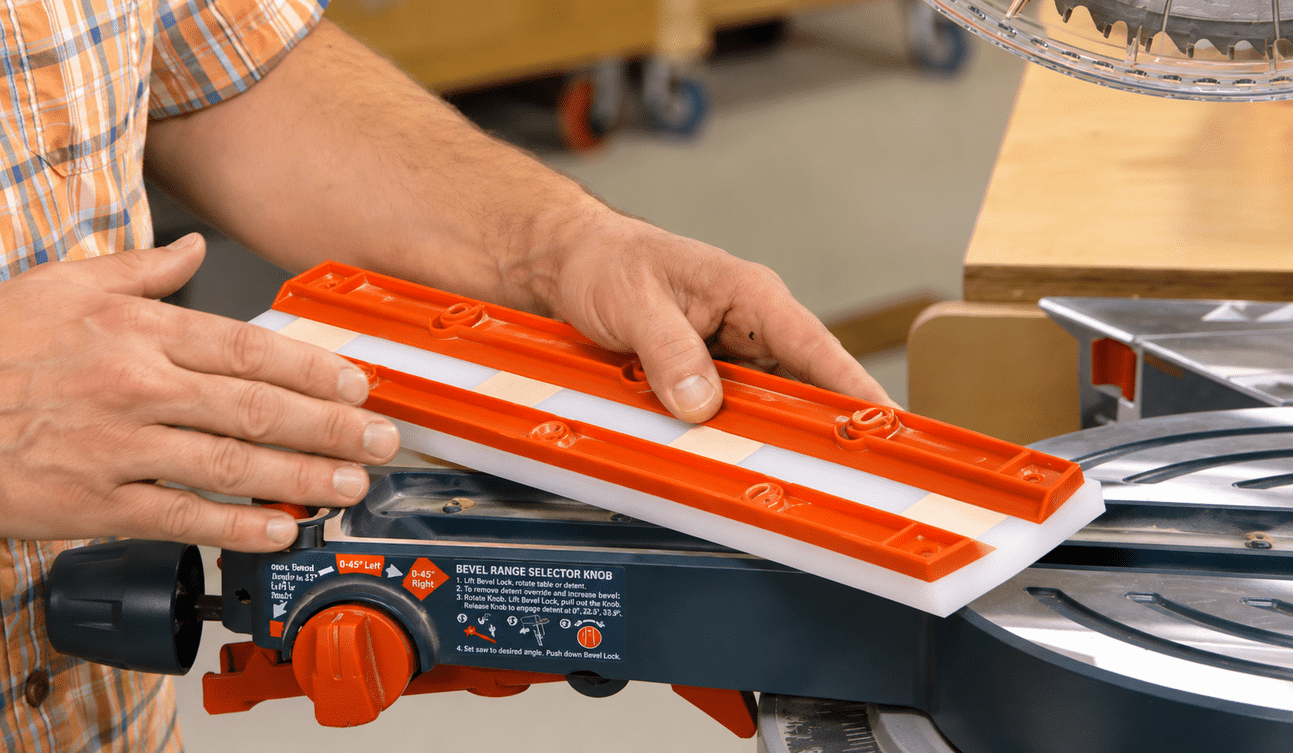
The exact shape will vary from one miter saw to another, which is one advantage of using your existing insert as the pattern.
The blank can then be cut to shape at the band saw and the edges sanded smooth for a precise fit.
Rout a Dovetail Groove for the Replaceable Insert
Before finishing the outside shape, rout the groove for the replaceable hardboard center. A dovetail bit in the router table creates a dovetail-shaped channel down the middle of the UHMW blank.
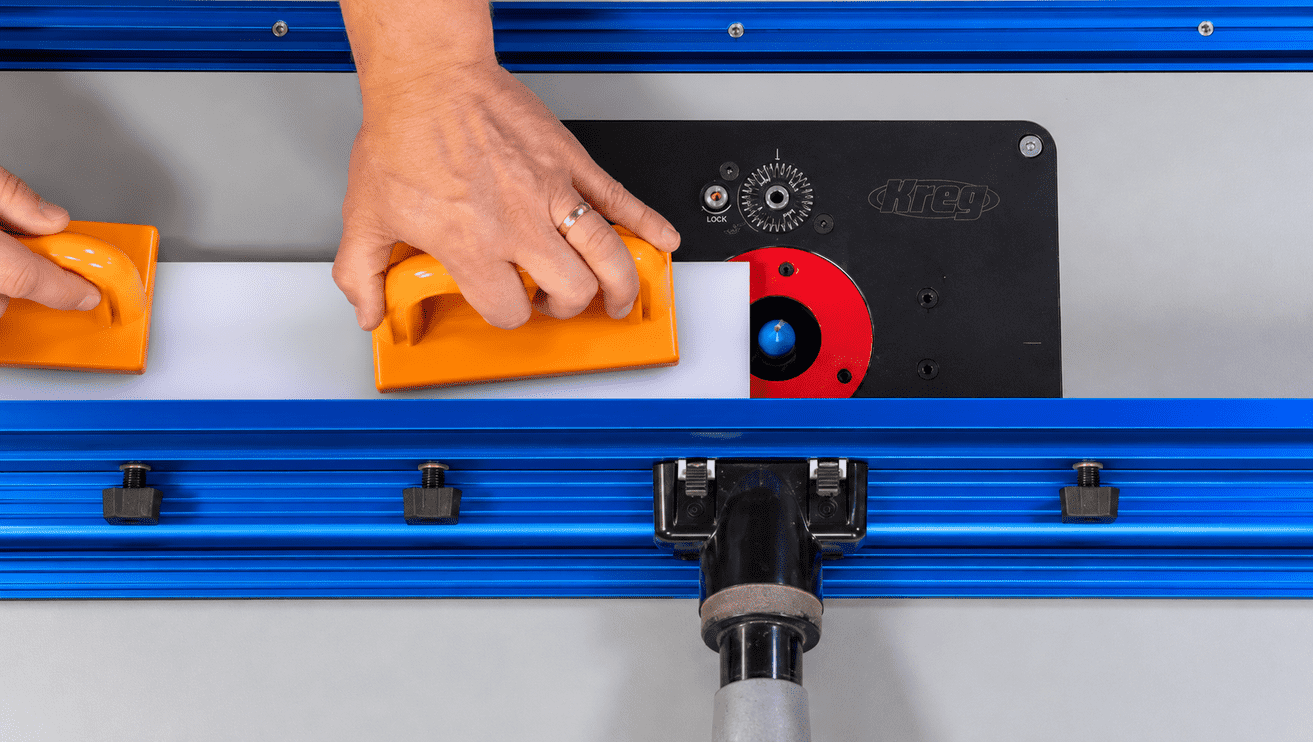
Bit height is critical here.
Set the router bit so the depth of the groove matches the thickness of the hardboard you'll use for the replaceable inserts.
Once installed, the hardboard needs to sit flush with the surrounding UHMW surface. You don't want an edge sticking above the throat plate where it could catch a workpiece.
Make Several Replacement Hardboard Strips
Since replaceability is the main advantage of this design, it makes sense to make several hardboard inserts at the same time.
Start by ripping the hardboard slightly oversize.
Then use the dovetail bit to create the beveled edges that match the groove in the UHMW plate.
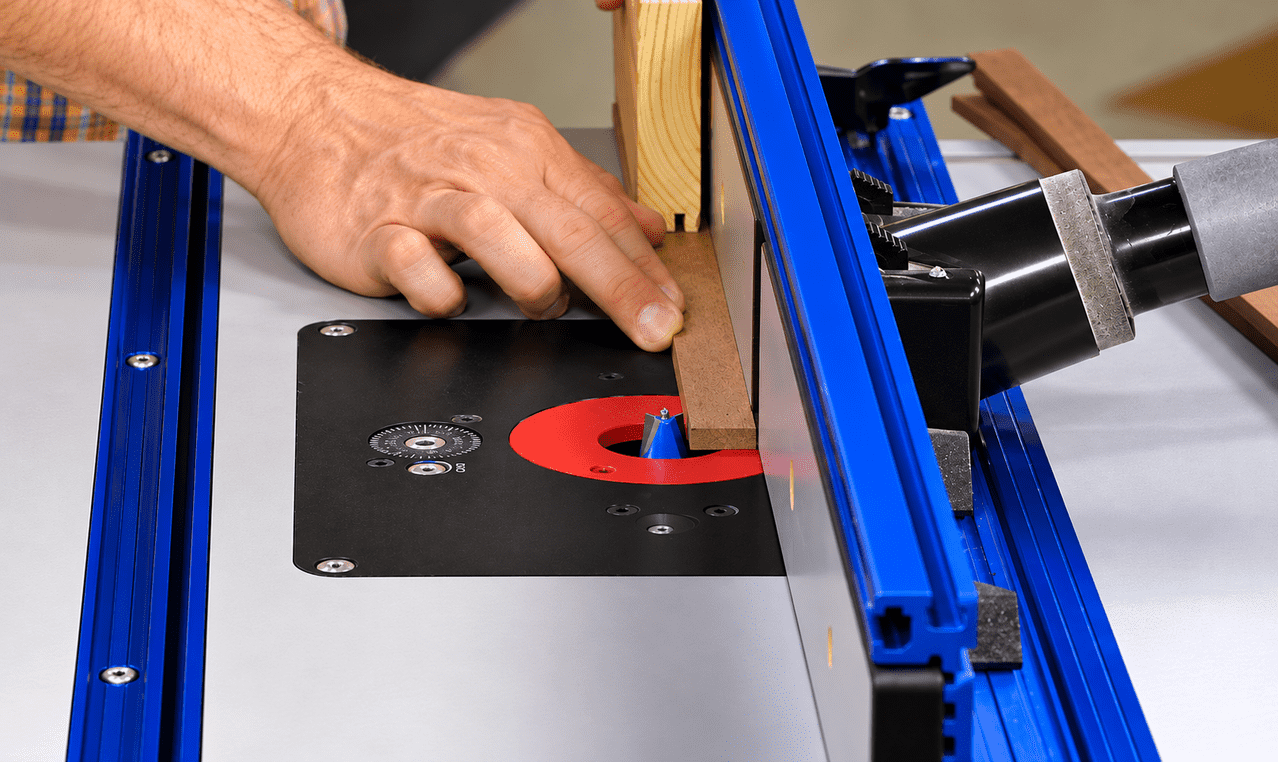
The strips should slide into the groove easily without being sloppy.
The video demonstrates sneaking up on the fit by adjusting the router table fence slightly and making additional passes until the hardboard slides smoothly into place.
Once you've found the correct setup, make several replacements while the router table is dialed in.
Woodsmith Tip: A small stack of ready-made replacement strips means restoring the zero-clearance surface later takes only a few seconds.
Drill the Mounting Holes
With the basic insert complete, the next step is fitting it to the miter saw.
Use the locations from the original throat plate to lay out the mounting screws.
In the video, the holes are made at the drill press using a Forstner bit for the counterbores followed by a brad-point bit for the through holes.
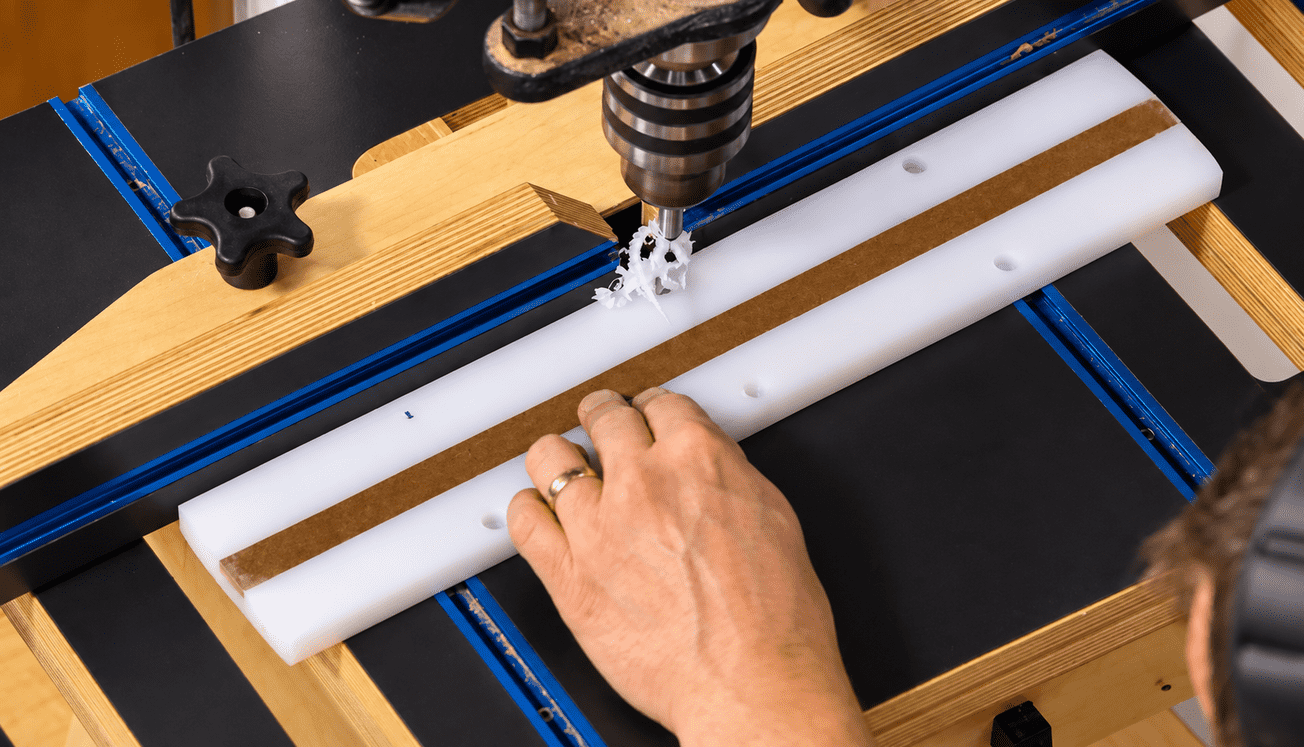
The counterbores allow the screw heads to sit below the working surface of the insert.
Rabbet the Insert to Sit Flush with the Miter Saw Table
The insert also needs to sit flush with the surrounding saw table.
For the saw shown in the video, that requires a rabbet around all four edges of the UHMW plate. A dado blade and auxiliary fence at the table saw are used to cut the rabbets.
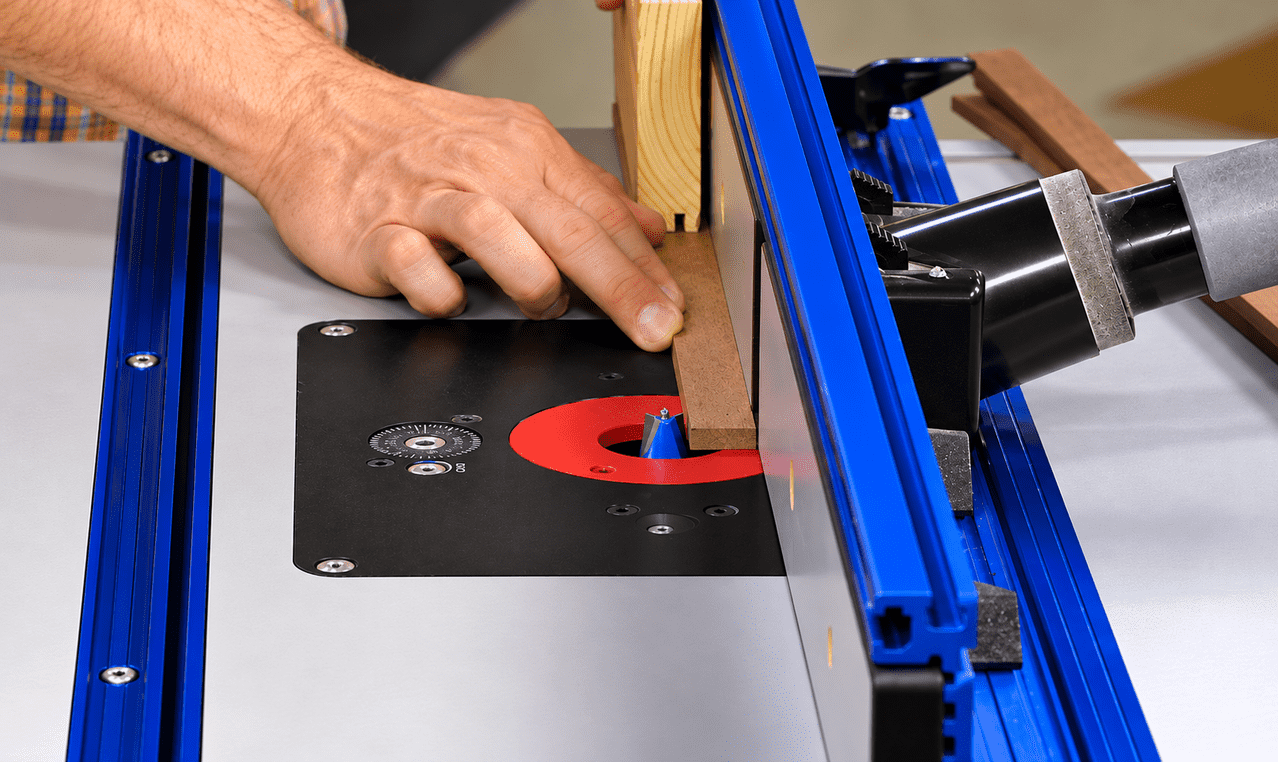
This is another part of the project you'll need to adapt to your specific saw. Miter saw throat plates vary considerably in shape, thickness, mounting method, and how they're supported by the saw table.
The important result is that the finished insert is securely mounted and flush with the surrounding table.
Install the Zero-Clearance Insert
Once the insert fits properly, install it with the original mounting screws and reinstall the miter saw fences.
Check that the insert is secure and sits flush before making a cut. Then install one of the hardboard strips.
The first cut with the saw blade creates the zero-clearance kerf.
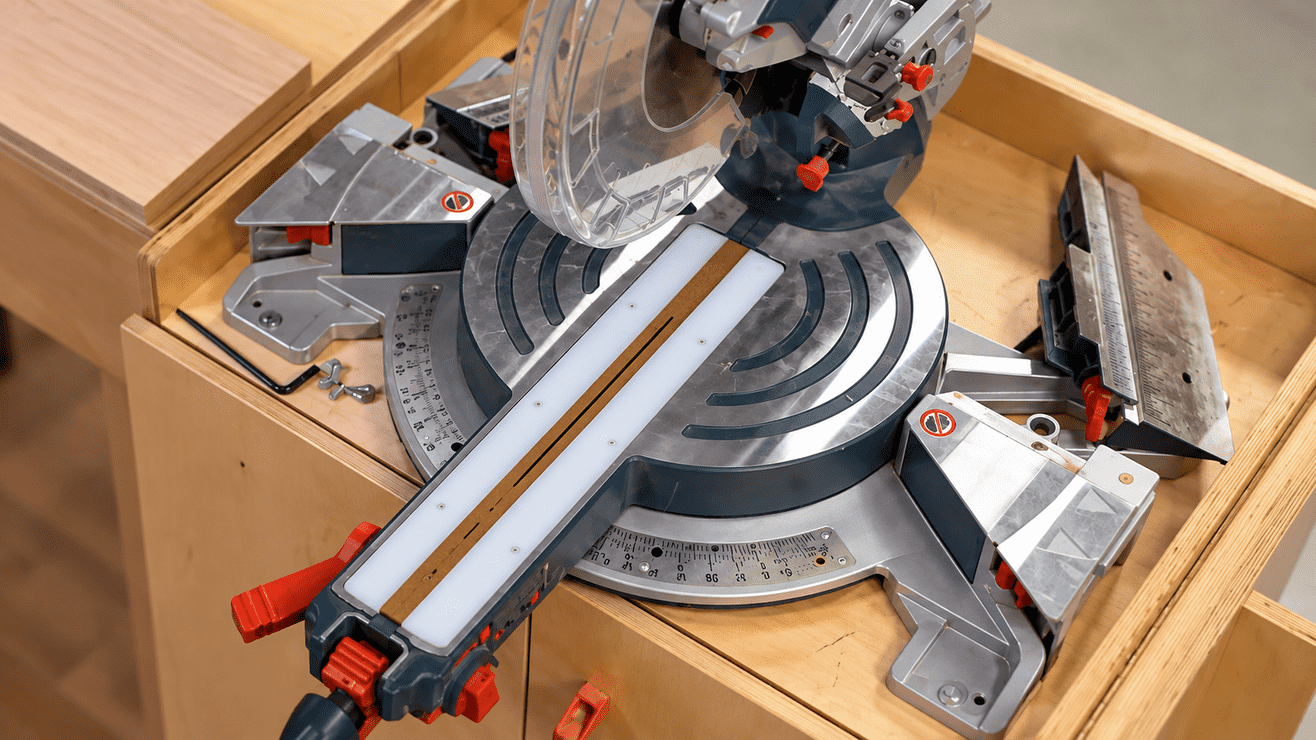
Now the hardboard provides support immediately alongside the blade as it exits the workpiece. The result is exactly what we're after: a crisp crosscut with less tearout along the bottom edge.
Replace the Insert When the Kerf Gets Worn
Zero-clearance inserts don't stay zero-clearance forever.
Repeated cuts eventually enlarge and damage the opening. Different cutting angles can also affect the insert depending on your saw and setup.
That's where this design pays off.
Instead of making another UHMW throat plate: Slide out the worn hardboard strip → slide in a fresh strip → make a new kerf.
The main UHMW insert stays in place.
If you made several hardboard strips during the original router table setup, you'll already have replacements ready to go.
Get Cleaner Cuts from Your Miter Saw
A miter saw can do more than simply break down long boards. With the right setup, it can make clean, accurate crosscuts and miters for finished project parts.
This shop-made zero-clearance insert is a simple upgrade that addresses one of the limitations of a factory throat plate. The UHMW body creates a durable foundation, while the replaceable hardboard strip provides support directly alongside the blade to help reduce tearout.
And when the zero-clearance kerf isn't so zero-clearance anymore, there's no need to rebuild the entire insert.
Just slide in a fresh strip and you're back in business.
RELATED VIDEO: How to Make a Zero-Clearance Insert for a Table Saw Want the same tearout-fighting setup on your table saw? See how to build a replaceable zero-clearance table saw insert using the same basic approach.
RELATED REVIEW: Best Cordless Miter Saws