

BENNINGTON SMART CASTERS
The last product I want to discuss is the set of casters you see on this page. These are R7 casters from Bennington Manufacturing. They’re heavy duty, with thick, metal plates attached to swiveling wheels. The casters are mounted on a piston, which locks and unlocks to activate and deactivate the casters. This means that all you need to do is lift the casters off the ground briefly to extend or retract them.
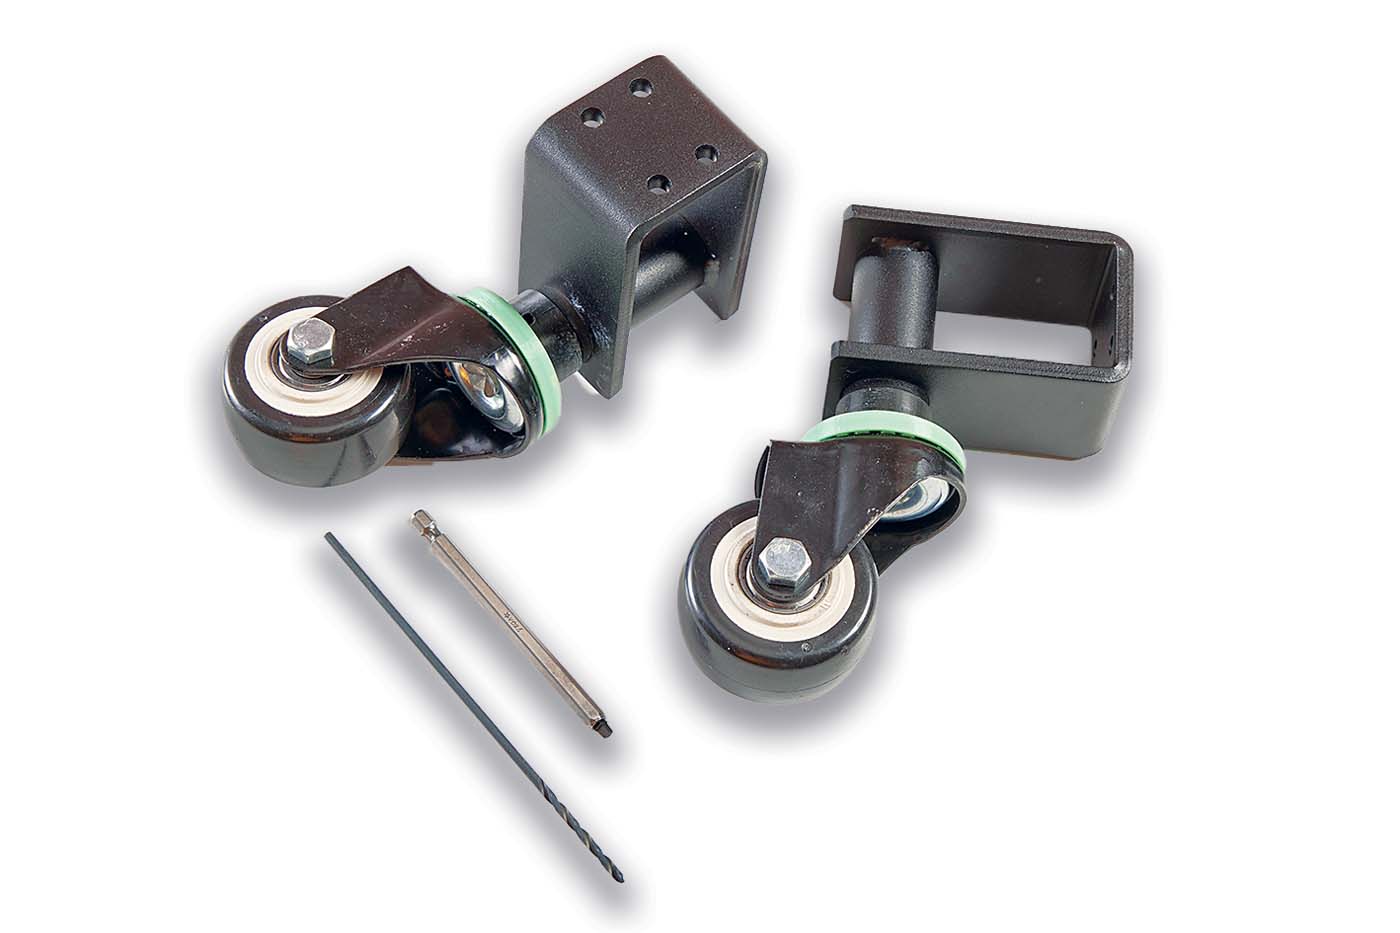 |
| Square Drive, 1⁄8" Drill bit, and 2"-dia. Wheel. |
INSTALLATION.
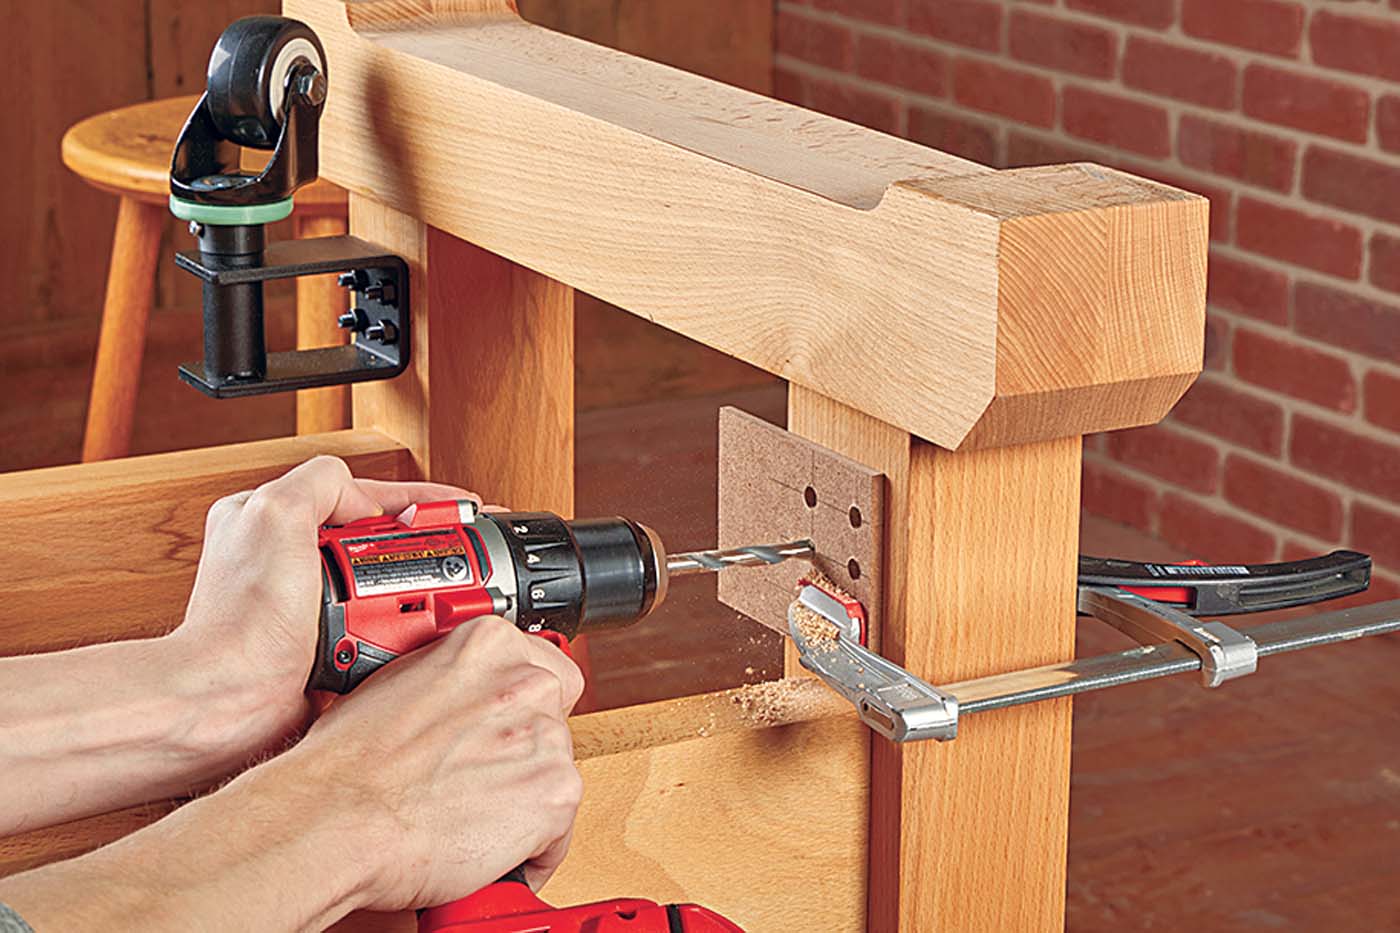
Installing casters isn’t rocket science, and the instructions provided will likely be enough for many woodworkers. However, there are a few things I did differently to get the best results, beginning with the template you see below.
It seemed like it would take a lot of fussing to directly mark the locations of the holes in the brackets on the legs of my work bench while also making sure they stay centered and square. Instead, I transferred the hole locations to a small piece of hardboard, then used that as a template that I could easily square to a leg and clamp up while I drill (Step 1).
 |
The second change I made was to upgrade the hardware. Bennington includes a set of sixteen woodscrews for the four casters, but those seeemed a little light for the 700-pound capacity of these casters. Bennington recommends upgrading to ¼"-20 hardware for heavier loads, which is precisely what I did. Once I had drilled all the holes, I mounted the casters with bolts, nuts, and washers. After flipping the bench back over, I found this made for a quite sturdy connection.
USE & PERFORMANCE.
Once the bench was upright again, it was time to remove the set screws. These screws are there to hold the pistons in place until after installation, preventing off-center force from being applied as you install them, which could damage the piston mechanism. With the set screws out, it was time for lift off (Step 2).
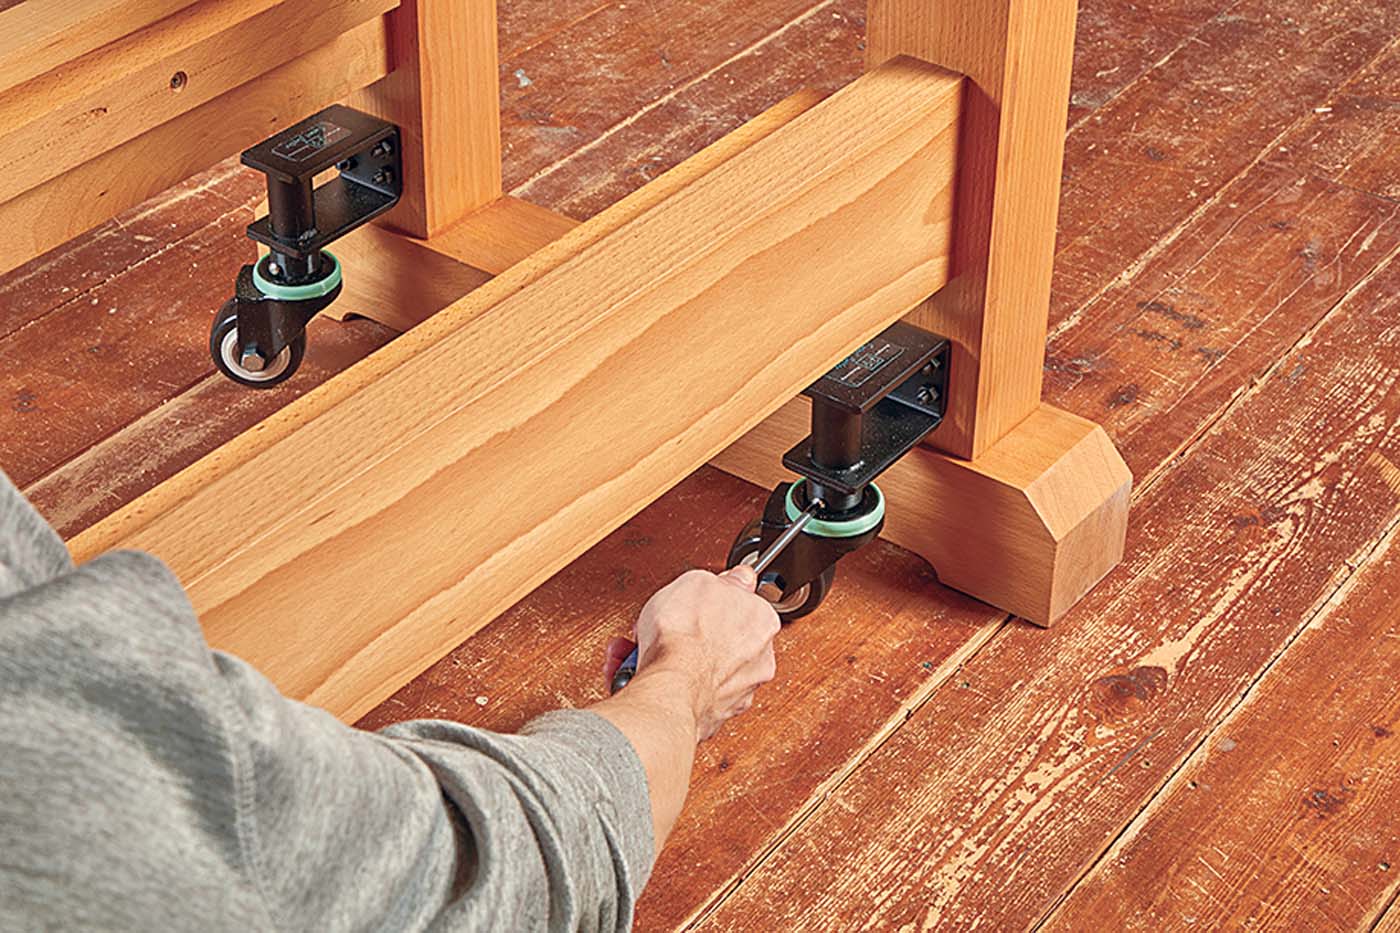 |
To activate the casters, I lifted one side up 1" (until I felt the caster wheels come off the ground), then I put it back down, setting it on the wheels as the pistons activated. After lifting the other side, my bench was ready to roll.
I was pleased by the performance of these casters. They rolled across the wood panel floor you see in these photos just as well as the concrete one the other side of our shop. Once I had my fun, I lifted each side to retract the casters and set the workbench back on its own legs again, stable as ever (Step 3).
 |
All in all, I was impressed with these casters. They’re extremely easy to use and they sit on the inside of the legs of my workbench, meaning no tripping hazard, and visitors to your shop might not even notice they’re there. The casters roll around quite well across a variety of surfaces, and they’re plenty strong, even when used on a heavy workbench like this one. If you need to mount a bench, workstation, or power tool in your shop, I’d recomend giving these a try.


