


How to Prevent and Remove Wood Glue Squeeze-Out
Glue squeeze-out is an unavoidable part of woodworking assembly. Whether you're joining a mortise and tenon or gluing up a solid-wood panel, excess glue can leave a mess along the joint lines. And if it isn't removed properly, dried glue can interfere with staining and finishing.
Fortunately, there are a few simple ways to make cleanup easier. The key is knowing when to deal with the squeeze-out — before assembly, while the glue is setting up, or after it has dried.
Prevent Glue Squeeze-Out Problems by Pre-Finishing
One of the easiest ways to simplify glue cleanup is to apply stain and finish to project parts before assembly. Dried glue is much easier to remove from a finished surface than from bare wood.
The trick is keeping finish off the surfaces that need to be glued. For mortise-and-tenon joints, use foam backer rod to protect the mortises and painter's tape to mask the tenons.
Once the finish dries, remove the masking and assemble the joint. Any glue that squeezes onto the finished surfaces can be carefully lifted away with a sharp chisel after it dries.
Remove Glue Squeeze-Out Before It Hardens
Pre-finishing isn't always practical, especially when gluing up solid-wood panels. In these situations, it's best to let the excess glue partially set before removing it.
Avoid immediately wiping away squeeze-out with a damp cloth. This can spread glue into the wood pores, creating problems when applying stain. Excess moisture can also raise the grain.
Instead, allow the glue to become rubbery, then lift it away with a scraper. The timing depends on the adhesive and shop conditions, so check the glue rather than relying on a fixed number of minutes.
Find and Remove Dried Wood Glue
If the glue has hardened completely, you'll need to remove it with a scraper, chisel, or sandpaper.
The challenge is finding small patches of dried glue before applying a finish. A light wipe with mineral spirits can temporarily highlight glue residue that might otherwise go unnoticed.
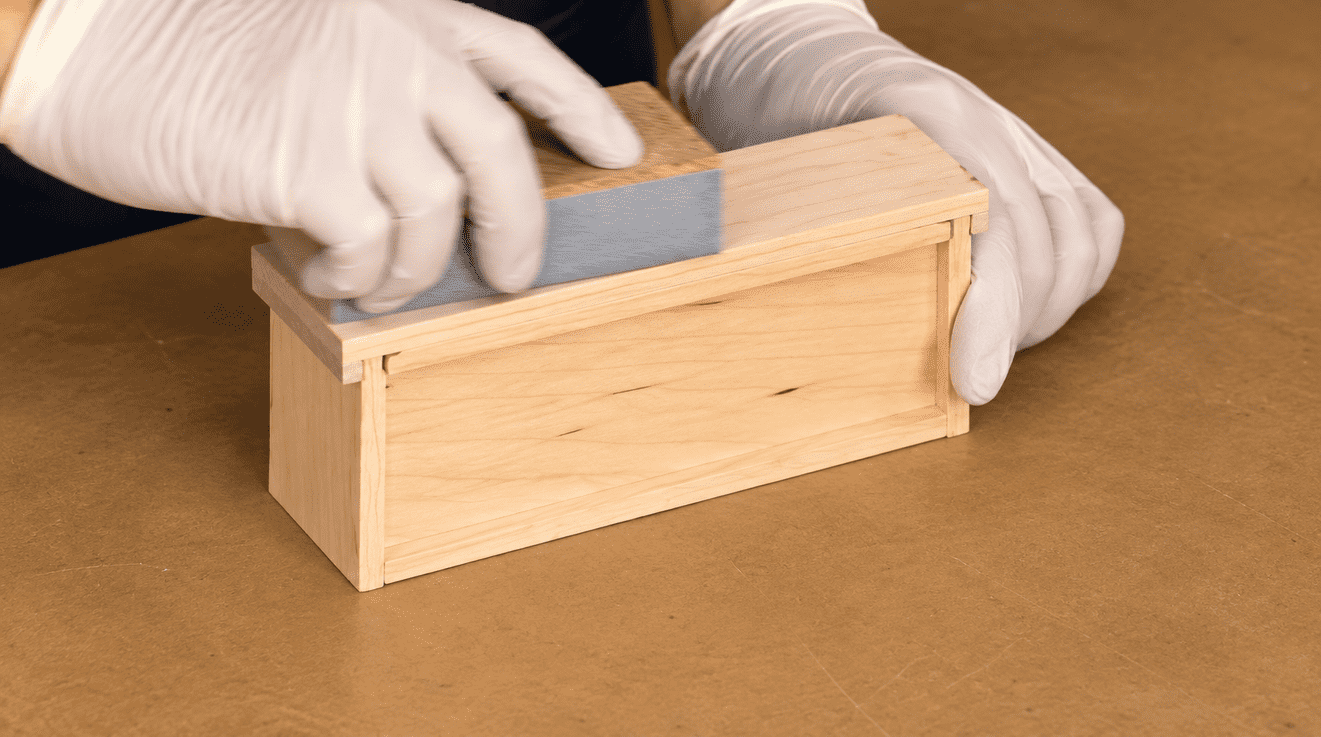
Once you've located the glue, carefully sand or scrape it away. Finish by sanding with the same grit used on the surrounding surface, then check the area again to make sure the residue is gone. Allow the mineral spirits to evaporate before finishing.
Cleaner Glue-Ups Start With Good Timing
Dealing with glue squeeze-out doesn't have to be a frustrating part of woodworking. By protecting surfaces before assembly, removing excess glue at the right time, and checking for residue before finishing, you'll spend less time cleaning up and get better-looking results.
It's a simple approach that makes a difference on nearly every woodworking project.
More Finishing & Sanding Tips
A great finish starts with proper surface preparation. From removing glue residue and smoothing rough surfaces to applying stains and topcoats, a few simple techniques can make the process easier. Explore more Woodsmith finishing and sanding tips to save time, avoid common mistakes, and get better-looking results on your next project.
READ MORE → Explore More Finishing & Sanding Tips


