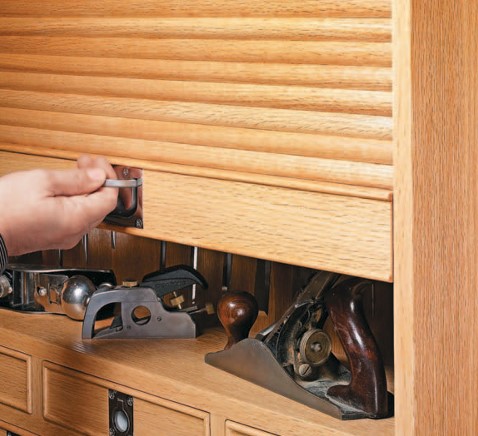
Installing butt hinges is one of those finishing details that can make a woodworking project look and function just right. A well-fitted hinge allows a cabinet door or box lid to open smoothly, close properly, and sit where it's supposed to.
But even a beautiful set of brass hinges won't look right if the mortises are too deep, too shallow, or poorly positioned.
The good news is that cutting accurate hinge mortises doesn't require a complicated setup. With a marking knife, a marking gauge, and either a sharp chisel or a compact router, you can create clean mortises that fit your hinges.
I'll show you how I lay out the mortises directly from the hinges, then walk through two methods for removing the waste.
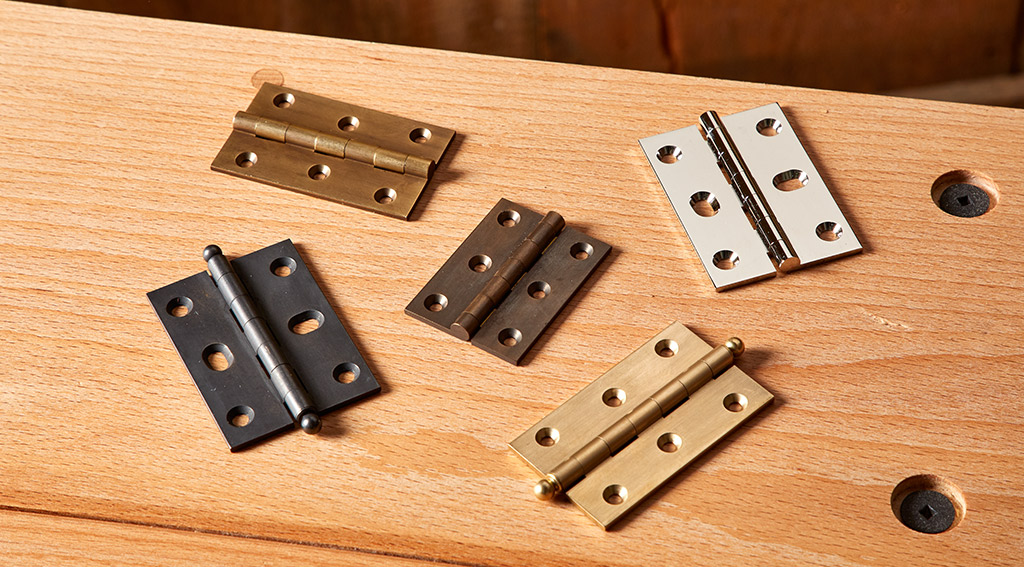
Properly fitted butt hinges are a small detail that can make a big difference in the appearance and operation of a finished project.
Lay Out the Hinge Mortise Without Measuring
Before reaching for a chisel or router, take some time to lay out the mortise. This is where accurate hinge installation begins.
For most of the layout, you can set aside the ruler. The hinge itself provides the dimensions you need.
Step 1: Mark the Hinge Outline with a Knife
Position the hinge against the edge of the workpiece, wrapping it around the edge to establish the location of the leaf. Then use a sharp marking knife to score the outline of the mortise.
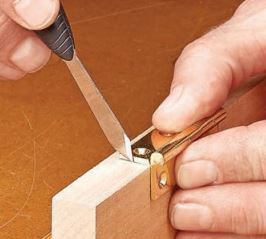
Make several light passes with the knife, particularly when cutting across the grain. A clean, well-defined knife line helps prevent tearout as you remove the waste and creates a crisp edge for the finished mortise.
Avoid trying to establish the full line with one heavy pass. A few controlled cuts will give you a cleaner result.
Step 2: Set the Mortise Depth with a Marking Gauge
Next, establish how deep the hinge leaf needs to sit.
I use the hinge leaf itself to set my marking gauge. Once the gauge is set to the leaf's thickness, I score a depth guideline along the workpiece.
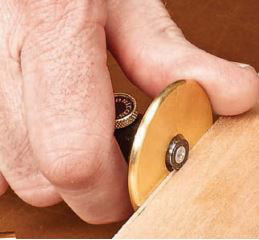
This gives you a clear reference as you remove material. The goal is to have the hinge leaf sit flush with the surrounding surface when the mortise is complete.
With the outline and depth marked, you're ready to cut the mortise.
Method 1: Cut a Hinge Mortise with a Chisel
A sharp woodworking chisel is one of the simplest tools for cutting a hinge mortise. It's a good choice when you're installing just a few hinges or working on a small project where setting up a router would take more time than cutting the mortise.
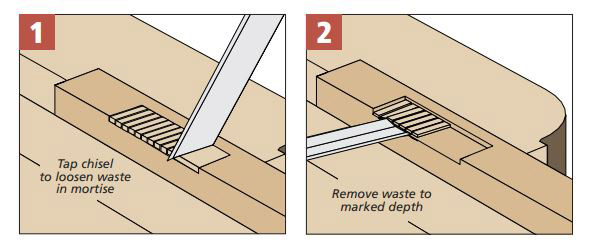
The process involves making a series of shallow cross-grain cuts, then paring away the waste.
Step 1: Score the Waste Area
Start by using a mallet to tap the chisel into the waste area, making a series of light cuts across the grain.
These cuts divide the long wood fibers into shorter sections. That makes the waste easier to remove and gives you more control as you approach the final depth.
Keep the cuts shallow and stay within the mortise outline.
Step 2: Pare Away the Waste
Once you've scored the waste, switch to a controlled slicing action with the chisel to remove the chips.
Work gradually, taking several shallow passes rather than trying to remove the material all at once. Use your marking-gauge line as a depth reference and periodically check the fit with the actual hinge leaf.
Be especially careful near the knife lines. It's much easier to remove a little more material than to repair an oversized mortise.
Step 3: Check the Hinge Fit
Set the hinge leaf into the mortise and check that it rests flat and flush with the surrounding wood.
If a high spot keeps the leaf from seating properly, remove a small amount of material with the chisel and test the fit again.
The finished mortise should have crisp edges, a flat bottom, and a depth that matches the hinge leaf.
Method 2: Rout a Hinge Mortise with a Compact Router
A compact router is another useful option for removing the bulk of the waste. It can make the process quicker, particularly when you're cutting several mortises.
You'll still use the hinge, marking knife, and marking gauge for layout. The difference is how you remove the material.
Step 1: Install a Straight Bit and Set the Depth
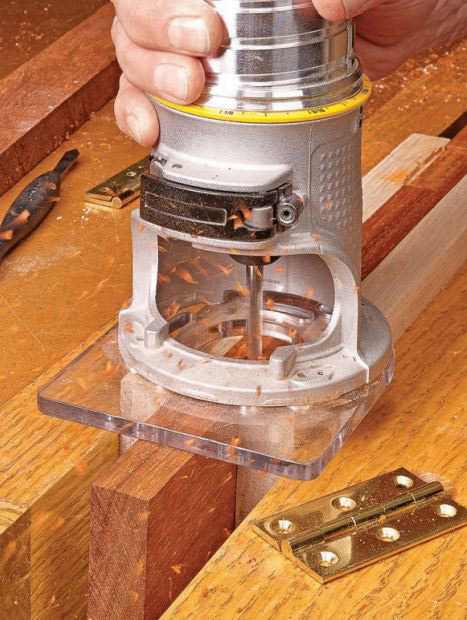
Install a 1/4" straight bit in your compact router.
Use the hinge leaf to establish the cutting depth, then set the router so it removes material to the required depth. Make a test cut in scrap if needed to confirm the setting.
Step 2: Add Support for the Router Base
One challenge when routing a hinge mortise is keeping the router stable on the narrow edge of a workpiece.
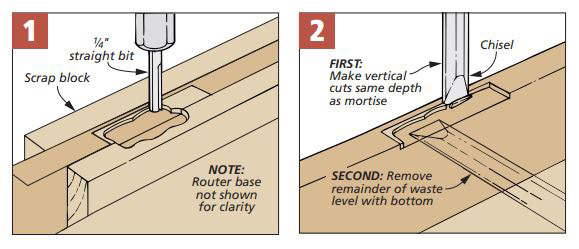
To provide additional support, clamp scrap pieces to the sides of the workpiece. Position their upper surfaces flush with the surface you're mortising.
This creates a wider platform for the router base and helps you maintain a consistent cutting depth.
Step 3: Rout the Waste and Clean Up the Edges
With the router supported and the depth set, carefully remove the waste inside the marked mortise.
Work toward the knife lines without crossing them. The router removes most of the material, but you'll still need a sharp chisel to clean up the corners and any remaining waste along the edges.
Check the fit with the hinge leaf and make any final adjustments by hand.
The result is a clean, accurately sized mortise without having to pare away the entire recess with a chisel.
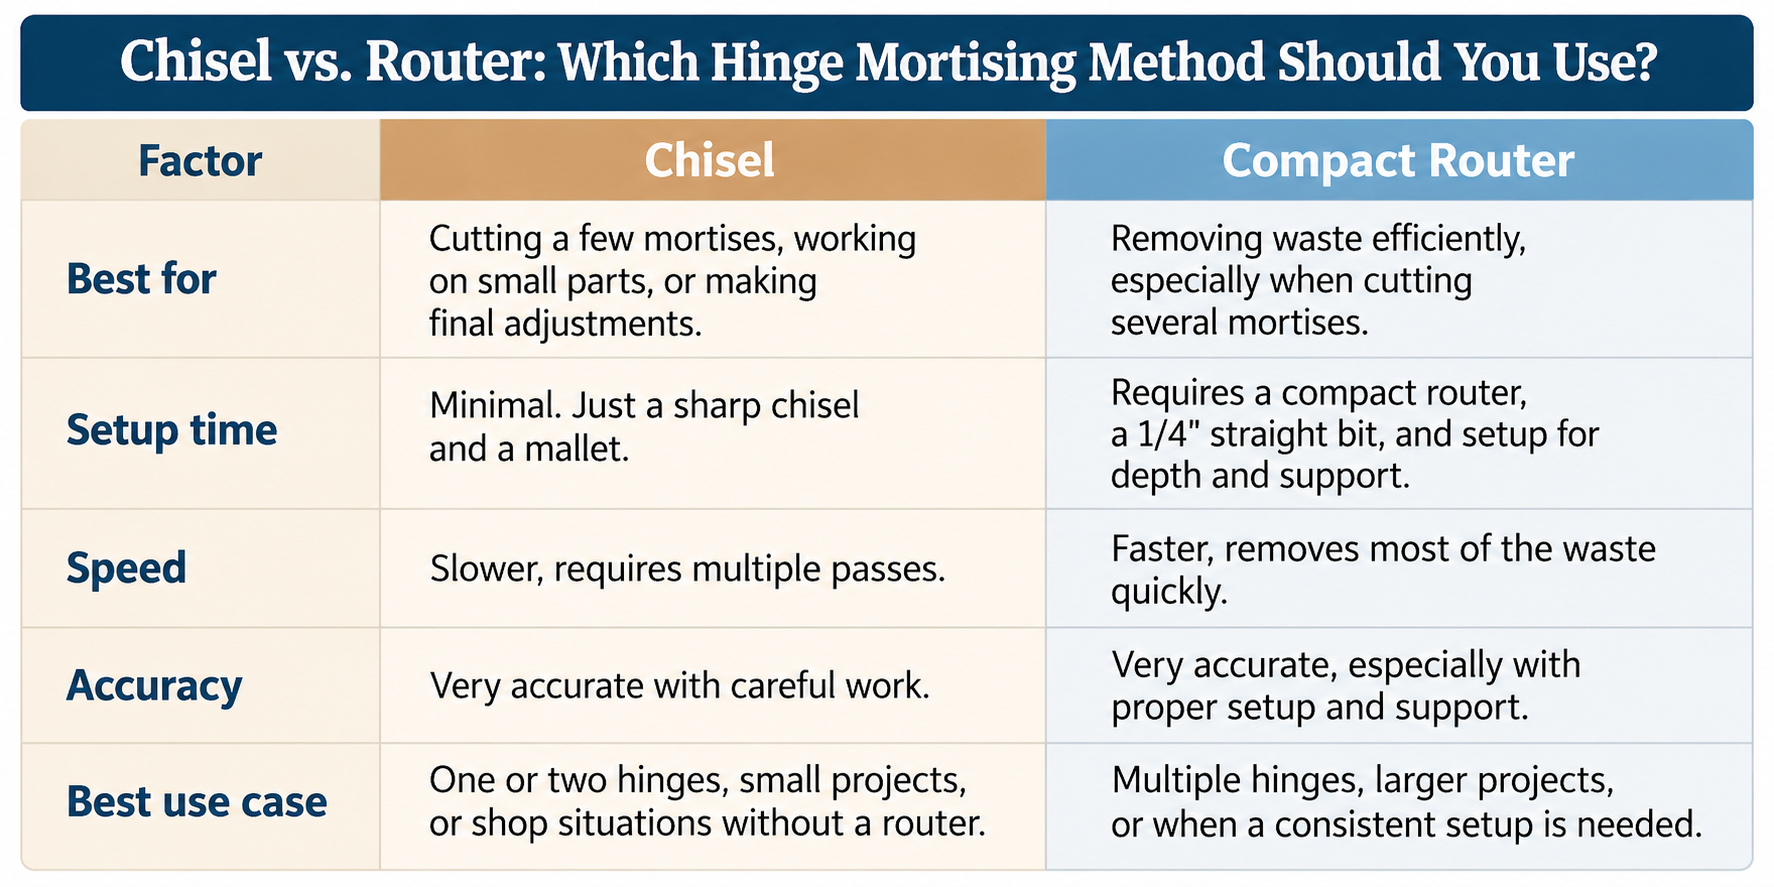
Chisel vs. Router: Which Hinge Mortising Method Should You Use?
Both techniques can produce accurate hinge mortises. The choice comes down to the project and the tools you're comfortable using.
For either method, the most important steps are the same: establish the outline with a knife, mark the depth directly from the hinge leaf, and check the fit as you work.
If you're installing a series of matching hinges and want a more repeatable setup, you can also use a dedicated router jig.
Related Woodsmith project: How to Cut Perfect Hinge Mortises with an Adjustable Router Jig — Get the plans to build a shop-made jig that uses the hinge itself to establish the mortise size.
Take Your Time for a Better Hinge Fit
A carefully fitted hinge mortise is a small detail, but it has a big effect on how a finished project looks and operates.
Whether you prefer working with a chisel or a compact router, start with accurate layout and remove the waste gradually. Let the hinge itself guide the dimensions, and check the fit before you call the mortise finished.
With a little care, you'll end up with clean, flush-fitting hinges that complement the rest of your woodworking project.