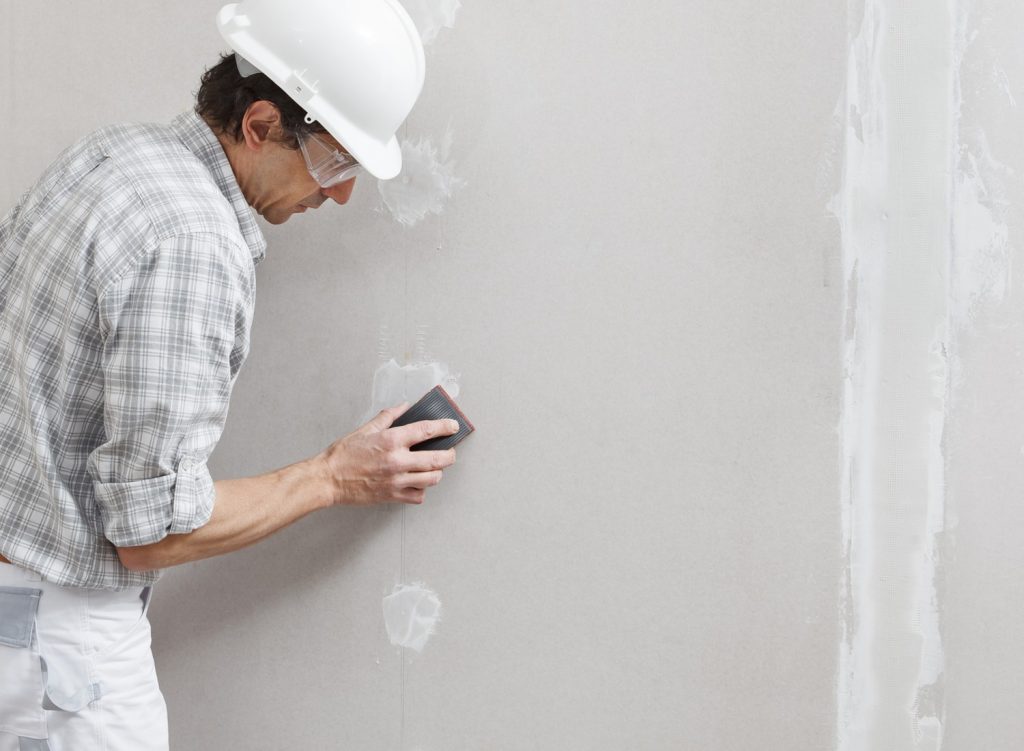
7 Tips to Perfectly Taper Drywall on the First Try

Prevent the frustration of dealing with uneven and lumpy drywall finishes by implementing these seven essential tips. Taping drywall can be a challenging and time-consuming endeavor, but mastering the techniques outlined in this guide will empower you to achieve a flawlessly tapered result on your initial attempt. No more hours spent tirelessly trying to perfect the taper—these tips can help streamline the process and save you valuable time.
From proper sanding techniques to precision in application, each tip contributes to a smoother and more efficient drywall finishing experience. So, grab your drywall sander and tools, follow these expert recommendations, and embark on your journey to mastering the art of achieving a perfectly tapered drywall finish on the first try.
Tip 1: Use the Right Tools
The first step to achieving a perfect taper is to have the right tools at hand. This includes a good quality drywall knife, joint compound, and most importantly, a drywall sander. Using the right tools will make your job easier and help you achieve a smoother finish.
Tip 2: Prep the Drywall
Before applying joint compound, it’s important to properly prep the drywall. This includes removing any high spots or ridges with your knife and sanding down any rough edges. This will ensure that your joint compound has a smooth surface to adhere to and will prevent any lumps or bumps in your taper.
Tip 3: Mix Joint Compound Correctly
Mixing joint compound is an important step that you shouldn’t overlook. Improperly mixed joint compound can result in a thick and hard to work with consistency, making it difficult to achieve a smooth finish. Follow the instructions on the packaging carefully and use water to thin out the compound if needed.
Tip 4: Apply Joint Compound in Thin Layers
The key to achieving a perfectly tapered drywall is to apply joint compound in thin layers. This not only makes it easier to work with but also helps prevent lumps and bumps. Use your drywall knife to spread a thin layer of joint compound over the tape, making sure to remove any excess.
Tip 5: Sand Between Coats
After each layer of joint compound has dried, it’s important to lightly sand the surface with a drywall sander before applying the next coat. This will help smooth out any imperfections and create a seamless finish. Be careful not to sand too aggressively as this can damage the underlying layers.
Tip 6: Feather Out the Edges
Feathering out the edges of your taper is crucial in achieving a smooth and seamless finish. This involves using your drywall knife to blend the joint compound into the surrounding wall, creating a gradual transition. Take your time with this step and make sure to feather out any harsh edges or ridges.
Tip 7: Don’t Rush the Drying Process
Patience is key when it comes to taping drywall. It’s important to allow each layer of joint compound to fully dry before sanding and applying the next coat. Rushing this process can result in a bumpy and uneven finish, undoing all your hard work.
This careful completion of steps ensures your work will stand as a testament to quality on the very first try. Expect to witness the transformation of disjointed panels into a polished, continuous surface. By the time you’re done, the wall should boast both durability and aesthetic appeal that’s ready for the final touches of your project.
Conclusion
There’s no denying that taping drywall is not the most exciting task, but with these tips and your trusty tools, it can be a breeze. Say goodbye to lumpy and uneven finishes and hello to perfectly tapered drywall every time. And remember, practice makes perfect, so don’t get discouraged. Keep honing your skills and before you know it, taping drywall will be a piece of cake.
