5 Tips for Efficiently Sanding Drywall That Decrease Dust

Renovating or completing a space often requires the meticulous task of drywall work, and for those who’ve undertaken it, they’re all too familiar with the mess that sanding drywall can create. The fine dust produced during the sanding process has an uncanny ability to infiltrate every crevice and corner, resulting in your home becoming blanketed in a frustrating layer of powdery residue.
There’s no need to despair, however, as there are effective strategies to significantly reduce the dust and make the process more manageable. In this comprehensive article, we aim to give five invaluable tips to streamline the drywall sanding process while keeping your workspace as dust-free as possible. Whether you’re an experienced DIY enthusiast or a first-time renovator, get ready to transform your space while keeping dust-related woes at bay.
Use the Right Sandpaper Grit
Choosing the appropriate sandpaper grit is the foundation of dust control during drywall sanding. Coarser grits, such as 80 or 100, will remove material quickly but generate more dust. To reduce dust production, opt for a finer grit like 120 or 150. These finer grits smooth the surface effectively without creating excessive dust.
Additionally, consider using sanding screens, which are generally more dust-efficient than traditional sandpaper. They have an open mesh design that allows dust to pass through, reducing clogging and airborne particles.
Wet Sanding Technique
One of the most effective methods for minimizing dust during drywall sanding is wet sanding. It involves using a damp sponge or sanding screen along with a bucket of water. Dip the sponge or screen into the water, wring out any excess, and then sand the drywall surface. The water captures and binds the dust, preventing it from becoming airborne.
Be cautious not to oversaturate the drywall, as excessive water can damage it. Wet sanding not only reduces dust but also creates a smoother finish. It’s particularly useful when you need to achieve a polished look on your drywall surfaces. However, it’s essential to take precautions to protect electrical outlets and switches when using water in your work area.
Use a Vacuum Sander
A vacuum sander, also known as a dustless drywall sander, is a tool designed specifically to reduce dust during sanding. It features a built-in vacuum system that sucks up dust as it’s generated, effectively capturing it before it can escape into the air. This results in a much cleaner and dust-free work environment.
Additionally, many vacuum sanders come with long extension handles, allowing you to reach high or overhead areas easily. This can save you time and effort while ensuring a more thorough job.
Seal Off the Area
Before you begin using your drywall sander, take the time to seal off the area where you’re working. Close all doors and windows, and use plastic sheeting or drop cloths to cover furniture, floors, and any other items you want to protect from dust.
By containing the workspace, you can prevent dust from spreading throughout your home. Consider using painter’s tape to secure the plastic sheeting in place, ensuring a tight seal. It’s also a good practice to create a separate entry and exit point within the sealed-off area to minimize dust transfer.
Wear Personal Protective Equipment
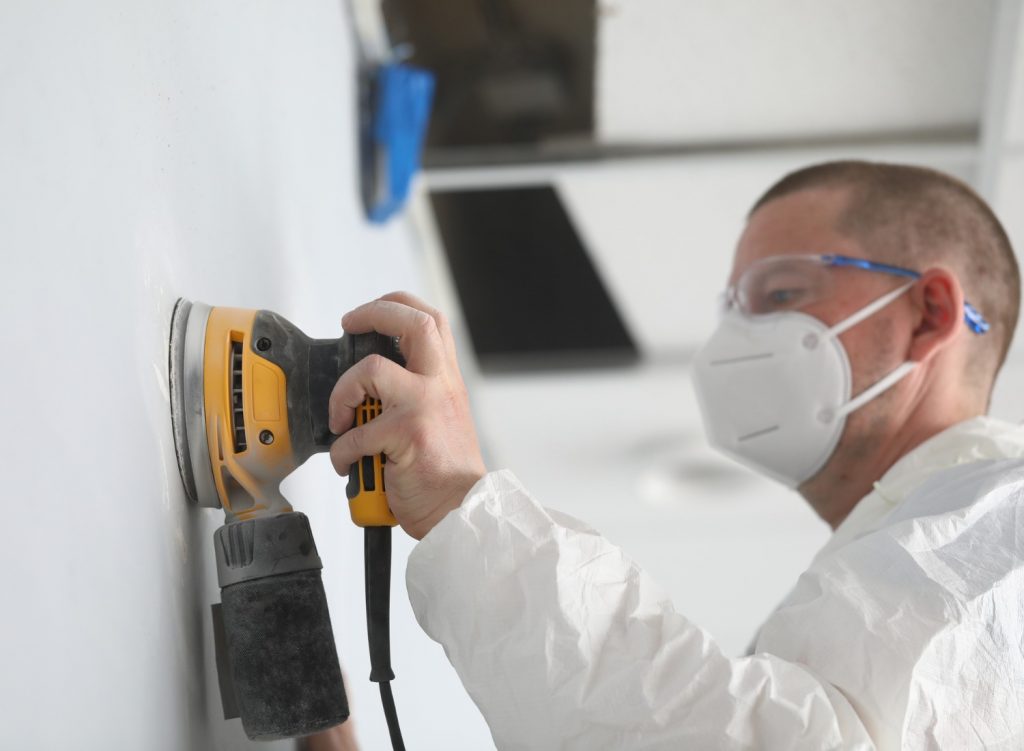
While these tips focus on minimizing dust in your workspace, it’s essential not to forget about personal protection. Wear a dust mask or respirator to prevent inhaling airborne particles, safety goggles to shield your eyes from dust, and gloves to protect your hands.
Additionally, consider wearing a hat or a dust hood to keep your hair clean. Investing in high-quality personal protective equipment (PPE) is crucial for your health and comfort during drywall sanding. Look for PPE that’s rated for dust filtration and provides a secure and comfortable fit.
Bonus Tip: Post-Sanding Cleanup
After completing the sanding process, it’s crucial to follow these meticulous cleanup steps to ensure a thorough job. Firstly, turn off your HVAC system to prevent the dust from circulating further.
Then, take a damp cloth or sponge to wipe down all surfaces, including walls, ceilings, and floors, effectively removing any residual dust. Follow up with a vacuum cleaner equipped with a HEPA filter to capture any remaining fine dust particles.
To prevent dust from re-entering your living space, empty the vacuum’s dust collection bag or canister outside. Be especially attentive to corners and crevices during this post-sanding cleanup, as these are areas where dust tends to accumulate.
By diligently following these steps, you’ll not only achieve a cleaner environment but also safeguard against any lingering dust-related issues.
Conclusion
Sanding drywall doesn’t have to be synonymous with a dusty, messy ordeal. By implementing these five tips and considering a vacuum sander or wet sanding technique, you can significantly reduce dust while achieving a smooth, polished finish.
Remember that proper planning, preparation, and personal protective equipment are essential elements of a successful, low-dust drywall sanding project. So, the next time you tackle a drywall project, you’ll be well-prepared to minimize the mess and breathe easier throughout the process.
