Special Offer
Tools — ones with cords that you plug in, or the other kind that run on finesse, sweat, and elbow grease, they all have a place in the shop. Here's a rundown of your options.

I noticed a strange flickering light coming from Chris Fitch’s CNC Basecamp room. Dance party? Nope. Instead, it was coming … Read More

For over a century, Powermatic has set the gold standard in woodworking machinery. Read More

Clean and restore your dado cleanout bit with this quick guide. Remove resin, polish the edges, and extend bit life … Read More

We’ve all been through it. When all that’s left to finish your project is the finish — but what to … Read More

You can access necessary clamping pressure wherever you need it most with Milescraft's array of bench clamps and accessories. Read More
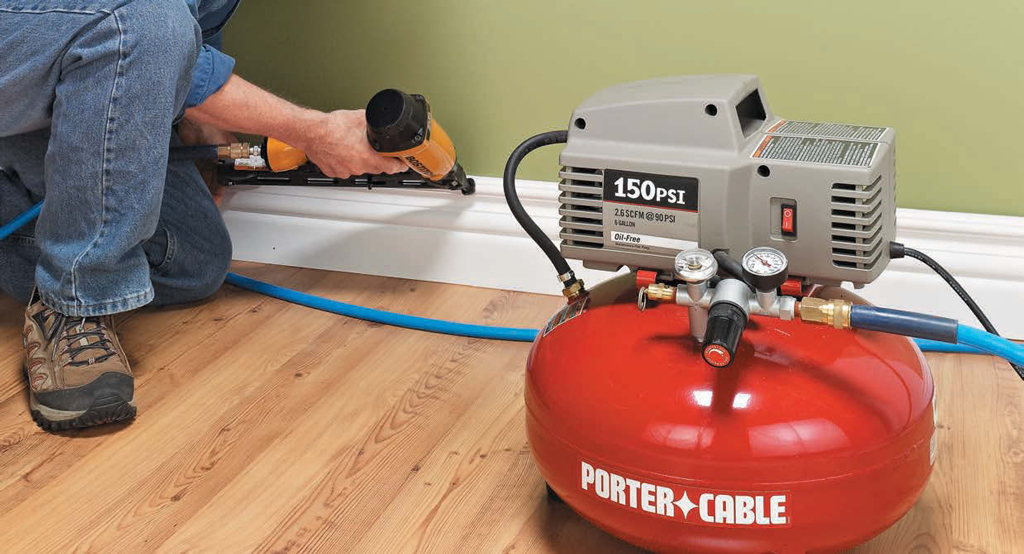
Using air tools in your shop can make some tasks faster. Here’s information that will help you make a decision … Read More