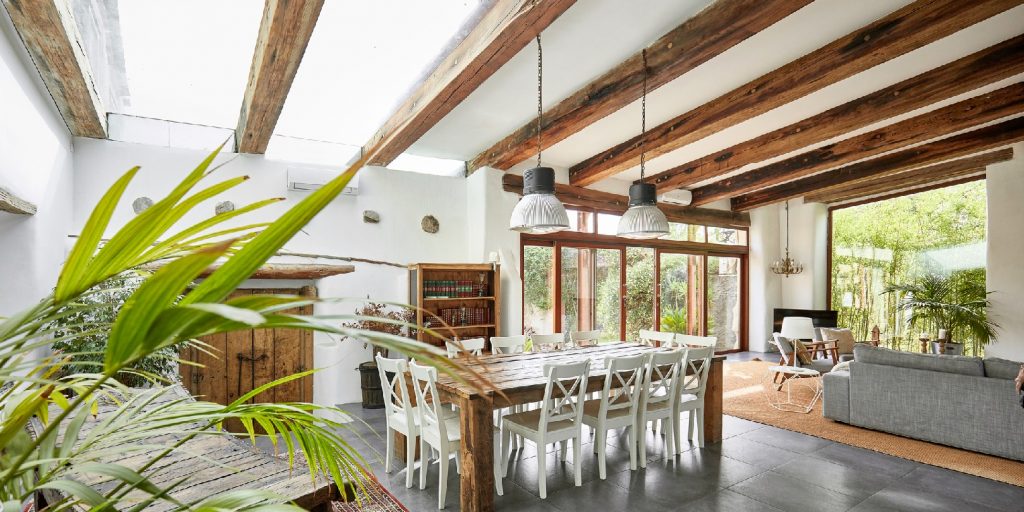
Step-By-Step Guide: How To Create Wood Beams for a Vaulted Ceiling

If you’ve been dreaming of a vaulted ceiling and exposed wooden beams in your home, now is the time to make it a reality. Wood beams give a traditional look to any room and can instantly add charm and character. They’re not as difficult to install as you may think, and this step-by-step guide will walk you through the entire process, from choosing the appropriate wood beams to installing them safely and correctly.
Whether you want to give an old room a fresh new look or you’re building a new home, adding wooden beams to your vaulted ceiling is a great way to add style and character. Get ready to make your dream a reality with this guide.
Tools and Materials
There are a few essential tools and materials you will need to create wood beams for a vaulted ceiling.
- Framing square
- Table saw
- Drill
- Tape measure
- Stud finder
- Circular saw
- Joists
- Nails and screws
- Draw knife
Gather up these supplies to have on hand before beginning your project.
Preparing the Joists
Begin by preparing the joists. Measure the length of your beams, cut them to size as needed with a table saw, and make sure all the pieces fit together securely. Once they are secured, use a stud finder to locate the joists. Mark them clearly with a framing square before cutting.
Cutting and Installing the Beams
Once all your joists are in place, use a circular saw to mark out where you need to cut your beams. Cut along the marked lines with the circular saw, ensuring each beam fits snugly in between its two adjoining joists. Secure each beam in place with nails or screws. For added stability, use a draw knife to notch each end of each beam into its adjoining joist.
Finishing the Ceiling
After all the beams are cut and secured to their adjoining joists, you can finish up your ceiling by sanding down each beam until it is smooth and applying paint or stain as desired. Make sure that when painting, you use an interior latex primer and an interior latex finish coat for the best results. The paint you choose should coordinate with the existing decor in your room to serve as a stylish accent piece.
Securing the Beams
Once you have finished painting your beams, secure them with nails or screws to ensure maximum stability for your vaulted ceiling. Make sure that all nails and screws are properly inserted into each joist for optimal support.
By following these steps, you can create beautiful wooden beams for your vaulted ceiling that bring style to any home décor. With the proper materials, paint, and instructions, you can easily create a focal point for your room. All that’s left to do is enjoy your new space.
