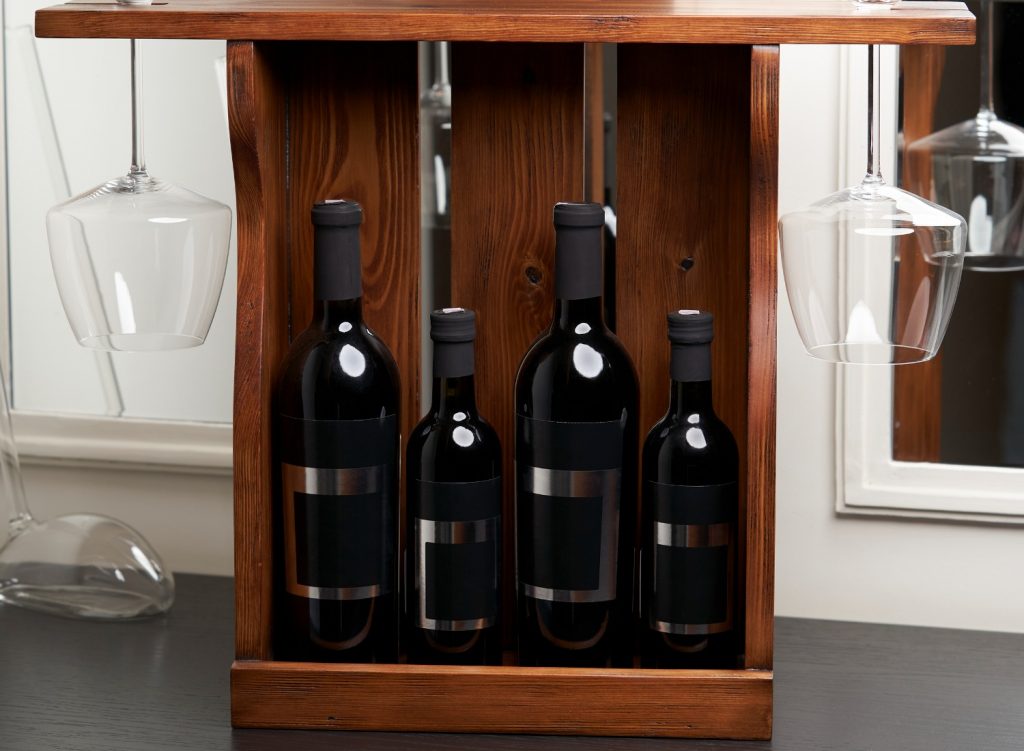
DIY Wine Rack: How to Build a Rustic Wooden Wine Rack

Few things can rival the satisfaction of enjoying a glass of wine from a collection you’ve curated yourself. If you’re a wine enthusiast looking for a creative way to display your bottles, building a rustic wooden wine rack could be the perfect project. Not only does it provide a stylish storage solution, but it also adds a touch of personalized charm to your home.
In this DIY guide, we’ll walk you through the step-by-step process of crafting a rustic wooden wine rack. Whether you’re a seasoned woodworker or a novice looking for your first DIY project, follow along, and soon, you’ll have a beautiful wine rack to showcase your favorite bottles.
Materials You’ll Need
Before diving into the construction process, gather the necessary materials and tools for this DIY wine rack project:
- Wooden boards: Opt for sturdy, untreated wood, like pine or cedar, with dimensions of your choice
- Saw: A circular saw, table saw, or handsaw will work for cutting the wood
- Measuring tape and pencil: Essential for accurate measurements
- Sandpaper: To smooth the rough edges and surfaces of the wood
- Wood glue: To securely bond the pieces together
- Wood screws: Choose appropriate-length screws based on your wood thickness
- Drill: A power drill will make the assembly process quicker
- Level: Ensure your wine rack is perfectly straight during installation
- Stain or paint (optional): Customize the finish to your liking
Step 1: Planning Your Wine Rack Design
Decide on the size and design of your wine rack. You can choose from various options, including wall-mounted racks, tabletop racks, or even floor-standing racks. Consider how many wine bottles you want it to hold and the available space in your home. Sketch a rough design on paper to guide you through the project.
Step 2: Cutting the Wood
Measure and mark the wooden boards according to your design. Use a saw to carefully cut the pieces, ensuring they fit together as planned. If you’re creating a wall-mounted rack, you’ll need a backboard and wine bottle holders. Cut these to size, leaving enough space between the holders to accommodate the bottles.
Step 3: Sanding the Wood
After cutting, sand all the wooden pieces to remove rough edges and create a smooth finish. Focus on the areas where you’ll handle the wine rack to prevent splinters.
Step 4: Assembling the Wine Rack
Begin with the backboard. If you’re mounting the wine rack on the wall, use a level to ensure it’s straight, then secure it in place. Attach the wine bottle holders to the backboard using wood glue and screws. Make sure they are evenly spaced to hold the wine bottles securely.
Step 5: Customizing the Finish (Optional)
If you want to enhance the rustic appeal of your wine rack, consider staining or painting it. Choose a finish that complements your home’s décor. Apply the stain or paint following the manufacturer’s instructions and allow it to dry completely before proceeding.
Step 6: Mounting Your Wine Rack (If Applicable)
For wall-mounted wine racks, carefully position it on the wall where you want it to hang. Use a level to ensure it’s straight, then mark the locations for screws or wall anchors. Drill pilot holes and securely fasten the rack to the wall. For tabletop or floor-standing racks, simply place them in your desired location.
Step 7: Arranging Your Wine Bottles
Once your wine rack is securely in place, arrange your wine bottles with care. Display your favorite vintages and take pride in the wine rack you’ve crafted.
Conclusion
Building a rustic wooden wine rack is a rewarding DIY project that combines functionality and aesthetics. It provides a unique way to showcase your wine collection and adds a touch of rustic charm to your home. With the right materials, tools, and a little craftsmanship, you can create a wine rack that not only serves as a storage solution but also becomes a conversation piece for your guests. So, gather your materials, follow the steps, and enjoy the satisfaction of crafting your very own wine rack. Cheers to your woodworking skills and the delicious wine it will hold!
