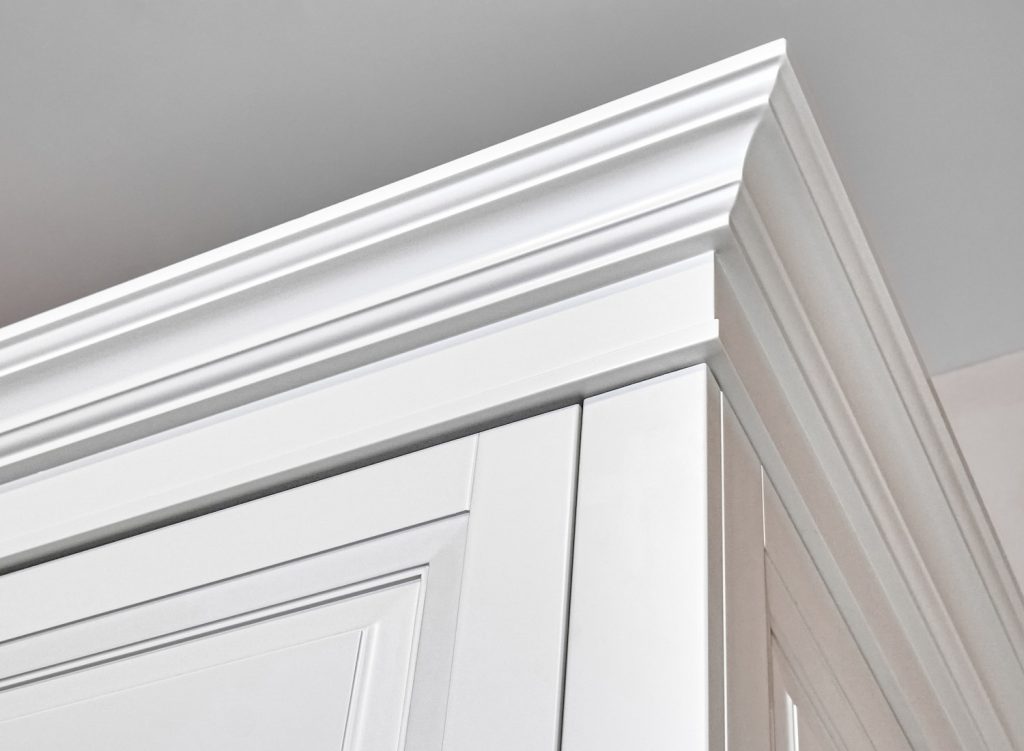
Crown Molding on Cabinets: Trending Styles and How to Cut Them Correctly

If you’re looking to add a touch of elegance and sophistication to your kitchen or bathroom, crown molding on cabinets is the way to go. Not only does it add visual interest and character, but it also serves as a practical solution for hiding any gaps between the cabinets and ceiling in a beautiful and creative way.
However, installing crown molding on cabinets can be a bit tricky, especially when it comes to cutting them correctly. In this blog, we’ll discuss all the trending styles of crown molding and provide you with some helpful tips for cutting them correctly.
Trending Styles of Crown Molding
There are various styles of crown molding available in the market, each one offering a unique look and feel. Let’s take a look at some of the trending styles that are popular among homeowners:
- Traditional: This style features a simple and clean design with minimal details, making it perfect for homes with a classic aesthetic.
- Contemporary: For those who prefer a more modern and sleek look, contemporary crown molding is the way to go. It usually features straight lines and geometric shapes.
- Colonial: This style features intricate details and curves, giving it a more ornate and traditional feel.
- Shaker: Inspired by the simple and clean lines of the Shaker design, this style features a flat panel with square or rectangular edges.
No matter which style you choose, make sure to consider the overall aesthetic of your space before making a decision. You want the crown molding to complement the rest of your kitchen or bathroom, rather than clash with it.
How to Cut Crown Molding Correctly
Cutting crown molding can be intimidating for many, but with the right tools and techniques, it can be a straightforward process. Here are some helpful tips for cutting crown molding correctly:
- Measure: Before you even think about cutting the crown molding, it’s crucial to measure your cabinets accurately. This will help ensure that you have enough material and prevent any wastage.
- Use a miter saw: A cordless miter saw is the best tool for cutting crown molding. It allows you to make precise and angled cuts, which are essential for creating seamless corners.
- Follow the 45-degree rule: When cutting crown molding, you want to set the miter saw at a 45-degree angle. This is because most walls and cabinets have a 90-degree angle, so cutting the molding at a 45-degree angle will give you a perfect fit.
- Cut in reverse: To avoid any confusion and prevent mistakes, it’s best to cut the crown molding in reverse. This means placing the molding upside down on the saw and cutting it at an angle, rather than trying to adjust the saw for angled cuts.
- Practice with scrap pieces: Before making any cuts on your actual crown molding, it’s a good idea to practice on some scrap pieces. This will help you get a feel for how the miter saw works and give you a chance to perfect your technique.
Additional Tips for Installing Crown Molding
Apart from cutting the crown molding correctly, here are some additional tips for installing it seamlessly:
- Use wood glue: In addition to using nails or screws, applying a small amount of wood glue along the edges of the crown molding will help secure it in place and prevent any gaps from forming.
- Sand and fill: After installing the crown molding, make sure to sand any rough edges and fill in any gaps or holes with wood filler. This will give your cabinets a polished and professional look.
- Paint before installation: If you plan on painting your crown molding, it’s best to do so before installing it. This will save you time and effort, as well as prevent any mess or drips on your cabinets.
- Use caulk: Finally, use some caulk to fill in any small gaps between the crown molding and ceiling or walls. This will give your cabinets a seamless and finished look.
Crown molding on cabinets is a great way to add that finishing touch to your kitchen or bathroom. With these tips and techniques, you’ll be able to cut and install crown molding like a pro. Just remember to take your time and have patience, as it may take some practice to get it right.
Conclusion
Adding crown molding to your cabinets not only enhances their visual appeal but also serves the practical purpose of hiding any gaps between the cabinets and ceiling. With a variety of styles to choose from and some helpful tips for cutting and installing, you can easily achieve a seamless and professional look in your kitchen or bathroom. So don’t be afraid to give it a try and elevate the design of your cabinets today.
