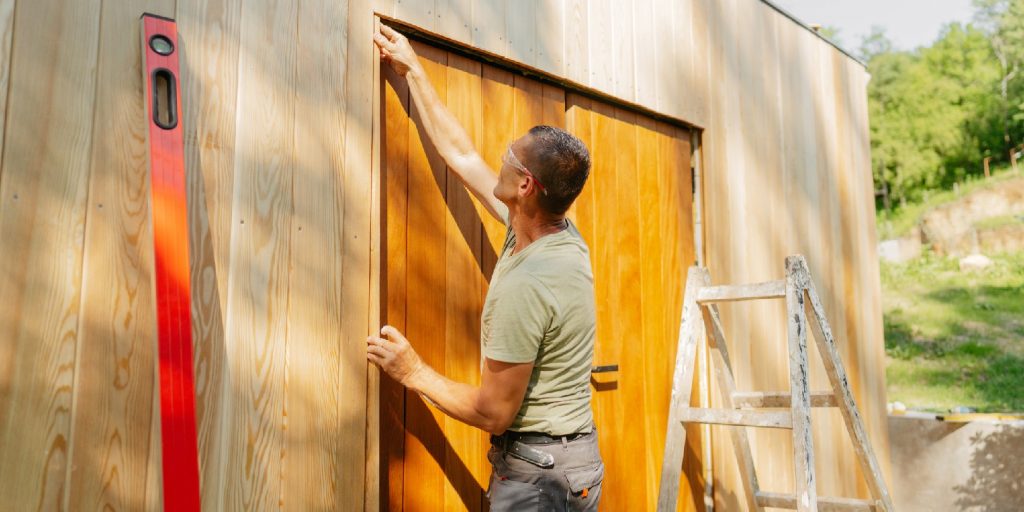
DIY Doors: How To Build a Barn Door in 5 Steps

Barn doors have become a popular design element in homes, adding a rustic and charming touch to any space. Many homeowners want to add this unique element to their existing doorways. The good news is that building a barn door yourself is a rewarding and achievable DIY project. In this blog, we’ll guide you through the process of building a barn door in five simple steps. We’ll discuss everything from the proper materials to the installation process. Whether you’re a seasoned DIY enthusiast or a beginner, follow along to create a custom barn door that adds character and functionality to your home.
Measure and Gather Materials
The first step in building a barn door is to measure the opening where you will be installing the door. Take precise measurements to ensure the door fits appropriately. Gather the necessary materials, including wooden boards for the door panels, a sturdy frame, hinges, a sliding mechanism, screws, and a drill. You may need a barn door hardware kit to help with this process.
Cut and Assemble the Door Panels
Cut the wooden boards to create the door panels using the measurements from the first step. You can choose between vertical, horizontal, or diagonal panel arrangements, depending on your style. After cutting the panels, assemble them using glue and screws to create the door’s surface.
Build the Door Frame
Construct a sturdy frame to create a durable barn door. Use thick and strong boards to create the frame to match the dimensions of the door panels. Connect the boards at the corners using screws or joinery techniques such as dowels or mortise and tenon joints.
Install the Door Hardware
Now it’s time to install the door hardware. Attach the hinges to the door frame, ensuring they are aligned. Hinges provide support and allow the door to swing open and close smoothly. If you prefer a sliding barn door, install a sliding mechanism, such as a barn door track and rollers, according to the manufacturer’s instructions.
Finish and Install the Barn Door
The final step is to finish the barn door to enhance its appearance and protect the wood. Sand the surface to achieve a smooth finish, then apply a coat of stain or paint that complements your home’s decor. Allow the finish to dry completely before installing the door. Attach the completed barn door to the door opening using the hinges or sliding mechanism.
After installing your barn door, you can customize it to suit your taste and interior design. Consider adding decorative elements such as metal accents, reclaimed wood inserts, or even a chalkboard panel for a functional touch. You can also experiment with different finishes, such as distressing the wood for a weathered look or applying a glossy varnish for a more polished appearance. Don’t forget to choose a door handle or pull that complements the overall style of your barn door. These finishing touches will elevate the visual appeal of your DIY barn door and make it a true statement piece in your home.
Conclusion
Building a barn door is a fulfilling DIY project that allows you to add a unique and stylish element to your home. With these five steps, you can create a custom barn door that fits your space and personal style. Remember to take accurate measurements, gather the necessary materials, cut and assemble the door panels, build a sturdy frame, install the door hardware, and finish and install the door. With a little effort and creativity, you’ll have a beautiful barn door that becomes a focal point in your home.
