



Restoring a Vintage Wooden Dado Plane: Step-by-Step Guide
When people find out I'm a woodworker — and that I enjoy using hand tools — I occasionally end up with old tools looking for a new home.
I always appreciate the generosity. Besides, there's something satisfying about bringing a neglected hand tool back to life.
Restoring an old metal bench plane usually involves removing rust, sharpening the iron, and tuning the moving parts. But when the plane is made of wood, the restoration often requires a little woodworking, too.
That's certainly the case with this vintage wooden dado plane.
It's a specialized joinery plane with a skewed cutting iron, a separate scoring cutter called a nicker, and an adjustable depth stop. And although this particular plane had seen better days, all the important elements were there.
With some cleaning, sharpening, and a couple of new wooden wedges, I figured I could get it cutting dados again.
How Does a Wooden Dado Plane Work?
Unlike a smoothing plane or jack plane, a dado plane is designed to cut a groove of a specific width across the grain of a board.
This particular plane cuts a 7/8"-wide dado.
That may not be the most common size for modern furniture construction, but I can always plane a mating workpiece to fit the groove.
The plane uses two cutting elements to produce a clean dado.
The main iron is skewed, allowing it to slice through the wood fibers as it removes waste.
Ahead of the iron is a separate nicker blade. Its job is to score the sides of the dado before the main blade removes the material between them.
The plane also includes a metal depth stop that limits how deep the groove can be cut.
Together, these features make a dado plane a surprisingly capable tool for cutting precise joinery by hand.
Step 1: Inspect and Disassemble the Dado Plane
Before starting any restoration, I like to get a clear picture of what needs attention.
In this case, the problems were easy to spot.
The main blade was rusty and dull. Its wooden wedge looked as though someone had been chewing on it, and the smaller wedge that holds the nicker was missing altogether.
The wooden body was dirty and worn, but otherwise appeared sound.

The best way to assess the condition of an old plane is to disassemble it completely.
I removed the main iron, nicker blade, depth stop, adjustment hardware, and remaining wedge.
Taking everything apart revealed another problem: the metal depth stop was binding in its mortise.
Fortunately, none of these issues was particularly serious.
The wooden body was still in good condition, and the remaining parts could be cleaned and tuned.
Step 2: Clean the Wooden Plane Body
Old wooden planes often develop a dark surface from decades of handling, dust, oil, and shop grime.
Some woodworkers prefer to preserve as much of that aged appearance, or patina, as possible. Others like to clean the body down to fresh wood.
There's no single right answer.
If you want a cleaner appearance, you can carefully scrape or sand the body to remove the old surface.

But keep in mind that a dado plane is a precision tool. Removing too much material from the body can change its dimensions and affect how the cutters work.
For this plane, I preferred a gentler approach.
I used an abrasive pad dampened with naphtha to remove accumulated grime while preserving much of the original appearance.

The goal wasn't to make the plane look brand new. It was to remove the dirt and buildup without unnecessarily altering the body.
When using solvents, work in a well-ventilated area, follow the product's safety instructions, and keep them away from ignition sources.
Step 3: Flatten and Square the Plane Sole
A wooden plane needs a flat sole to work properly.
After years of use and storage, the sole may become worn or slightly out of square.
Once the body was clean, I checked the bottom with a straightedge and square.
Then I used another hand plane to flatten the sole and bring it square to the sides.

A block plane or smoothing plane works well for this task.
Take light cuts and check your progress frequently.
The sole should be flat from end to end and square to the sides. The corners don't need to be razor-sharp, but the reference surfaces should be accurate.
Be careful not to remove more material than necessary.
The goal is to restore the plane's working geometry, not to reshape the entire body.
Step 4: Sharpen the Skewed Dado Plane Iron
The main iron was rusty and dull, but it was still in good condition beneath the surface corrosion.
Sharpening it follows the same basic process as sharpening a conventional plane iron: flatten the back and hone the bevel.
The main difference is the skewed cutting edge.
Flatten the Back of the Iron
I started with a coarse diamond stone to remove rust and establish a flat reference surface on the back of the blade.

Once the back was flat, I worked through progressively finer stones to remove the coarse scratches and polish the surface.
You don't need to polish the entire blade. Concentrate on the area immediately behind the cutting edge.
Hone the Skewed Bevel
The angled cutting edge presents a challenge because many standard honing guides aren't designed to hold skewed blades.
That means sharpening the bevel freehand.

I started with a coarse diamond stone, carefully maintaining the existing bevel angle.
After a few strokes, you begin to develop a feel for how the blade rests against the stone.
Continue sharpening until you can feel a small burr along the back of the cutting edge.
Then remove the burr with a fine stone and work through the remaining sharpening grits.
I finished by raising the blade slightly to create a small microbevel.
The result was a clean, sharp edge ready to cut again.
Step 5: Sharpen the Nicker Blade
The nicker is an important part of a wooden dado plane.
As the plane moves across the workpiece, the nicker scores the wood fibers along the edges of the dado. This helps prevent tearout as the main iron removes the waste.
The nicker doesn't need the same polished edge as a smoothing plane iron, but its cutting edges should be crisp.

A small diamond paddle is useful for reaching the nicker's cutting edges.
Focus primarily on the inner bevels.
It's important to avoid changing the overall width of the nicker. The scoring edges need to match the width of the main iron so the plane produces a clean, consistent dado.
Step 6: Clean and Adjust the Depth Stop
The adjustable depth stop allows the dado plane to cut grooves to a consistent depth.
Unfortunately, this one didn't move freely.
After cleaning the metal parts, I discovered that rough spots on the depth stop were causing it to bind inside its mortise.
I used a file and diamond stone to smooth the edges and faces until the stop moved freely.

A little paste wax on the stop helped it slide smoothly.
I also cleaned the adjustment knob and its threads, then applied a small amount of oil to the collar that secures the adjustment mechanism to the plane body.
With those adjustments complete, the depth stop was working as intended.
Step 7: Make a Replacement Wedge for the Plane Iron
Up to this point, most of the work involved cleaning and tuning the original components.
But the wooden wedges needed more attention.
The main wedge was badly damaged, and the nicker wedge was missing.
The originals were made from beech, but I decided to use straight-grained mahogany for the replacements.
The contrasting wood would give the restored plane a distinctive appearance.
Shape the Main Blade Wedge
I started by planing a mahogany blank to match the width of the wedge mortise.
Then I used the original wedge as a guide for laying out the shape.

The wedge has beveled edges that must fit accurately against the iron and the interior surfaces of the mortise.
After cutting the blank slightly oversize at the band saw, I used a block plane to refine the angles.
This process requires some patience.
Plane a little, test the fit, and repeat until the wedge seats firmly.
The wedge needs to apply pressure against the iron near the cutting edge to prevent chatter.
It should also fit securely near the upper portion of the mortise so the blade can't pivot during use.
Shape the Wedge Head
The head of the original wedge was too damaged to use as a reliable pattern.
Instead, I borrowed the shape from a wedge on another wooden plane.

The head doesn't affect the cutting performance directly, but it provides a convenient surface for adjusting and removing the wedge.
Matching the shape of another traditional plane wedge also gave the restored dado plane a more finished appearance.
Step 8: Make a New Nicker Wedge
The smaller wedge that secures the nicker blade was missing completely.
Without an original to copy, I used the slope of the main blade wedge as a starting point.
Then I shaped a smaller mahogany blank, gradually planing and test-fitting it until it held the nicker securely.
The goal was a snug fit without any looseness.
Because this wedge is much smaller, I shaped its head freehand, using the larger wedge as a visual reference.
After a little trial and error, both new wedges were ready to install.
Step 9: Reassemble and Tune the Dado Plane
With the cleaning, sharpening, and woodworking complete, it was time to put everything back together.
Before reassembly, I applied a light coat of paste wax to the wooden plane body.

The wax brightens the wood, provides a little protection, and helps the plane slide smoothly across a workpiece.
I avoided waxing the wedges, since they need friction to hold the cutters securely.
Next, I reinstalled the depth stop adjustment hardware and fitted the stop into its mortise.
Then I installed the sharpened nicker and its new wedge, followed by the main iron and larger wedge.
Set the Cutters for a Clean Dado
The nicker should project just slightly below the sole so it can score the wood fibers before the main iron removes the waste.
The main blade can be set for a reasonably substantial cut.
Unlike a smoothing plane, a dado plane isn't intended to leave a glass-smooth surface. Its job is to remove material efficiently while producing a clean, accurately sized groove.
Make a few test cuts in scrap wood to check the depth stop, cutter alignment, and overall performance.
If the plane chatters or cuts unevenly, check the wedge fit and blade settings.
Putting an Old Wooden Dado Plane Back to Work
Many woodworkers get started with hand tools by restoring an old bench plane.
And while smoothing planes and jack planes are useful, specialized joinery planes deserve attention, too.
A wooden dado plane may seem outdated compared to a router or table saw, but it's a precise and capable tool for cutting traditional joinery.
Restoring this one required a little sharpening, some careful fitting, and a few simple woodworking operations.
Now, instead of spending the rest of its life hanging on a wall as decoration, this vintage dado plane is ready to make sawdust again.
And for me, that's the best part of restoring old hand tools.
How to Sharpen a Hand Plane Blade
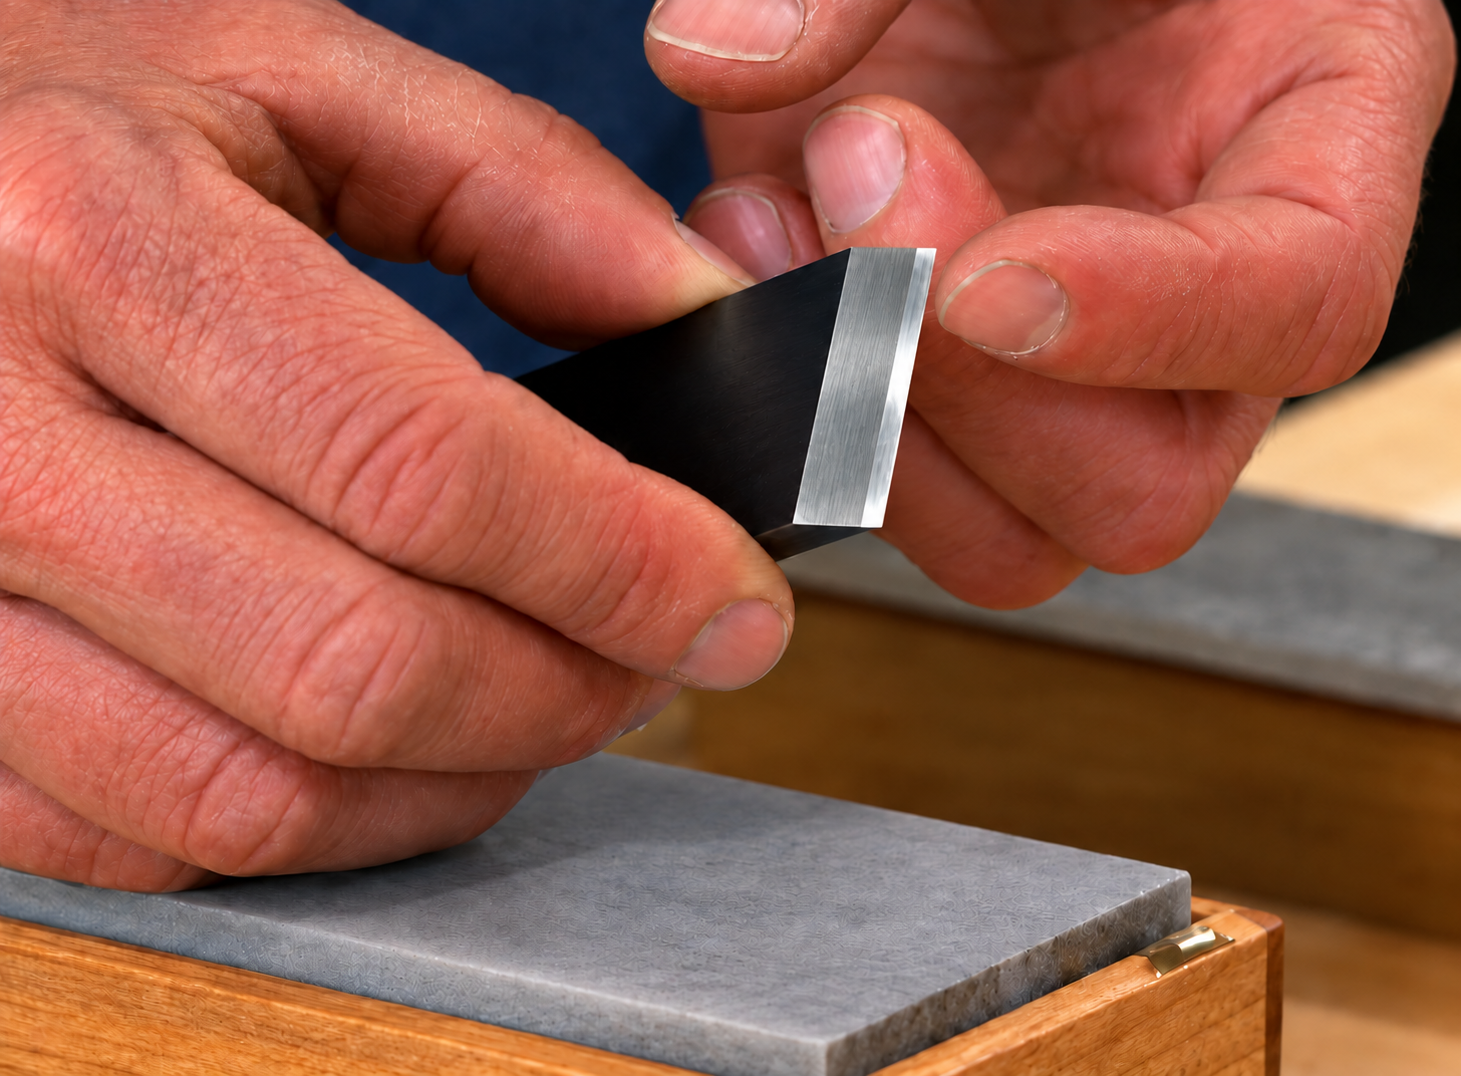
A sharp blade makes all the difference when restoring and using vintage hand tools.
Learn how to flatten the back of a plane iron, hone the bevel, and remove the wire edge for a clean, sharp cutting edge.
LEARN HOW TO SHARPEN PLANE BLADES → Get Better Results from Your Hand Planes


