



How to Clean Up and Restore Old Woodworking Hand Tools
There's something about old woodworking tools that I find irresistible. Maybe it's the history behind them, the mechanical ingenuity of their design, or simply imagining what they could become with a little work.
An old hand plane covered in rust or a neglected handsaw might not look like much at first. But underneath years of dirt, corrosion, and worn finishes, there may be a perfectly good tool waiting to get back to work.
Restoring old hand tools doesn't have to be complicated. In many cases, the right cleaning products, sharpening equipment, and a few basic shop tools are all you need.
The challenge is knowing where to start.
Rather than walk through one complete restoration, I'll focus on the products and techniques I use most often for cleaning, removing rust, sharpening blades, and repairing damaged wooden parts.
Step 1: Clean Old Hand Tools and Remove Damaged Finishes
The first step in restoring a vintage woodworking tool is getting rid of the dirt and grime that's accumulated over the years.
My general rule is to start with the least aggressive cleaning method. There's no reason to remove more of the original surface than necessary.
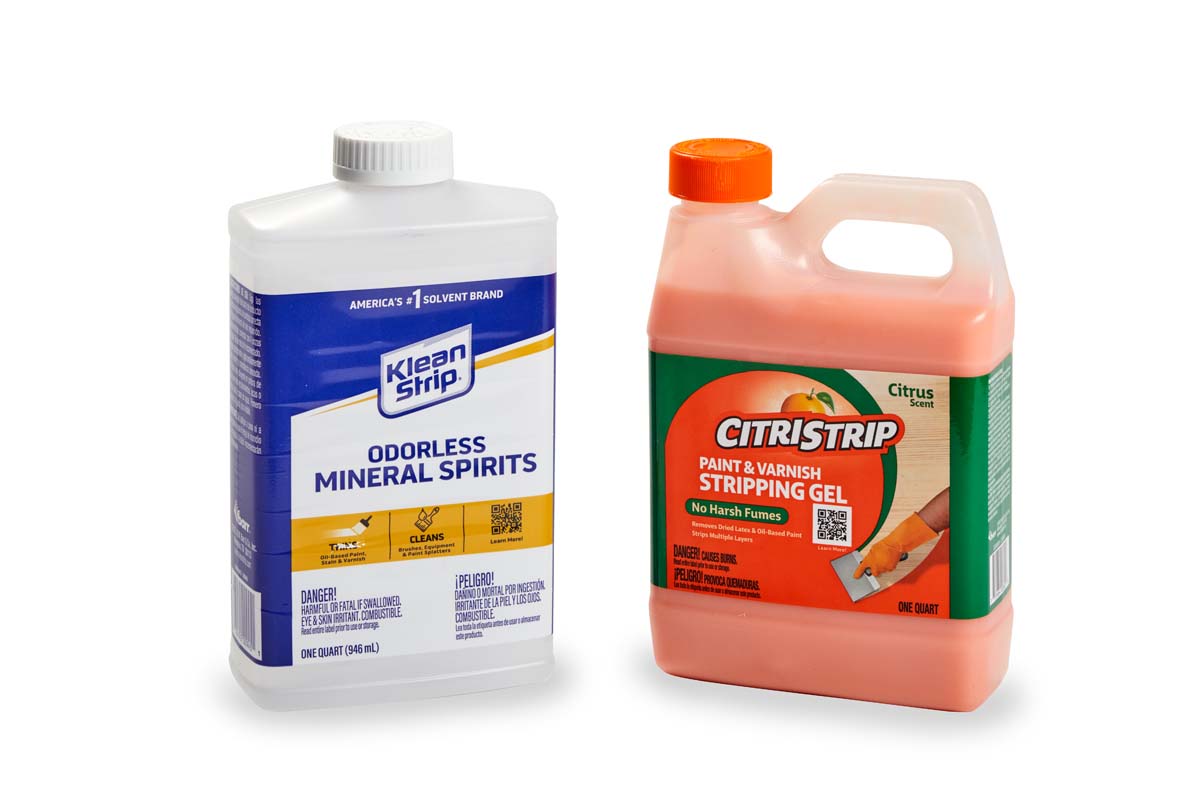
For basic cleaning, mineral spirits and a soft cloth can remove oily residue, grease, and accumulated grime. For stubborn paint or damaged finishes, you may need a suitable chemical stripper.
Before using any chemical cleaner, identify the surface you're working on and follow the product's instructions. Older finishes can react differently, and preserving an original finish is often preferable to stripping it.
Cleaning Wooden Handles and Knobs
Wooden tool handles often have several layers of dirt, oil, and old finish.
If mineral spirits don't remove the buildup, I turn to a card scraper.
A sharp card scraper is especially useful for removing a damaged film finish while giving you good control over how much material is removed.
Different scraper shapes make it easier to work around curved handles, knobs, and other details.

For areas a scraper can't reach, adhesive-backed sandpaper is a versatile option.
Stick it to small blocks, dowels, or narrow strips of scrap wood to create sanding tools that match the shape of the part.

These simple sanding aids are particularly helpful when cleaning curved handles or working into tight corners.
Step 2: Clean and Restore Metal Tool Parts
Once the wooden components are cleaned, it's time to turn to the metal.
Old hand planes and other woodworking tools may have painted, lacquered, or Japanned surfaces that have worn or deteriorated over time.
Before removing any coating, decide whether it can be preserved. An intact original finish provides protection and is often worth keeping.
Removing Damaged Japanning
Japanning is a traditional protective finish commonly found on older cast-iron hand planes.
It produces the familiar black coating on many vintage tools.
If the Japanning is still sound, I prefer to leave it alone. But if it's badly damaged or flaking, removing the remaining finish may be necessary.
A compatible gel stripper can help soften some old coatings. Once the finish has loosened, a brass brush is useful for removing residue.
Because brass is softer than steel, it's generally less likely to scratch the underlying metal than a steel wire brush.
However, the original finish and the type of metal both matter, so test your approach in an inconspicuous area first.
After stripping the metal, a suitable protective coating can help prevent corrosion and restore the traditional black appearance.
Step 3: Remove Rust from Old Hand Tools
Rust is probably the most common problem you'll encounter when restoring vintage woodworking tools.
Fortunately, light to moderate surface rust can often be removed without aggressive grinding or sanding.
For heavily rusted metal parts, I like to use a rust remover such as Evapo-Rust.
The process is straightforward, especially if you use a plastic tub and a perforated basket to keep the smaller components together.
How to Remove Rust from a Hand Plane
1. Disassemble the tool.
Start by taking the tool apart. Separate the rusty metal components from wooden handles and any parts that don't need treatment.

2. Place the metal parts in a basket.
A perforated basket keeps small screws, castings, and other components together while making them easy to remove from the rust remover.

3. Soak the rusty components.
Lower the basket into the rust remover, making sure the parts are covered.
Check the progress periodically and follow the manufacturer's recommended soaking times. Depending on the amount of rust, treatment may take several hours.

4. Scrub away remaining deposits.
After soaking, use a brass brush to remove loosened rust and remaining grime.
For stubborn areas, fine steel wool may help, provided it won't damage a critical surface.

5. Dry and protect the metal.
After cleaning, dry the parts thoroughly and apply an appropriate rust-preventive treatment.
Bare steel can begin rusting again quickly, especially in a humid shop.
For precision surfaces such as the sole of a hand plane, avoid aggressive abrasives that could alter the tool's geometry.
Step 4: Sharpen Old Plane Irons and Chisels
Cleaning a tool makes it look better, but sharpening is often what makes it useful again.
An old plane iron or chisel may have a dull, rounded edge or even small chips and nicks.
The amount of damage determines how much sharpening is needed.
Choose the Right Sharpening Stones
Three common sharpening options are waterstones, oilstones, and diamond plates.
Each can produce an excellent cutting edge.
- Waterstones cut efficiently and are available in a wide range of grits, but generally require regular flattening.
- Oilstones are durable sharpening stones that use honing oil for lubrication.
- Diamond plates resist wear and generally stay flat, making them useful for both sharpening and maintaining other stones.
The important thing is to choose a sharpening system you're comfortable using and stick with it.

Flatten the Back and Hone the Bevel
When restoring an old chisel or plane iron, begin by checking the back near the cutting edge.
If it's uneven or damaged, work it flat on an appropriate sharpening stone.
 |
Next, sharpen the bevel.
A honing guide is especially useful because it helps maintain a consistent sharpening angle.

If the edge has significant nicks, begin with a coarse abrasive to remove the damage. Then progress through finer grits to refine the edge.
Finally, remove the burr and check the sharpness before putting the tool back to work.
A clean, properly sharpened edge can make an old tool feel completely different.
Step 5: Restore and Sharpen an Old Handsaw
Hand saws require a slightly different approach.
Along with cleaning the blade and handle, you may need to restore the cutting teeth.
The basic process involves jointing the teeth, filing them sharp, and checking their set.
Joint the Saw Teeth
Jointing makes the tips of the saw teeth even so they can engage the wood consistently.
Use a flat file to make light passes along the tooth line.
The goal is to bring the high teeth down to a common level without removing more material than necessary.

Sharpen the Teeth with a Triangle File
After jointing, use a triangular saw file to restore the cutting edges.
The correct filing technique depends on whether you're sharpening a rip saw or a crosscut saw.
Crosscut teeth typically require alternating bevel angles, while rip teeth are filed differently.
Work carefully to maintain the existing tooth geometry.
|
If the teeth have lost their proper set, a saw set can be used to make the necessary adjustments.
Saw sharpening takes practice, but it's a rewarding skill that can bring a neglected handsaw back to life.
Step 6: Repair Damaged Wooden Handles
One of my favorite parts of hand tool restoration is repairing damaged wooden components.
An old plane tote, saw handle, or chisel handle may have cracks, chips, or missing sections.
Instead of replacing the entire part, you can often make a wood patch that blends into the original handle.
The key is selecting a piece of wood with similar color and grain.
A close match makes the repair less noticeable once it's shaped and finished.
Tools for Repairing Wooden Handles
A few basic woodworking tools are especially useful:
- Band saw for removing damaged areas and rough-cutting replacement patches
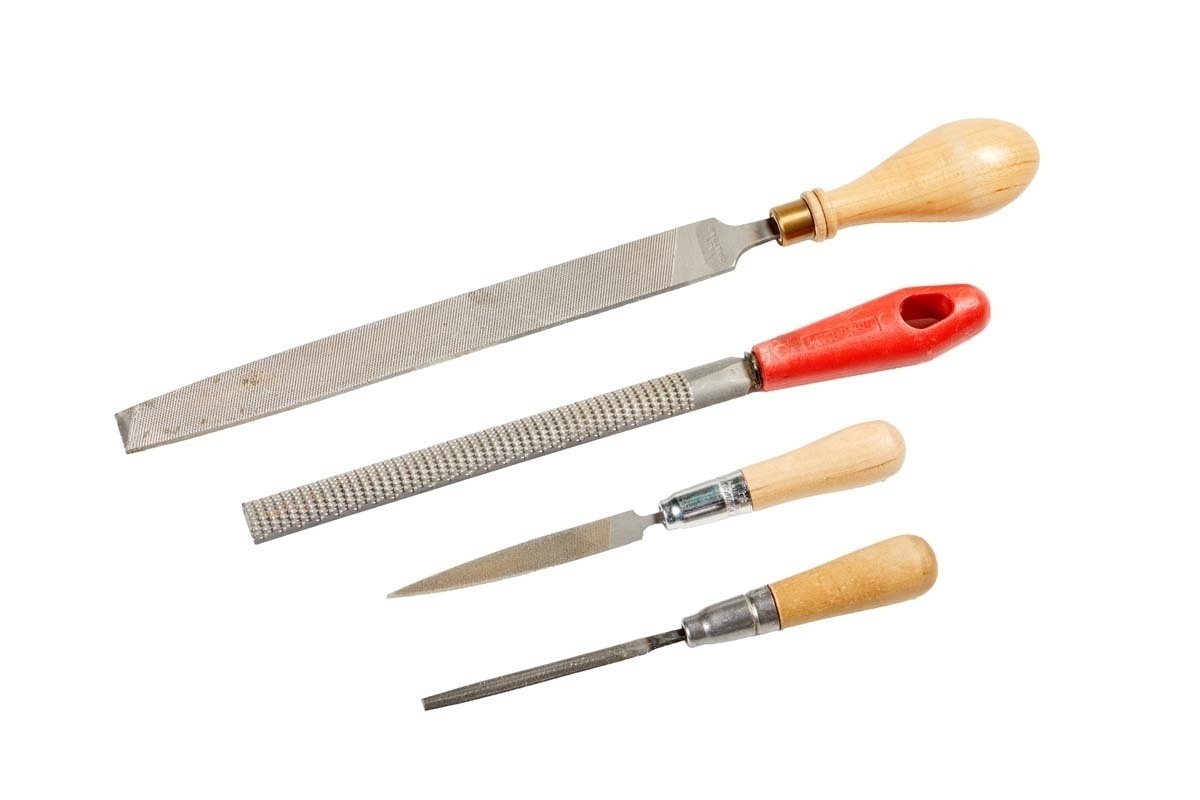
- Rasps and files for shaping curved surfaces
- Sanding blocks for smoothing and blending repairs
- Clamps for securing glued patches
- Lathe for making replacement round handles, when necessary
How to Repair a Broken Hand Plane Tote
A broken horn on a hand plane tote is a good example of a repair that can be made with a small wood patch.
Here's the process I use.
1. Prepare the Damaged Area
Use the band saw to remove the damaged section, creating a flat surface where the replacement patch will attach.

2. Smooth the Gluing Surface
Make a few passes across a sanding block to remove saw marks and create a clean mating surface.

3. Glue on a Replacement Patch
Select a matching piece of wood and glue it to the prepared surface.
A quick-grip clamp and small wedges can help apply pressure to an awkwardly shaped handle.

4. Lay Out the Final Shape
Once the glue has cured, mark the desired shape of the replacement horn.
If the repair overlaps a mounting hole, mark its location as well.

5. Remove the Waste
Use the band saw to cut away most of the excess wood, staying just outside the layout lines.

6. Shape and Blend the Repair
Finish shaping the patch with rasps and files.
Work gradually until the new wood blends smoothly into the original handle and feels comfortable in your hand.

After the repair is complete, apply a suitable finish to protect the wood and bring the handle back to life.
Give Old Woodworking Tools a Second Life
Restoring old hand tools is about more than making them look good.
A properly cleaned, sharpened, and repaired tool can become a reliable part of your workshop for years to come.
And you don't need a shop full of specialized restoration equipment to get started.
With basic cleaners, a rust remover, sharpening stones, files, rasps, and a little patience, you can tackle many common restoration jobs yourself.
The next time you come across a rusty hand plane or neglected handsaw, take a closer look. With a little work, it might become one of your favorite tools.


