


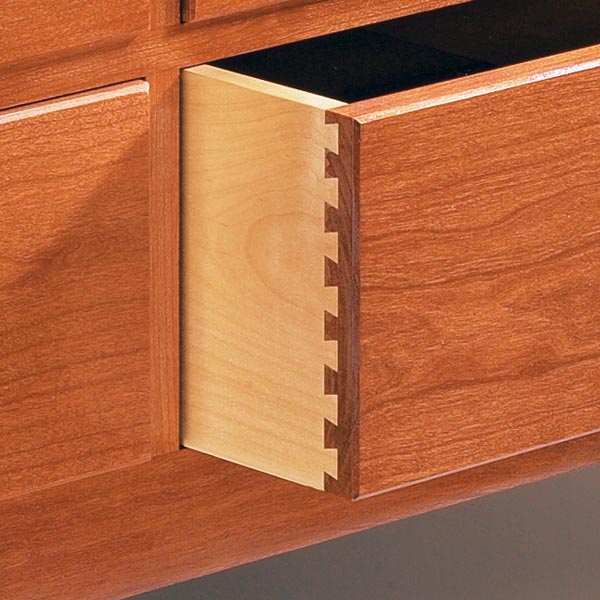
How to Set Up a Dovetail Jig for Half-Blind Dovetails
A router and dovetail jig can make cutting half-blind dovetails faster and more consistent. But getting a perfect-fitting joint often takes a little trial and error.
Even small differences in router bit depth, workpiece thickness, or clamping pressure can affect the fit of the joint. And if your router isn't set up correctly, you may end up with loose dovetails, joints that won't go together, or unwanted tearout.
The good news is that a few simple adjustments can make a big difference.
These dovetail jig setup tips will help you get cleaner cuts, tighter-fitting joints, and more consistent results when routing half-blind dovetails for drawers and other woodworking projects.
1. Start with a Sharp Dovetail Router Bit
A clean dovetail joint starts with a sharp router bit.
Because a dovetail bit cuts both the sides and the bottom of the joint, a dull cutting edge can leave rough surfaces, burning, and chipped fibers.
A quality carbide-tipped dovetail bit is a worthwhile investment, especially if you regularly build drawers or use your dovetail jig for furniture projects.
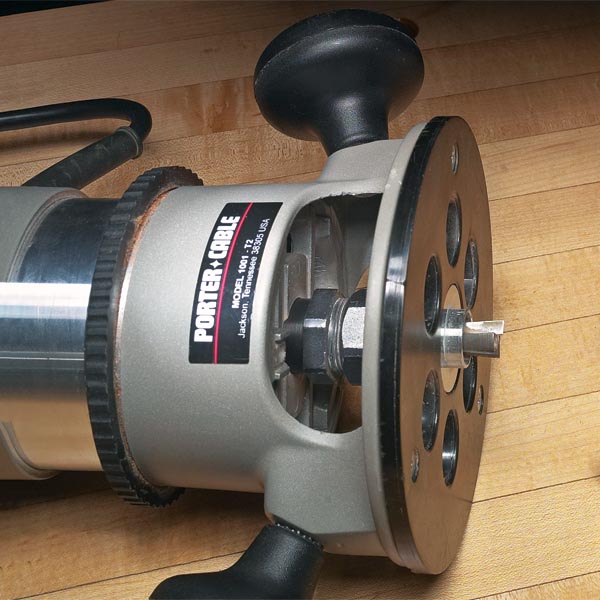
Keep the Bit Clean and Sharp
Pitch and resin buildup can make even a sharp router bit cut poorly.
Clean the bit periodically with a suitable bit cleaner, following the manufacturer's instructions.
If the cutting edges become dull, have the bit professionally sharpened or replace it. Any honing must preserve the bit's cutting geometry and diameter, since changes can affect how the joint fits.
Before routing, inspect the bit for chips, cracks, or other damage.
Check the Router Collet
Make sure the dovetail bit is securely installed in the router collet.
A loose bit can shift during routing, changing the depth of cut and ruining the joint.
With the router unplugged, insert the bit according to the router manufacturer's instructions. Avoid bottoming the shank in the collet, and tighten it securely.
It's also worth checking that the collet is clean and free of dust or debris.
2. Center the Router Guide Bushing
Many dovetail jigs use a guide bushing mounted in the router base to follow the fingers of a template.
For accurate results, the guide bushing needs to be centered around the router bit.
If the bushing is slightly off-center, the distance between the bit and template can change as you rotate the router.
That small difference can affect the fit of the dovetails.
Use a Router Centering Cone
A centering cone is a simple way to align the guide bushing with the router spindle.
With the router unplugged, loosen the baseplate or guide-bushing mounting screws as appropriate for your router.
Install the centering cone and adjust the baseplate until the guide bushing is centered.
Then tighten the screws and verify that everything remains aligned.
Woodsmith Tip: Even with a centered guide bushing, it's good practice to maintain the same router orientation throughout the cut. This minimizes the effects of any remaining alignment error.
3. Adjust Dovetail Bit Depth for a Snug Fit
One of the most common challenges when setting up a dovetail jig is finding the correct router bit depth.
With many conventional half-blind dovetail jigs, a small depth adjustment makes a noticeable difference in how tightly the pins and tails fit together.
Fortunately, there's a simple rule to remember.
Dovetail Joint Too Loose? Increase the Bit Depth
If your half-blind dovetail joint slides together too easily or has visible gaps between the pins and tails, the bit may be set too shallow.
Increase the router bit depth slightly to tighten the joint.
Lowering the bit farther into the workpiece changes the geometry of the routed sockets, producing a tighter fit.
Dovetail Joint Too Tight? Reduce the Bit Depth
If the joint is difficult to assemble or requires excessive force, the bit may be set too deep.
Reduce the depth of cut slightly to loosen the joint.
The important thing is to make small adjustments.
A little change in bit depth can make a significant difference in the finished joint.
Remember: Heighten to tighten, lower to loosen.
This traditional reminder refers to raising or lowering the cutting depth setting on common half-blind dovetail jig arrangements. Always confirm the adjustment direction in your particular jig's instructions, since jig and router configurations can differ.
4. Make Test Cuts Before Routing Your Project Parts
Even with careful setup, it usually takes a few test cuts to dial in the fit of a half-blind dovetail joint.
That's why it's important to keep extra stock on hand.
Use scrap pieces that match the thickness and material of your actual drawer parts.
A different stock thickness can change the results, especially on jigs where the relationship between the workpieces and template is critical.
Check the Joint Fit
After routing a test joint, assemble the pieces and examine the fit.
The joint should slide together with firm hand pressure or light tapping.
It shouldn't require excessive force, and there shouldn't be noticeable gaps between the pins and tails.
Check that the outside faces are flush and that the corner forms a square assembly.
If the joint is too loose or too tight, adjust the bit depth and make another test cut.
Woodsmith Tip: Change only one setting at a time. Adjusting bit depth, template position, and workpiece placement simultaneously makes it difficult to determine which change improved or worsened the fit.
5. Start with Flat, Square Drawer Parts
Even a perfectly adjusted dovetail jig can't compensate for poorly prepared stock.
Before routing dovetails, make sure your drawer parts are flat, straight, and square.
Cupped or twisted boards may not sit securely against the jig's reference surfaces.
That can cause inconsistent cuts and joints that don't fit properly.
The ends of the workpieces also need to be square.
If they're out of square, the completed drawer may be twisted or the corners may not close correctly.
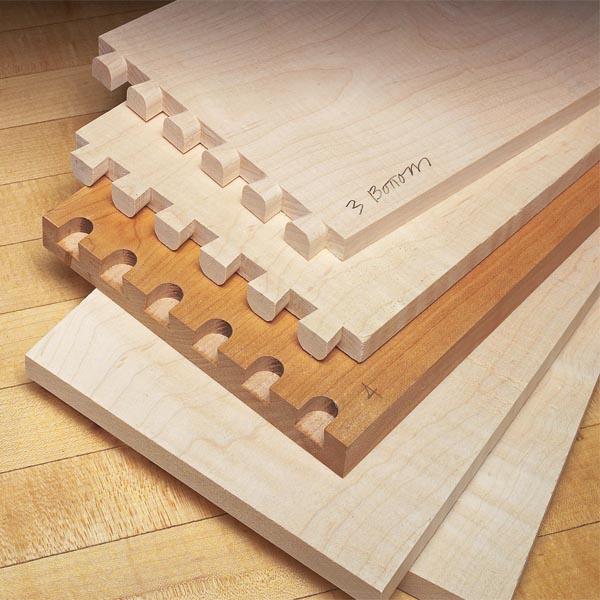
Mill All Parts to a Consistent Thickness
For the best results, prepare the drawer parts before setting up the dovetail jig.
Make sure matching components are the same thickness and that their edges and ends are accurately machined.
Consistent stock preparation makes it easier to repeat a successful setup across multiple joints.
6. Improve Dovetail Jig Clamping with Support Blocks
Secure clamping is essential when routing dovetails.
If a workpiece shifts even slightly during a cut, the joint may not fit correctly.
Many dovetail jigs use clamping bars to hold the drawer parts against the template and reference surfaces.
However, depending on the jig and workpiece size, the clamping bars may not apply pressure evenly.
Make L-Shaped Clamping Blocks
A simple L-shaped clamping block can help solve this problem.
Make the block the same thickness as the workpiece and position it under the clamping bar to provide support.
This prevents the clamping bar from tilting or racking as it's tightened.
With the bar supported, it can apply more consistent pressure across the workpiece.
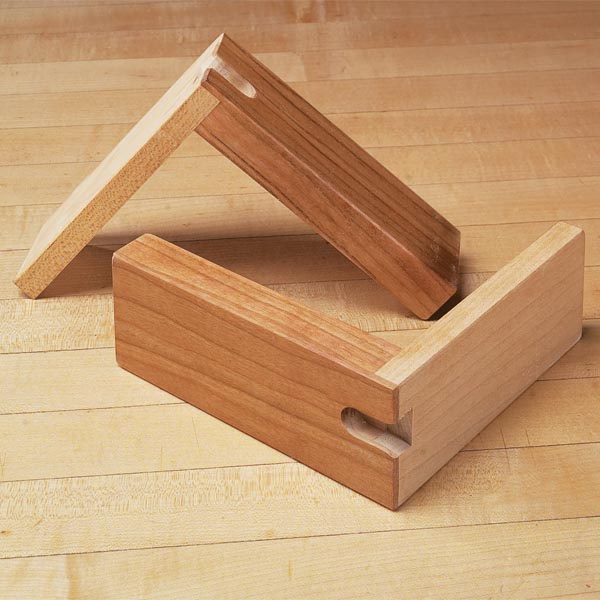
Turn the Block into a Depth Gauge
Once you've established the correct bit depth for a particular dovetail setup, you can make the clamping block even more useful.
Rout a sample dovetail profile into the block using the successful setup.
The routed profile provides a reference for setting the bit depth the next time you use the jig.
This saves time and reduces the number of test cuts needed for future projects using the same bit and jig configuration.
7. Add Grip to the Dovetail Jig Clamping Bars
Some dovetail jigs have textured clamping surfaces that help prevent the workpieces from slipping.
If your jig has smooth clamping bars, you may be able to improve their grip with self-adhesive sandpaper.
Apply a strip of sandpaper to the contact surface of the clamping bar.
The abrasive provides additional friction, helping hold the workpiece securely during routing.
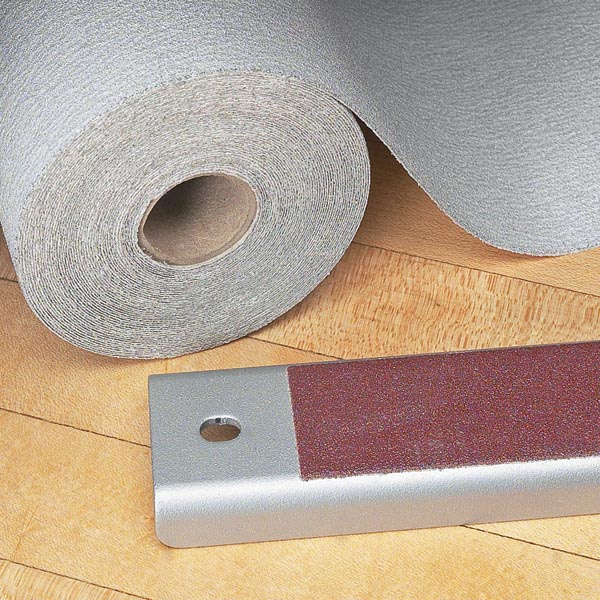
Use a fine or medium abrasive and make sure the sandpaper is firmly attached.
Avoid placing abrasive where it would interfere with the jig's reference surfaces or alter the required workpiece positioning.
Before routing, confirm that the workpiece is fully seated and cannot move.
8. Prevent Tearout When Routing Half-Blind Dovetails
Tearout is another common problem when cutting dovetails with a router.
As the bit exits the edge of a workpiece, unsupported wood fibers can break away, leaving a chipped or ragged edge.
This is especially frustrating when the damaged area will be visible on the finished drawer.
Fortunately, there are a couple of ways to reduce the problem.
Make a Light Scoring Cut
One approach is to make a shallow scoring cut along the front edge of the drawer side before routing the dovetails.
The scoring cut severs the surface fibers, helping reduce chipout when the dovetail bit completes the cut.
The scoring operation must be carefully positioned so it doesn't affect the finished joint.
Leave Extra Material for Trimming
Another option is to start with a workpiece that's slightly wider than the finished drawer part.
After routing the dovetails, trim the piece to its final width.
This removes any tearout that occurred along the edge.
The technique works particularly well when you can plan the extra material into your drawer construction.
9. Raise Your Dovetail Jig for Better Visibility
Dovetail routing often requires careful attention to the router's position and the template fingers.
If the jig is mounted too low, you may find yourself bending over the workbench to see what you're doing.
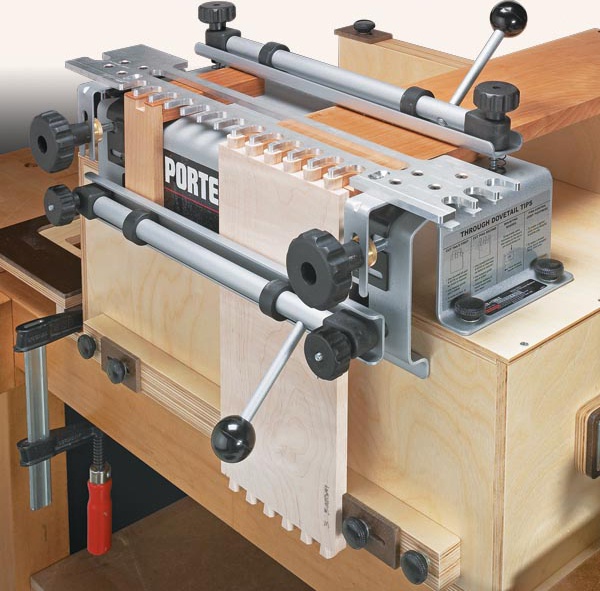
A dedicated dovetail jig workcenter can make the operation more comfortable.
By raising the jig above the bench, you can get a better view of the routing operation and maintain a more comfortable working position.
A portable workcenter also provides a convenient location for storing the jig and related accessories.
The important thing is to keep the jig securely mounted on a stable surface at a height that allows you to control the router safely.
GET THE STEP-BY-STEP PLANS FOR THE PORTABLE DOVETAIL JIG WORKCENTER
Troubleshooting Common Dovetail Jig Problems
If your dovetail joints aren't fitting correctly, use these checks to narrow down the problem.

These are starting points for conventional half-blind dovetail jigs. Always follow the setup and adjustment instructions supplied with your specific jig.
Get Better Results from Your Dovetail Jig
A dovetail jig is a valuable tool for building drawers and other woodworking projects, but accurate results depend on careful setup.
Start with a sharp router bit, center the guide bushing, and make sure the workpieces are flat and square.
Then use test cuts to fine-tune the router bit depth until the joint fits properly.
Simple additions such as clamping blocks, abrasive strips, and a dedicated setup gauge can make the process more reliable.
And when something isn't quite right, remember to change only one setting at a time.
With a little practice and a consistent setup routine, you'll spend less time adjusting your dovetail jig and more time making clean, accurate joints.
Build a Portable Dovetail Jig Workcenter
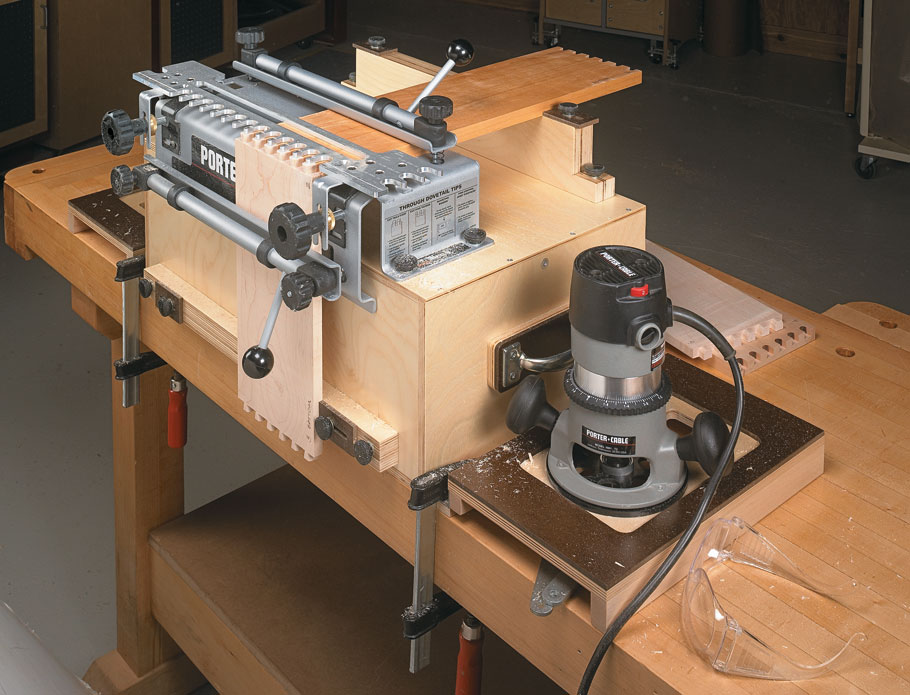
Get more from your dovetail jig with a dedicated workcenter that raises the jig to a comfortable working height. The elevated setup improves visibility and makes it easier to position your router while cutting accurate dovetail joints.
GET THE DOVETAIL JIG WORKCENTER PLANS → Make Dovetail Routing Easier and More Comfortable


