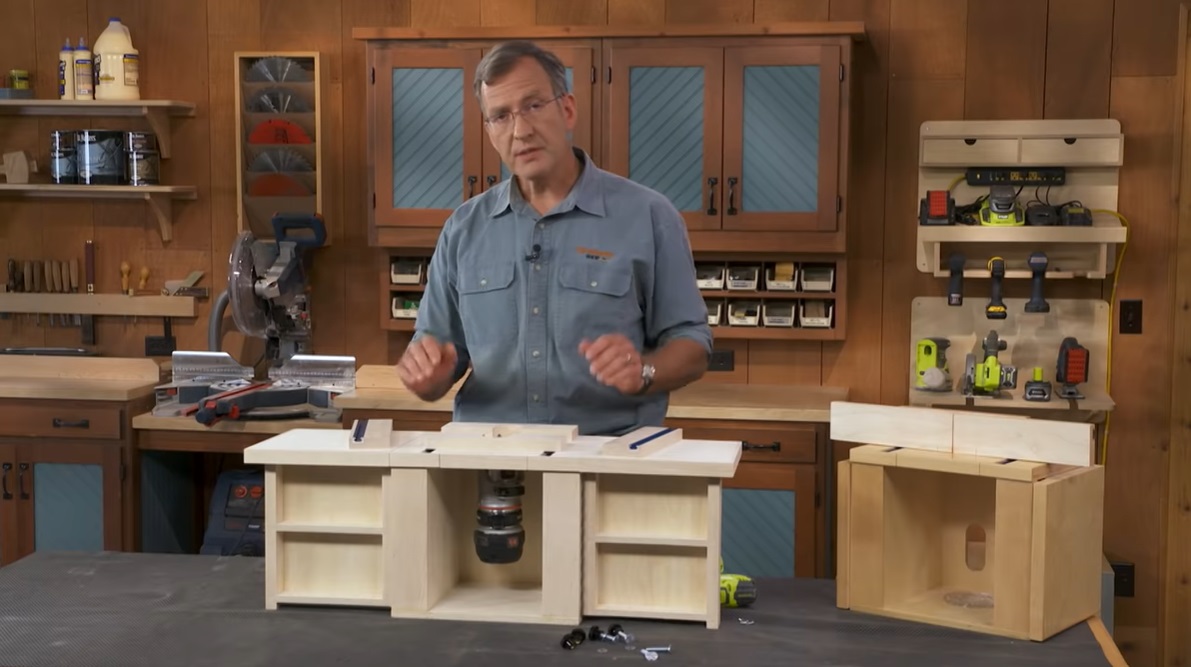
Sometimes a small change makes a familiar woodworking task much easier. A strip of bright tape can help you locate your table saw's power switch, while an old glue bottle cap can become a useful finishing accessory.
In this collection of Woodsmith Quick Tips, four readers share simple ideas for improving tool accessibility, collecting sawdust, supporting workpieces during finishing, and shaping wood with an improvised rasp.
1. Mark Your Table Saw's Off-Switch Location with Bright Tape

When you're cutting a large workpiece on the table saw, it isn't always easy to see the power switch. A wide panel or your position at the saw may make it harder to locate the switch quickly.
Jason Adler of Richland, Washington, uses a simple visual reference to make the switch easier to find.
He places a piece of brightly colored tape on top of his table saw's fence rail, directly above the power switch. The tape gives him an easy-to-see reference for the switch's location, even when he's working with a large panel.
It's a quick modification that doesn't require changing the saw or adding any hardware.
Woodsmith Tip: Keep the actual power switch unobstructed and make sure you can reach it safely from your normal operating position. The tape is a visual reminder, not a substitute for an accessible off switch. Always maintain control of the workpiece until the cut is complete.
Shop tip submitted by Jason Adler, Richland, Washington.
2. Collect Matching Sawdust for Homemade Wood Filler

Mixing fine sawdust with wood glue is one way to make a filler for small gaps and imperfections. If you want the filler to resemble the surrounding wood, it helps to start with dust from the same species—or, better yet, a scrap from the project itself.
William Aulick of Cincinnati, Ohio, uses his lathe to collect the sawdust he needs.
He mounts a scrap of wood on the lathe and sands it with coarse-grit sandpaper. A sheet of paper positioned below the workpiece catches the falling dust, making it easy to gather and transfer to a container.
Once he has enough sawdust, William mixes it with glue to make his filler.
This method is especially handy when you need a small quantity of dust from a particular wood species.
Woodsmith Tip: Use clean, dry sawdust, and test the filler on scrap before applying it to a visible area. Glue-and-sawdust filler may absorb stain differently from the surrounding wood, so it won't always produce an invisible repair. When collecting dust at the lathe, keep the paper and your hands clear of rotating parts.
Shop tip submitted by William Aulick, Cincinnati, Ohio.
3. Make Painter's Points from Old Glue Bottle Caps

Raising a workpiece off the bench makes it easier to apply finish to the edges without having the project stick to the worksurface.
Rather than buying a set of painter's points, I save the pointed caps from old glue bottles.
The caps provide a small contact area beneath the workpiece, while their wider bases help keep them stable on the bench. I arrange several caps under the project to support it while I apply finish.
It's a simple way to reuse something that would otherwise end up in the trash.
Woodsmith Tip: Arrange the caps so the workpiece is stable and won't tip while you're finishing. Although the small contact points can minimize marks, they aren't guaranteed to leave every finish unmarked. Let the finish dry as directed before turning a freshly coated surface onto the caps.
Shop tip submitted by John Doyle, Ankeny, Iowa.
4. Use All-Thread as a Makeshift Woodworking Rasp

A rasp is useful for shaping curves and refining irregular surfaces, but a conventional rasp isn't always long enough to reach the area you're working on.
Dennis Vertress of Elizabethtown, Kentucky, encountered this problem and found an improvised solution.
With his workpiece secured in a vise, Dennis uses a length of all-thread—a metal rod with threads along its entire length—as a makeshift rasp.
The threads provide a textured surface that can abrade wood as he works the rod against the area he needs to shape.
Because threaded rod is available in different lengths, it's a handy option when a conventional rasp won't reach.
Woodsmith Tip: This is an improvised shaping tool, not a replacement for a properly cut woodworking rasp. Use light strokes, check your progress frequently, and smooth the surface afterward with a file or sandpaper. Remove any sharp burrs from the ends of the rod before handling it.
Shop tip submitted by Dennis Vertress, Elizabethtown, Kentucky.
Simple Solutions for Everyday Woodworking Problems
These four reader-submitted tips show how familiar materials can solve specific problems in the shop. Bright tape helps identify the table saw's off-switch location, a lathe provides a way to collect matching sawdust, old glue bottle caps support projects during finishing, and threaded rod can serve as an improvised rasp.
They're inexpensive ideas that can come in handy when you need a quick, practical solution.