

Make a Simple Jig for Installing Threaded Inserts Straight
Threaded inserts are a great way to add durable, reusable connections to woodworking projects. They're especially handy for shop-made jigs, router tables, and accessories that need to be adjusted or removed. But getting threaded inserts started perfectly straight can be a challenge, particularly when installing them into the edge of plywood.
Even with an accurately drilled hole, it's easy for an insert to start at a slight angle. Once the threads begin cutting into the wood, correcting that alignment can be difficult.
This simple threaded insert installation jig solves the problem. Made from scrap plywood, a hardboard fence, and a spring-loaded bolt, it keeps the insert aligned with the hole while you drive it into place.
In the video below, we'll show you how to build the jig and use it to install threaded inserts accurately and consistently.
Why Use a Threaded Insert Installation Jig?
Installing threaded inserts by hand usually involves threading an insert onto a bolt and turning it with a wrench or ratchet.
While this works, there's nothing to prevent the bolt from tilting as the insert begins threading into the wood.
This can be especially troublesome along plywood edges, where a crooked insert may damage the surrounding layers or leave the threaded connection out of alignment.
A simple installation jig eliminates much of the guesswork.
The jig guides the bolt perpendicular to the workpiece, helping the insert enter the hole squarely. A spring applies downward pressure as the insert is driven into place, while a hardboard fence helps position the jig on the plywood edge.
Build the Threaded Insert Installation Jig
The jig consists of a plywood body, a hardboard fence, and a spring-loaded installation bolt.
The body guides the bolt, while a notch at the bottom provides clearance for the threaded insert and installation hardware.
The design is simple enough to make from scraps, and most of the hardware may already be in your shop.

Drill the Guide Hole
Start with a small block of plywood for the jig body.
Using a drill press, bore a 1/4" hole through the block. The drill press ensures the hole is perpendicular to the face of the plywood.
This hole guides the installation bolt and keeps it aligned at 90° to the workpiece.
Accurate drilling is important because the bolt's alignment determines how straight the threaded insert will enter the wood.
Cut the Clearance Notch
Next, cut a notch in the bottom of the plywood body.
The notch provides clearance for the threaded insert and hardware as the bolt moves downward during installation.
The opening also allows you to see the insert as it approaches the workpiece, making it easier to check the alignment before turning the bolt.
Add the Spring-Loaded Bolt
The installation mechanism consists of a hex-head bolt, washer or spacer, spring, and nut.
The bolt passes through the centered guide hole in the plywood body. A counterbore on the underside provides room for the spacer.
The spring fits between the spacer and nut, applying downward pressure to the bolt as the insert is installed.
This helps keep the insert engaged with the workpiece while the guide hole maintains its alignment.
Attach the Hardboard Fence
Finally, attach a piece of 1/4" hardboard to the back of the plywood body.
The hardboard extends below the jig, creating a fence that registers against the face of the workpiece.
It also provides a convenient clamping tab, allowing the jig to be secured to the edge of a plywood panel.
With the fence installed, the jig is ready to use.
How to Install Threaded Inserts With the Jig
Once the jig is assembled, installing threaded inserts is a straightforward process.
The key is to start with an accurately drilled hole and keep the jig securely positioned throughout the installation.
Step 1: Drill the Hole for the Insert
Start by marking the location of the threaded insert on the workpiece.
Drill a hole using the diameter and depth recommended for the insert you're installing.
When drilling into the edge of plywood, a separate drill guide can help keep the hole square to the panel.
A small chamfer around the opening can also help the insert start cleanly.

Step 2: Position the Insert on the Bolt
Slip a washer over the installation bolt and thread the insert onto the end.
The bolt holds the insert in position while the jig keeps everything aligned with the hole.
Make sure the insert is properly engaged with the bolt before proceeding.
Step 3: Clamp the Jig to the Workpiece
Position the jig over the drilled hole, using the hardboard fence to register against the face of the plywood.
Align the threaded insert with the hole and clamp the jig securely in place.
When installing inserts into plywood edges, it's also helpful to support the surrounding plywood with a wooden handscrew clamp.
The broad jaws of the handscrew help prevent the plywood layers from spreading apart as the insert is driven into the edge.
Step 4: Drive the Threaded Insert Into Place
With the jig secured, use a socket wrench or ratchet to turn the installation bolt.
The guide keeps the bolt perpendicular to the workpiece, while the spring provides downward pressure as the insert begins threading into the wood.
Continue turning until the threaded insert is seated to the desired depth.
Then back out the bolt, leaving the insert installed in the workpiece.

Tips for Better Threaded Insert Installation
A few simple precautions will help you get consistent results when using the jig.
- Drill the correct pilot hole. Follow the insert manufacturer's recommendations for hole diameter and depth.
- Keep the guide hole square. Use a drill press when making the jig to ensure the bolt remains perpendicular to the workpiece.
- Chamfer the opening. A small chamfer helps the insert start cleanly without lifting the surrounding wood fibers.
- Lubricate the insert. A little paraffin wax on the external threads can make installation easier.
- Support plywood edges. Use a handscrew clamp to help prevent the layers from splitting.
- Avoid overtightening. Stop once the insert is properly seated to prevent damaging the surrounding material.
For best results, test the jig on a scrap of the same material before installing inserts in your finished project.
A Handy Jig for More Accurate Woodworking
Threaded inserts are useful for all kinds of woodworking projects, but their installation can be frustrating when alignment is critical.
This simple shop-made jig makes the process easier by guiding the installation bolt and keeping the insert square to the workpiece. The spring-loaded mechanism provides steady pressure, while the hardboard fence makes the jig easy to position and clamp.
It's a quick project that can save time and frustration whenever you need to install threaded inserts in plywood or other woodworking materials.
And because it's made from scrap plywood and common hardware, it's an inexpensive addition to your collection of shop-made jigs.
How to Install Threaded Inserts in Plywood Without Splitting
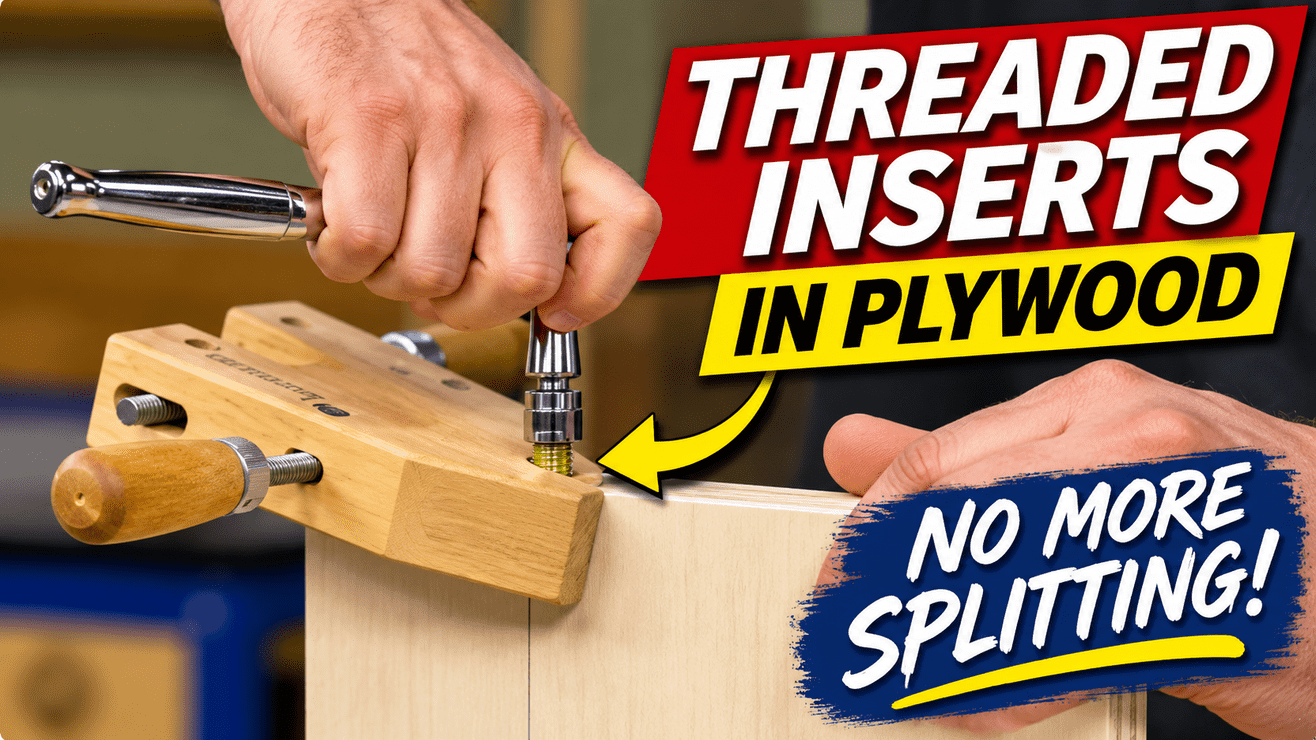
Installing threaded inserts into plywood edges presents a few challenges. Learn how to drill straight holes, chamfer the opening, lubricate the threads, and use a handscrew clamp to prevent splitting.
Learn More Threaded Insert Installation Tips ➜ How to Install Threaded Inserts in Plywood Without Splitting