Making a raised panel door with a coved border around the field usually means working on the router table. But you can get this same custom look, without an expensive router bit, by using your table saw. All you’ll need is a simple shopmade, table saw jig and a few minutes of set up.
CURVE CUT. The technique for cutting the cove is definitely not a “straight cut” operation. The panel is pushed over the blade at an angle. If you take a look at the upper drawing on the opposite page you’ll see what I mean. The cove is made in multiple, light cuts. This causes the saw blade to “shave” wood off the length of the panel leaving an elliptical curve from the arc of your saw blade.
SETUP. The setup shown in the drawings on these two pages, is specific to the raised panel used with this storage bench. But with adjustments, you can use this technique to cut any size cove on a variety of panel inserts.

You begin by roughing out the cove on the edges of the panel. Then finish up by trimming off the outside edge of the cove with the panel held vertically to the blade. I used a flat-toothed rip blade to get a smoother cut on the cove.
The workpiece is guided by a fence clamped at an angle to the table saw blade. You can change the width and depth of the profile by changing the angle of the fence or the height of the blade. To find the angle for the panel, I used a parallelogram jig like the one shown above.
The arms of the jig are set to match the width of the cove on the panel. Once you’ve set up the jig, raise the saw blade to the final depth of the cove. Then mark the throat plate with masking tape where the teeth of the saw enter and exit the plate, as shown in the drawing.
Now lay the jig over the saw blade and line up the arms with the tape. Finally, mark a line on your table saw along the inside edge of the back arm. This line is for the fence placement. As you can see in the drawing, the fence is nothing more than a long, straight board. It’s clamped on the line as shown in the drawing.
MULTIPLE CUTS. After the fence is in position, the rest is pretty simple. You’re going to cut the cove by removing small amounts of material in multiple passes. Lower the saw blade to take just 1 ⁄ 32 " off on the first pass. Use push blocks to keep the panel snug to the fence.

Since you’re cutting all four edges of the panel, make a pass on each edge. Then raise the blade just a hair (about 1 ⁄ 32 ") between passes. Your goal is to arrive at a cove depth that will allow the panel to fit in the groove in the frame with a little left for sanding the cove smooth. This will take some time to accomplish, so be patient.
EAR. After you have the cove cut to the correct depth, you’ll notice a little “ear” on the outside edge of the panel. You remove this at the table saw using a tall auxiliary fence (box below). Simply stand the panel on edge with the fence set far enough from the blade to just nip the waste. Adjust the fence in to sneak up on the right distance. (Be careful not to set the fence too close or you’ll create a rabbet.) This final cut will also flatten the edge for a better fit in the door frame groove.
For a decorative touch, I added flutes on the panel face. You can rout these now. Since the flutes are routed with the grain there shouldn’t be any danger of tearout on the ends of the cuts.
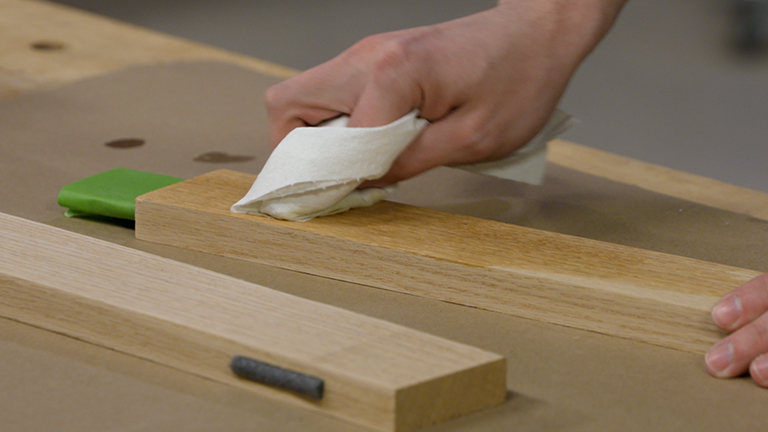
The last step is to sand the cove to a smooth finish. You can shape a block from foamboard to hold the sandpaper. When the sanding is complete, you’ll have master ed a table saw technique. And you’ll have a panel that looks great.
How-To: Complete Panel Edge Profile

Trim the Edge. Shave off the small ear that appears after the cove is made by trimming it off on the table saw.

Flutes. Flutes are added on the router table with a core box bit, first in the center then on either side, as shown in the detail.

Smooth the Cove. A curved sanding block will keep the curve in shape as you sand it smooth.