 One of the hallmarks of fine furniture is a finished surface that’s smooth to the touch and reflects light evenly without any noticeable surface variations.
Achieving a glass-smooth surface like this can be difficult, however. The issue is that many wood species have open pores that draw the finish below the surface of the wood. This can result in a finish that may be smooth, but appears to have “texture.”
The key is to fill the pores before applying a finish coat. I have used various paste-type pore fillers over the years. And while they work great at fi lling the pores, it can be difficult to match the color of the filler to the wood. The result can be an unnatural finished appearance.
One solution I started using in my shop is epoxy. This durable, crystal-clear alternative makes it simple to produce a perfectly smooth surface on your projects without any color variation. And it’s compatible with most topcoats.
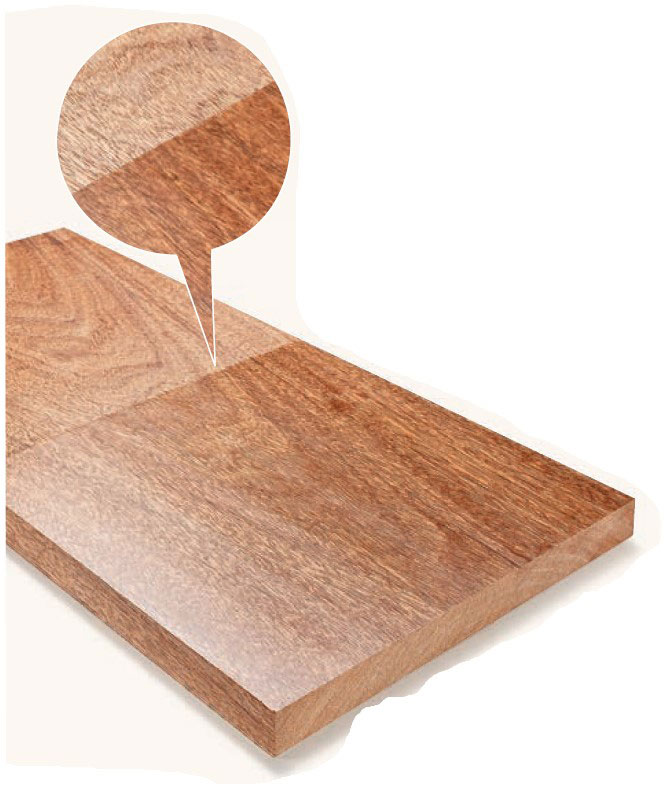
Results. The photo above shows the end result. An additional benefit to using epoxy as a pore filler is that it can help protect your finished project by providing an excellent barrier against moisture. There are a few important considerations to pay attention to for a successful result. So I’ll walk you through the process I use.
SURFACE PREPARATION
As with most finishing procedures, success starts with surface preparation. Epoxy needs to create a mechanical bond with the wood surface in order to adhere to it. This means sanding the surface of the wood to no more than 120-grit, depending on the species of wood.
And when working with oily woods like cocobolo or rosewood, be sure to remove the surface oil by wiping the wood with acetone or lacquer thinner shortly before applying the epoxy.
Temperature. Another point that shouldn’t be overlooked is the temperature of the wood relative to the ambient temperature of your shop. It’s important that the wood acclimate to the shop temperature before applying the epoxy.
And once the epoxy has been applied, try to limit any substantial increases in the temperature of the shop before the epoxy has fully cured. The concern here is that when the temperature of the wood increases, there is the possibility of the wood out-gassing. This could result in bubbles or pinholes in the finished surface.
MIXING THE EPOXY
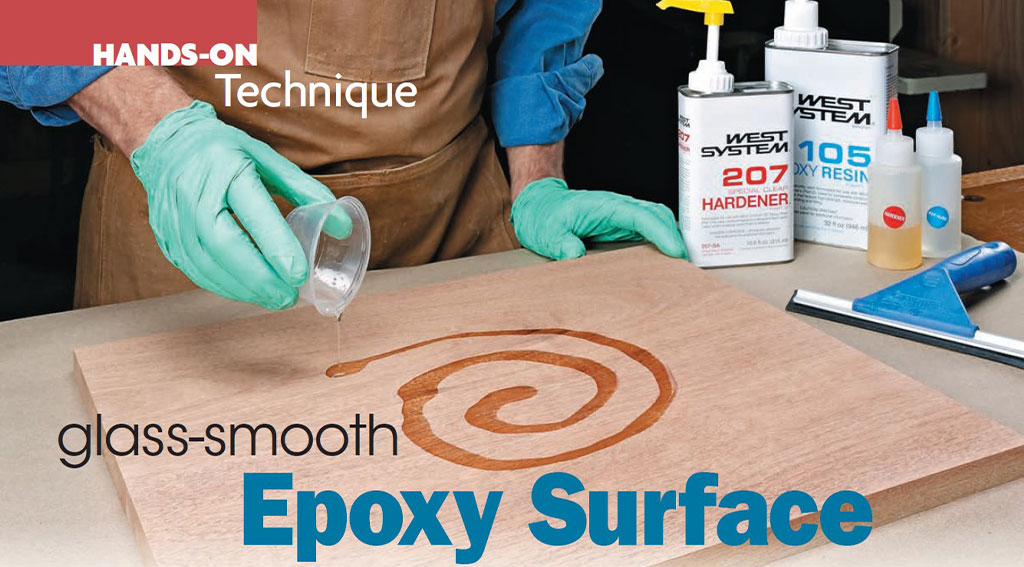
I use West System epoxy in my shop. This requires mixing the epoxy resin with a hardener before each application. Their 207 Special Clear hardener is the one you want for this technique.
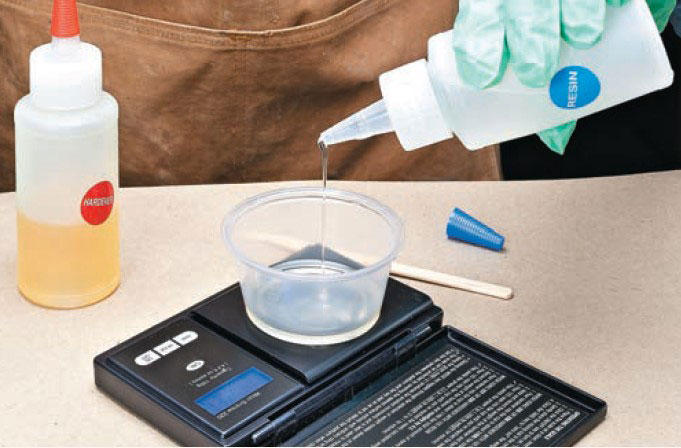
You’ll be surprised at how little epoxy is needed to fill the pores. That’s why I use a scale to mix very small batches of epoxy by weight.
After mixing the two parts, you’ll have approximately 20 minutes to cover the surface of your project before the epoxy starts to harden.
APPLICATION
Applying the epoxy isn’t difficult. You start by pouring a small amount in the center of your project. With a rubber squeegee, spread the epoxy across the surface at a 45° angle to the grain. You’ll want to use light pressure until the entire surface is covered. Then increase pressure to create a very thin coat, cleaning the excess epoxy off the squeegee with a rag.
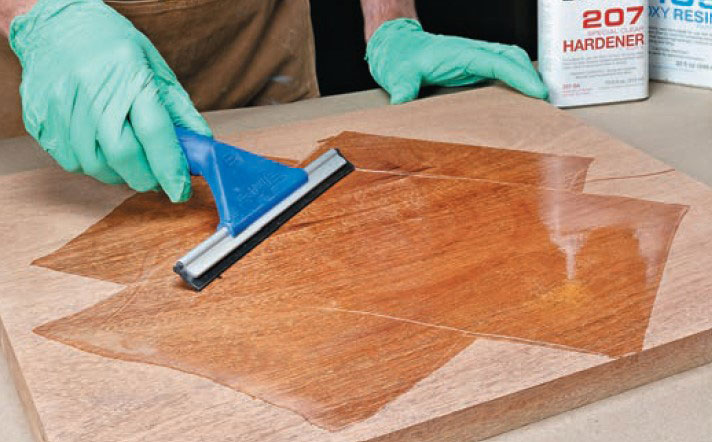
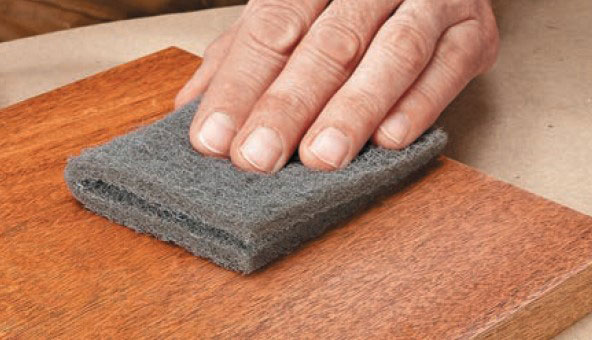
After the first coat has dried for about 10 hours, sand lightly with 320-grit paper. Apply and sand additional coats in the same manner until the pores are completely filled, and you have a smooth surface. The mahogany shown here took two coats. Finally, use an ultra-fine abrasive pad to smooth the entire surface before applying a final topcoat of varnish or other finish. The end result is sure to impress.