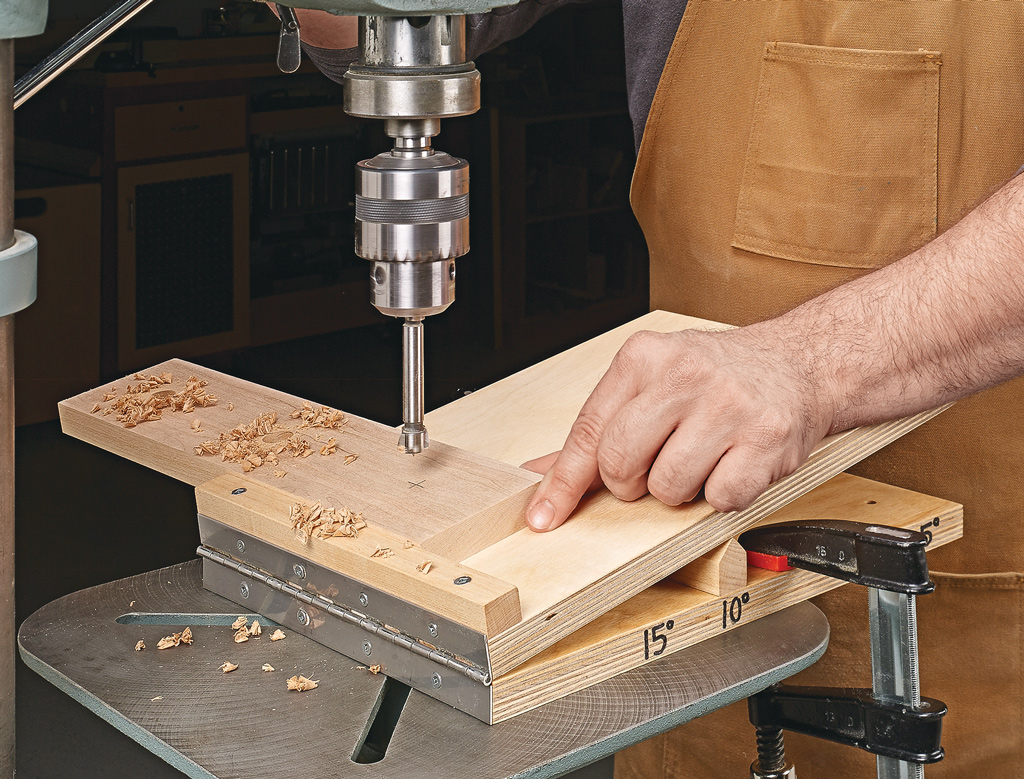
How to Use an Adjustable Table Saw Tapering Jig
Tapered legs are a great way to give tables, desks, and other furniture projects a lighter, more refined appearance. But cutting smooth, consistent tapers on the table saw can be challenging, especially when you need four matching legs.
I've built plenty of one-off tapering jigs over the years. They work well, but making a new jig every time I need a different taper gets old fast. That's why I like this fully adjustable table saw tapering jig. It lets you set up almost any taper angle, securely hold the workpiece, and make accurate, repeatable cuts without building a new jig for every project.
Why Use an Adjustable Table Saw Tapering Jig?
A table saw excels at making straight rip cuts and crosscuts. But cutting a taper requires feeding the workpiece through the blade at an angle.
A basic tapering sled can do the job, but it often needs to be customized for a particular project.
This adjustable taper jig solves that problem with a movable fence, T-track hardware, and hold-down clamps. Once you've positioned the workpiece for the taper you want, the jig holds it securely as you guide it through the blade.
It's especially handy for cutting matching furniture legs, where consistency from one piece to the next is important.
How the Adjustable Taper Jig Works
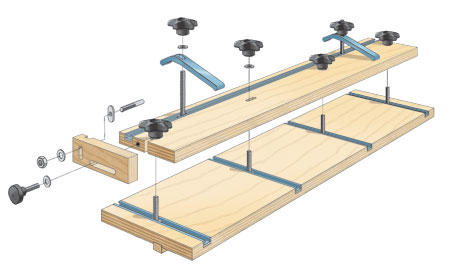
The jig starts with a plywood base and a runner that rides in the table saw's miter gauge slot.
The cutting edge of the base is aligned with the saw blade, providing a convenient reference for laying out each taper.
An adjustable fence mounted on top of the base pivots to match the desired taper angle. Knobs riding in T-track lock the fence in position.
A second set of T-tracks holds the clamps that secure the workpiece during the cut.
There's also a positioning stop at the end of the fence. This helps locate each table leg consistently so all four legs can be tapered to the same dimensions.
Step 1: Lay Out the Taper on the Table Leg
Before setting up the jig, you need to determine where the taper starts and ends.
For a typical table leg, the taper begins just below the apron. This leaves the upper portion of the leg square and full-sized where it joins the table.
Mark the starting point of the taper near the top of the leg.
Then mark the desired endpoint at the bottom of the leg. These layout marks establish the angle and amount of material you'll remove.
Taking a few minutes to lay out the taper accurately makes setting up the jig much easier.
Step 2: Adjust the Jig to Match the Taper
With the layout complete, place the leg on the jig with the top of the leg toward the front.
Align the mark where the taper begins with the cutting edge of the plywood base. Lightly tighten the adjustable fence to hold the leg in position.
Next, slide the leg against the positioning stop. This ensures each leg starts from the same reference point.
Now adjust the fence until the taper mark at the bottom of the leg aligns with the cutting edge of the jig.
You may need to move back and forth between the two ends a couple of times to get both marks aligned correctly.
Once everything lines up, tighten the fence knobs to lock the setting.
Finally, position the hold-down clamps and tighten them to secure the leg against the fence.
Step 3: Cut the Taper on the Table Saw
Before making the cut, check that the leg is securely clamped and that the blade path is clear of the jig hardware.
Set the blade height to clear the thickness of the leg. The video demonstrates cutting the taper in a single pass.
Because this jig is relatively large and heavy, I also use an outfeed table to support it as it moves beyond the blade.
With the setup complete, guide the jig steadily through the saw blade, keeping the runner engaged in the miter slot.
The jig holds the leg at the proper angle while the blade cuts a straight, consistent taper.
Step 4: Cut a Second Taper on the Leg
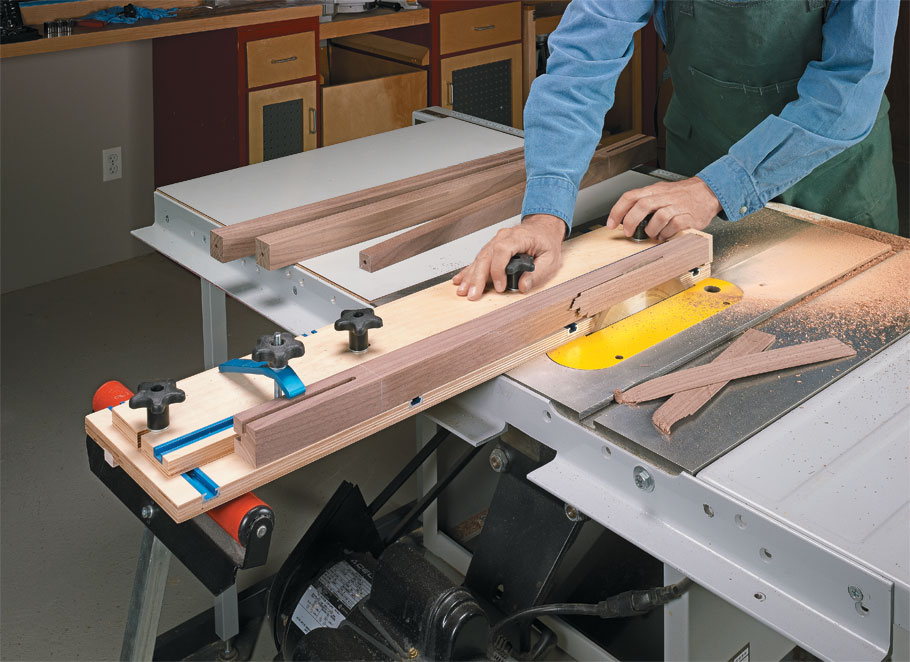
One of the advantages of this jig is how easily you can make matching tapers on adjacent faces of a table leg.
After completing the first cut, remove the leg from the clamps and rotate it to the next face.
Reposition the leg against the fence and stop, then secure it with the hold-down clamps.
Make the second cut using the same setup.
The result is a table leg with two smooth, accurately matched tapers.
For a complete set of table legs, repeat the process using the same jig settings. The positioning stop and adjustable fence help keep the tapers consistent from one leg to the next.
More Than Just a Table Leg Tapering Jig
Although this jig is especially useful for cutting tapered furniture legs, its adjustable design makes it a versatile table saw accessory.
By changing the fence position, you can use the jig for a variety of angled cuts, including two-sided and four-sided tapers.
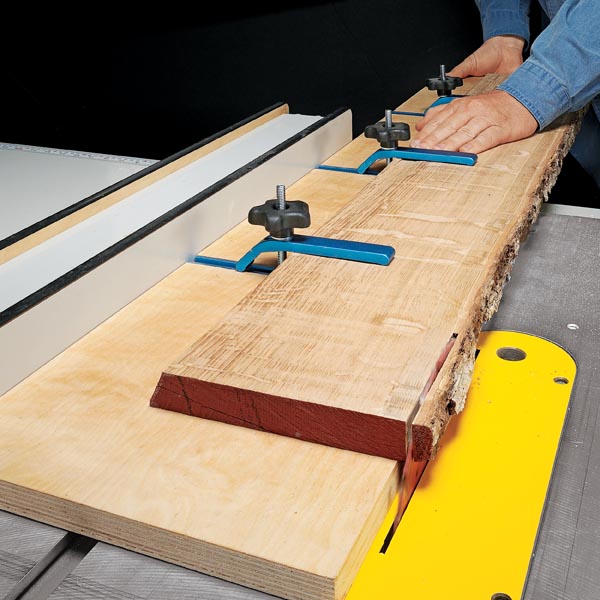
It can also be useful for straightening an uneven edge on rough lumber or making steep angled cuts that would be difficult to guide safely against the rip fence.
Instead of building a dedicated jig for every unusual cut, you have one adjustable setup ready to go.
Build Your Own Adjustable Table Saw Taper Jig
If you regularly build furniture, an adjustable tapering jig is a worthwhile addition to your table saw.
The plywood base, T-track fence, positioning stop, and hold-down clamps work together to make accurate taper cuts easier to set up and repeat.
And unlike a one-time tapering sled, this jig can be adjusted for the next project without starting from scratch.
Get the Adjustable Table Saw Taper Jig Plans
Want to build the same jig featured in the video?
Our Adjustable Table Saw Taper Jig woodworking plans show you how to build a versatile jig for cutting two- or four-sided tapers, straightening rough lumber edges, and making accurate angled cuts.
It's a practical shop upgrade that you can build in just a few hours and use for years.
GET THE COMPLETE STEP-BY-STEP WOODWORKING PLANS → Build an Adjustable Table Saw Taper Jig