



Build a Handy Workbench Tool Tray
There seems to be an unwritten rule in woodworking: The moment you need your pencil or ruler is exactly when it rolls off the workbench.
Small tools, drill bits, screws, and other odds and ends have a way of disappearing beneath a pile of project parts or getting knocked onto the floor.
To keep everything in one place, I made this simple workbench tool tray.
It's a handy shop-made organizer that provides a convenient spot for frequently used tools and supplies. Best of all, it stays put on the bench without clamps or permanent mounting hardware.
A Workbench Tray That Stays in Place
The feature that makes this tray especially useful is a simple post attached to the bottom.
The post fits into one of the dog holes in my workbench, anchoring the tray in place.
This keeps it from sliding around while I'm working, but I can still lift it out and move it to another dog hole whenever I need to rearrange the bench.
The recessed tray provides a convenient place for pencils, rulers, small hand tools, and loose hardware.
I also drilled a few holes in one end to hold frequently used drill bits and other small accessories upright.

Rout a Smooth Recess with a Bowl and Tray Bit
Rather than assembling a tray from separate sides and a bottom, I routed the recess into a solid blank.
For this operation, I used a bowl and tray router bit along with a shop-made template.
The template guides the router to create a consistent recess with smooth sides and a flat bottom.
This makes it easy to scoop up small parts and keeps pencils and other tools from rolling off the tray.
Take shallow passes when routing the recess, following the bit manufacturer's recommendations. Make sure the template and workpiece are secured before routing.

Add the Bench Dog Post and Tool Holes
Once the recess is complete, add the post to the underside of the tray.
Size the post to fit your workbench's dog holes without binding.
You want a snug enough fit to keep the tray in position, but it should still be easy to remove when needed.
Next, drill a few holes near one end of the tray for your most-used bits or other small accessories.
You can customize the hole sizes and arrangement to suit the tools you reach for most often.
Finally, sand the tray smooth and ease the edges for a comfortable feel.
Simple Workbench Organization That Works
This little DIY workbench organizer doesn't take up much space, but it solves an everyday shop frustration.
Instead of searching for a pencil or picking up a ruler from the floor, I have a dedicated place to keep small tools and accessories within easy reach.
And because the tray fits into a bench dog hole, I can move it around the workbench as the project demands.
It's a practical woodworking project that makes the shop a little more organized and a lot more convenient.
Portable Kreg Pocket Hole Jig Base
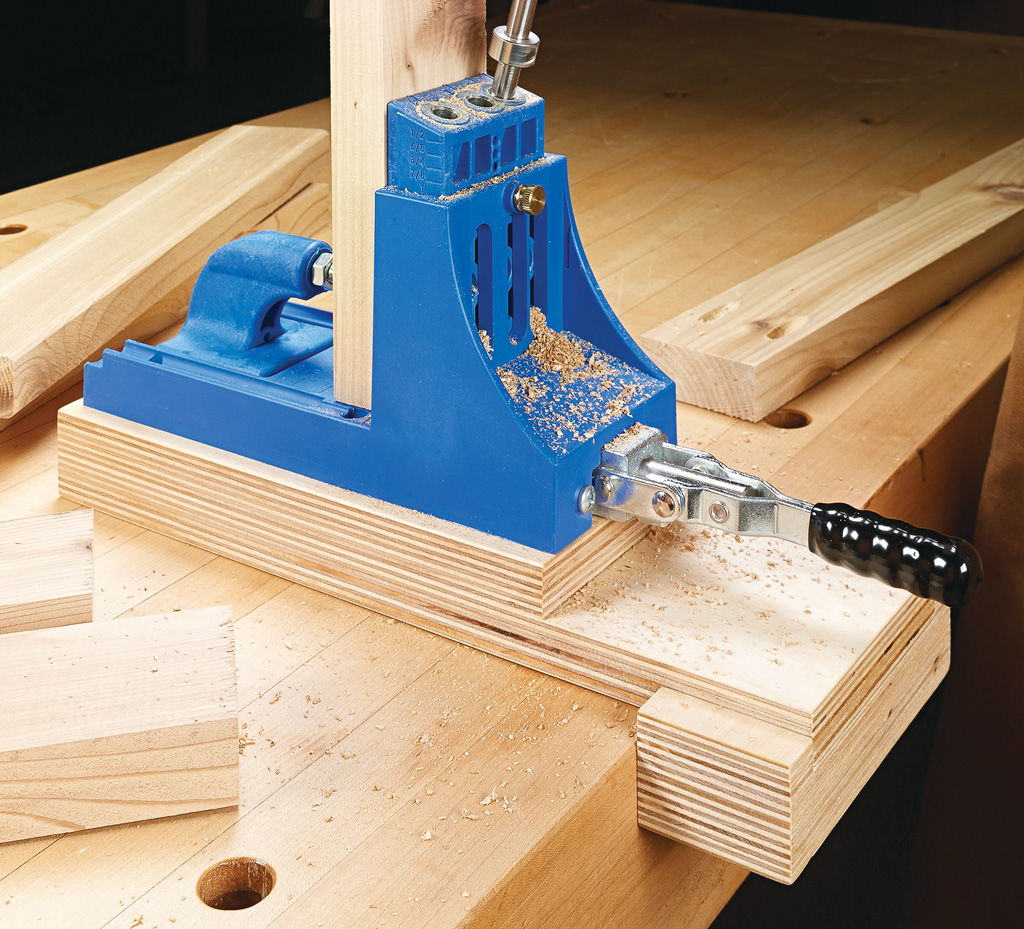
Bench dog holes aren't just for holding workpieces. They can also provide a convenient way to secure removable shop accessories.
This shop-made Kreg pocket hole jig base uses a plywood platform and a bench dog to create a stable, portable drilling station. It's easy to position on your workbench and just as easy to remove when the job is finished.
BUILD THE POCKET HOLE JIG BASE → Another Clever Way to Put Your Bench Dog Holes to Work


