


Plastic laminate is a practical way to add a hard, durable surface to furniture, countertops, cabinets, and shop fixtures. And applying it is easier than you might think.
The basic process comes down to four steps: cut the laminate oversize, apply contact adhesive, position it carefully, and roll and trim it flush.
These methods have worked for decades in the Woodsmith shop.

Start with a Flat, Stable Substrate
Before applying laminate, you need a smooth, stable surface underneath it.
MDF, particleboard, and plywood can all serve as laminate substrates. For shop fixtures, smooth, flat MDF is often my first choice. Plywood provides a more durable option when exposed edges won't be capped.
Whatever you choose, make sure the surface is clean, flat, and free of dust or debris before applying the laminate.
For a deeper look at choosing laminate grades, substrates, adhesives, and trimming methods, see our complete guide.
RELATED ARTICLE: How to Work with Plastic Laminate: Cutting, Gluing & Trimming
Step 1: Cut the Laminate to Size
Cut the plastic laminate slightly larger than the substrate. The excess doesn't need to be removed now — you'll trim it flush after the laminate has been bonded in place.

At the table saw, an auxiliary rip fence fitted tightly against the saw table prevents the thin laminate from slipping underneath the fence.
Use a push pad to keep the flexible sheet flat and under control as you feed it through the cut.
Woodsmith Tip: Leave Some Overhang. Don't try to make the laminate exactly match the substrate at this stage. Leaving it oversize makes positioning much easier. The router will establish the final edge later.
Step 2: Spread the Contact Adhesive
Contact adhesive is applied to both the substrate and the back of the plastic laminate.

There's no need to rush this step, but you do need to be thorough. Cover the surfaces evenly and follow the adhesive manufacturer's instructions for coverage, additional coats, drying time, ventilation, and application.
Porous materials such as MDF may require a second coat.
Once both coated surfaces have reached the condition specified by the adhesive manufacturer, you're ready to position the laminate.
Woodsmith Tip: Clean Before You Glue. Check both surfaces before applying adhesive. Even a small chip or piece of sawdust trapped underneath the laminate can create a noticeable bump in the finished surface.
Step 3: Position the Laminate with Spacers
Here's the tricky part about working with contact adhesive: once the two coated surfaces make contact, you may have little opportunity to reposition them.
The solution is remarkably simple.

Place several wood strips evenly across the substrate. Set the oversized laminate on top of the strips and adjust it until you have adequate overhang around the edges.
Then begin at one end.
Remove the first strip and press the laminate down with your hand. Continue removing the strips one at a time, pressing the laminate into place as you work toward the opposite end.
This gives you much more control than trying to lower the entire sheet onto the substrate at once.
Step 4: Roll & Trim the Laminate
Once the laminate is positioned, firmly press the entire surface to complete the bond. A roller makes this easy. Work across the full surface rather than concentrating only on the edges.

After the laminate is securely bonded, use a router and an appropriate laminate-trimming or flush-trim bit to remove the overhang and bring the laminate flush with the substrate.
Inspect the edges and smooth them as needed.
A Simple Way to Add a Durable Surface
That's really all there is to the basic process: Cut. Coat. Position. Roll and trim.
The trick is to do each step carefully. Start with a flat substrate, leave the laminate oversize, thoroughly coat the mating surfaces, use spacers to control the positioning, and apply firm pressure before trimming.
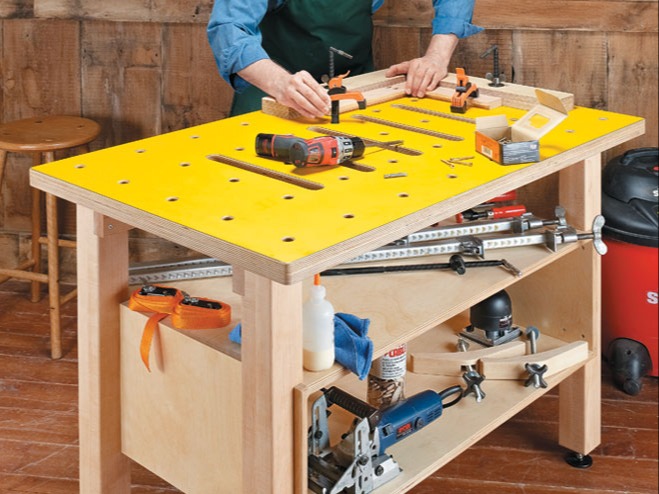
Once you've applied laminate successfully the first time, you'll start seeing plenty of other places to use it — especially on router tables, workstations, assembly tables, and other hardworking shop surfaces.
Learn More About Working with Plastic Laminate
Want more detail on choosing vertical- or horizontal-grade laminate, MDF vs. plywood substrates, contact cement, flush-trim and bevel-trim router bits, and filing the finished edges?
Our complete guide walks through the entire process.
HOW TO WORK WITH PLASTIC LAMINATE → How to Work with Plastic Laminate: Cutting, Gluing & Trimming


