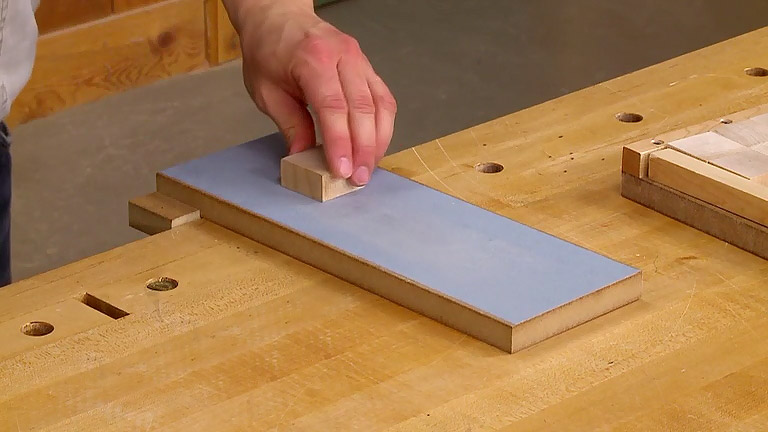
Finger joints are usually straightforward to cut at the table saw. But what happens when the fingers are so long that your blade simply can't reach the bottom of the joint?
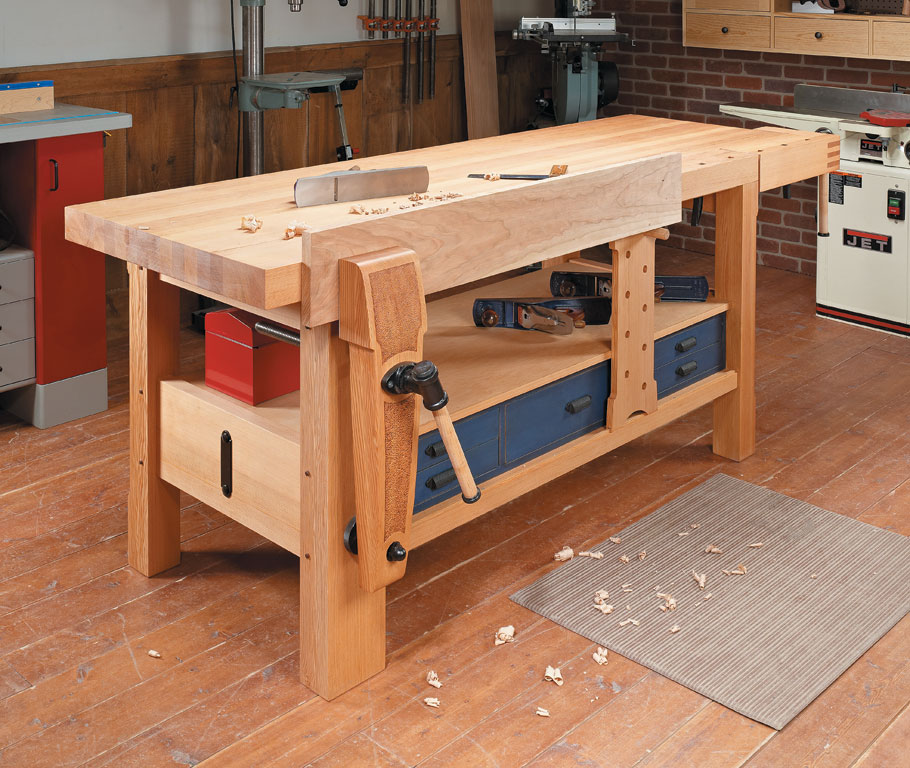
That's the problem I ran into while building the tail vise for a Shaker-style workbench. The fingers on one mating part were 3 1/2" long — beyond the practical cutting depth of the dado blade I was using.
The solution is to let the table saw do as much of the work as possible, then finish the joint with a Japanese-style rip saw and chisel.

Why a Dado Blade Won't Work
The finger joints on the tail-vise end block can be cut with a dado blade at the table saw. But the mating side block presents a different challenge.
Its fingers extend 3 1/2" into the workpiece. An 8"-diameter dado blade can't be raised high enough to make a cut that deep.
Rather than trying to force one tool to do the entire job, you can divide the operation into three parts:
- Lay out the joint from the mating workpiece.
- Remove most of the waste at the table saw.
- Finish the deep cuts by hand.
This approach gives you the speed and accuracy of a machine-cut joint without being limited by the table saw's maximum cutting depth.
Step 1: Lay Out the Finger Joints
Start by using the fingers you've already cut on the mating end block as a direct template for laying out the notches.
This eliminates unnecessary measuring and helps ensure the two parts match.

Woodsmith Tip: Mark the waste areas clearly before heading to the table saw. With several closely spaced fingers and notches, it's surprisingly easy to remove material from the wrong side of a layout line.
Step 2: Remove Most of the Waste at the Table Saw
A dado blade is convenient for cutting a wide notch, but in this situation its limited cutting depth is the problem.
Instead, install a standard rip blade. The larger-diameter blade provides additional cutting depth.
Cut each notch by making a series of adjacent passes. Work carefully up to your layout lines while removing as much of the waste as the blade can safely reach.

The table saw establishes straight, consistent sides for the notches while doing most of the stock removal. But even a 10"-diameter blade won't reach the full 3 1/2" depth of these joints.
That's where the hand tools take over.
Step 3: Finish the Cuts with a Japanese Rip Saw
With most of the waste removed, extend the sides of each notch to full depth with a Japanese-style rip saw.
The thin blade and pull-cutting action make this type of saw well suited to following the existing kerfs from the table saw. Take your time and use the machine-cut portion of the notch to help guide the saw.
Once both sides of the notch have been sawn to full depth, remove the remaining waste with a sharp chisel.

Work gradually rather than trying to remove all the waste at once. As you approach the bottom of the notch, concentrate on creating a clean surface that allows the mating finger to seat fully.
Check the Fit
After cleaning up the notches, test-fit the two parts. The fingers should slide together without excessive force.
If the joint is tight, look for the high spots rather than automatically removing material from an entire face. A few careful passes with a chisel can often make the difference between a joint that won't assemble and one that slips together cleanly.
The finished joint combines the efficiency of machine work with the precision of hand tools — and it lets you cut finger joints far deeper than the table saw could manage on its own.
Learn to Use Japanese Saws
The Japanese-style rip saw is what makes these extra-long finger joints practical. If you're new to pull saws, our guide to Japanese Saws for Woodworking explains how dozuki, ryoba, kugihiki, and azebiki saws work, what each one does best, and the techniques for making accurate cuts.
LEARN ABOUT JAPANESE SAWS → Japanese Saws for Woodworking: Types, Uses, & Techniques
Cutting long finger joints in the tail vise end block for a Shaker-style Workbench that I built recently is a simple task with a dado blade installed on the table saw. But when it came to cutting the finger joints in the mating side block, I couldn’t use the same technique.
The finger joints on the side block are 3 1/2" long — too long to cut with an 8"-dia. dado blade. So I had to come up with another method.
I started by using the fingers already cut on the end block to lay out the notches on the side block.
Then, in order to get a deeper cut, I swapped out my dado blade for a standard rip blade and cut each notch by making a series of passes, as shown.
Even with a 10"-dia. blade though, I couldn’t cut the notches to their full depth. So the remaining waste needs to be removed by hand. This is simply a matter of cutting along the sides of each notch with a hand saw. I used a Japanese-style rip saw. Then the remaining waste can be removed with a chisel, as you see here.