


How to Draw Circles and Curves on Wood: Easy Layout Tips
Adding curves, arcs, and rounded corners is a simple way to give a woodworking project a more finished appearance. Whether you're softening the corner of a tabletop or laying out a decorative detail, accurate layout makes it easier to get the results you're after.
Fortunately, you don't need complicated jigs or expensive tools to draw circles and curves on wood. Two of the handiest options are a circle template and an ordinary compass.
And with one simple upgrade, you can make your compass even more useful for precision woodworking.
Use a Circle Template to Draw Rounded Corners
One of the easiest ways to lay out a consistent radius is with a circle template.
This simple plastic sheet has a series of graduated circles cut into it. Each opening provides a different radius, making it easy to find the right curve for your project.
Circle templates are especially useful when you want to round over the corners of a workpiece.
How to Mark a Corner Radius
Start by choosing the circle opening that matches the radius you want.
Position the template over the corner of your workpiece, aligning the reference marks on the template with the two adjoining edges.
Once the template is aligned, use a sharp pencil to trace the curved opening onto the wood.
The result is a smooth, consistent arc that's ready for cutting and shaping.
A circle template is particularly handy when you need to lay out matching rounded corners on several parts.
Use a Compass for Larger Circles and Arcs
A circle template works well for smaller curves, but it has limitations. You may need a larger radius or a size that isn't included on the template.
That's where a drawing compass comes in.
A compass allows you to draw circles and arcs in a wide range of sizes by adjusting the distance between its two legs.
How to Draw a Circle with a Compass
To lay out a circle or arc, start by setting the compass to the desired radius.
Place the pointed leg at the center of the circle and adjust the pencil leg to the correct distance.
Then rotate the compass around the center point to draw the circle or the portion of the arc you need.
This makes a compass useful for laying out larger curves and custom radii that aren't available on a circle template.
Upgrade Your Compass with a Mechanical Pencil
Here's a simple woodworking layout trick that can improve the accuracy of your compass.
Instead of using the standard pencil that comes with the tool, replace it with a mechanical pencil.
A mechanical pencil produces a finer, more consistent line than a typical wood pencil, making it easier to follow your layout marks when cutting or shaping a workpiece.
The fine lead is especially helpful when you're working with small parts or laying out details where accuracy matters.
It's an inexpensive upgrade that makes an ordinary compass a more useful woodworking tool.
Which Tool Should You Use for Drawing Curves?
Both tools have a place in the workshop.
- Circle template: Best for quickly laying out small radii and matching rounded corners.
- Compass: Best for larger circles, adjustable arcs, and custom radii.
- Mechanical pencil: A simple upgrade that helps produce fine, accurate layout lines.
Keeping both a circle template and a compass close at hand makes it easy to add curved details to your woodworking projects.
Simple Tools for More Accurate Woodworking Layout
You don't need elaborate equipment to draw smooth circles and arcs on wood.
A circle template makes quick work of rounded corners, while a compass gives you the flexibility to draw larger or custom-sized curves.
Add a mechanical pencil for finer layout lines, and you'll have a simple, versatile setup for marking curves on everything from small boxes to furniture components.
More Layout Tips: How to Draw Smooth Curves on Wood
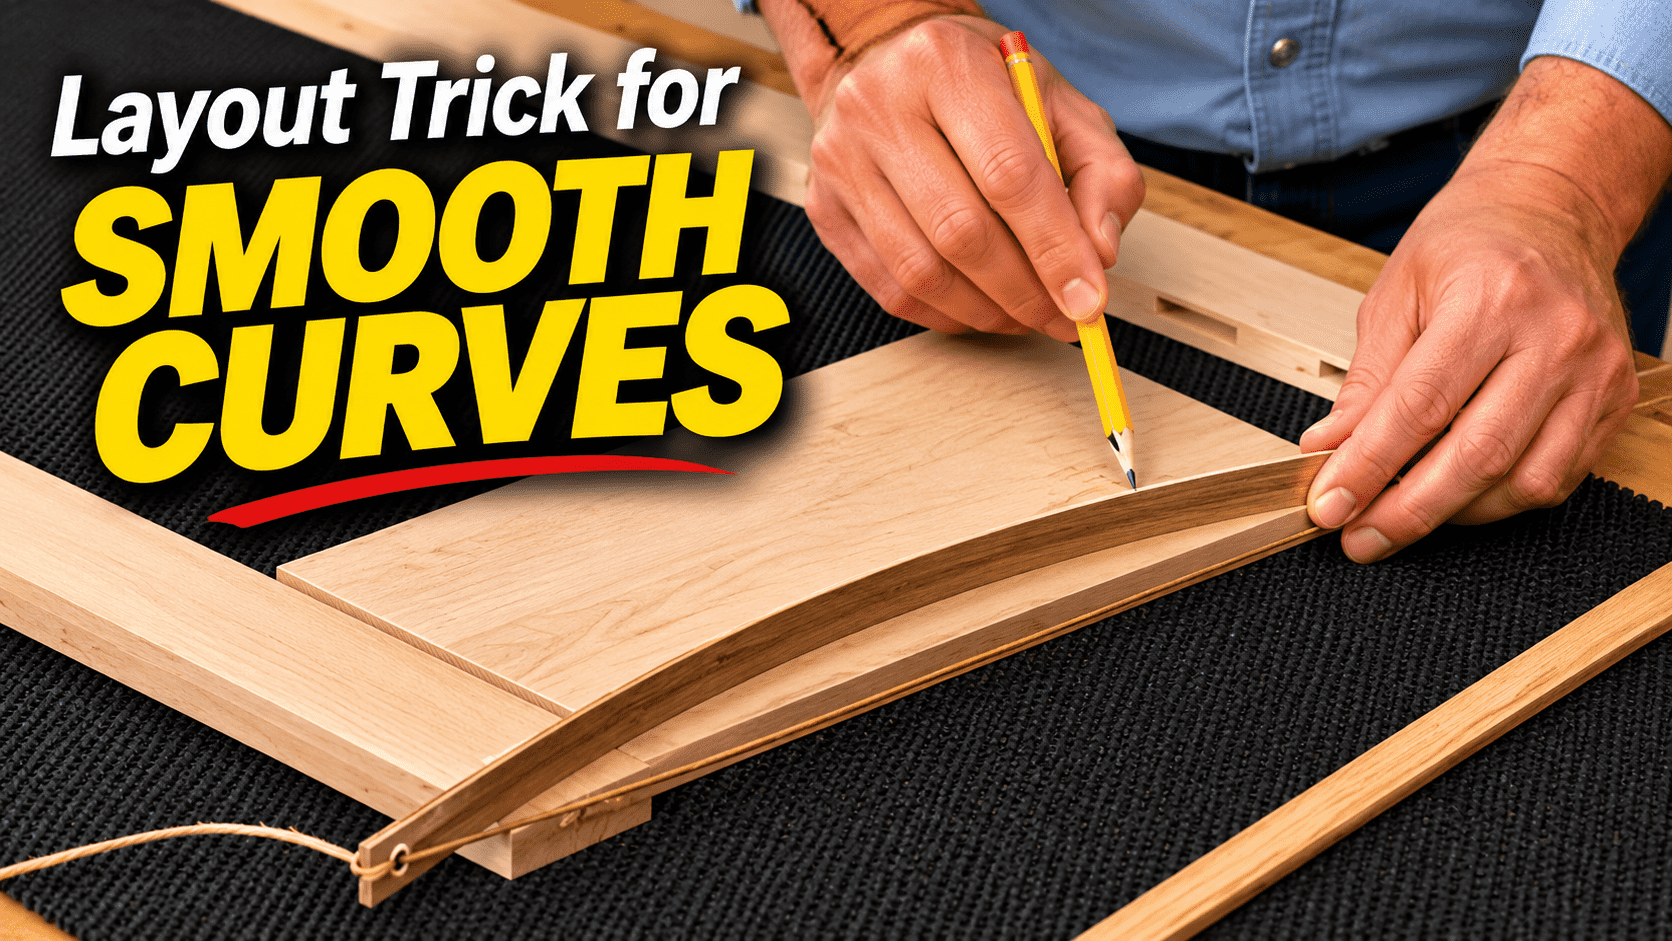
Need to lay out a long, gentle curve that a compass or circle template can't handle? This simple woodworking layout trick uses a thin, flexible wood strip and a piece of string to create smooth, flowing curves. It's an easy way to mark curved furniture rails and other decorative details without needing an extra set of hands. Learn how to make this handy layout tool and put it to work on your next project.
LEARN MORE → Learn How to Draw Smooth Curves on Wood


