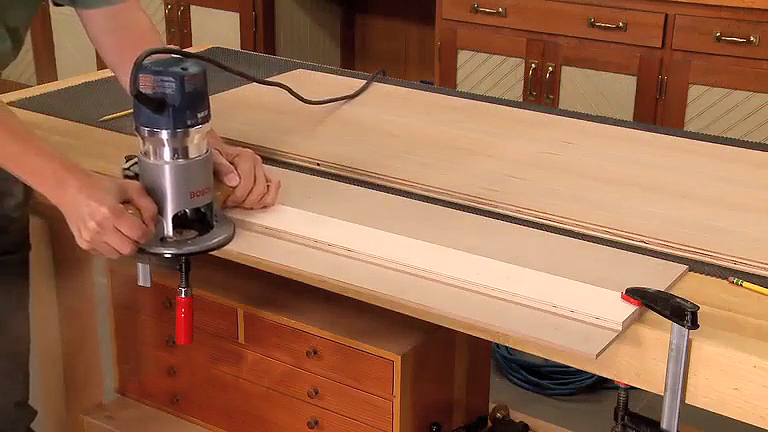
Compact Router Table: Add a Palm Router to Your Band Saw
A router table is one of the handiest accessories you can have in a woodworking shop. But finding room for a dedicated router table can be a challenge, especially when floor space is already at a premium.
That's where this compact router table comes in.
I wanted a convenient way to use my palm router for making thin moldings and other small parts. Mounting the router in a table would make those operations easier, but I didn't want to add another stand or cabinet to the shop.
The solution was to build a small router table that attaches directly to my band saw.
It gives me a dedicated surface for routing small workpieces without taking up any additional floor space. And as a bonus, it nearly doubles the usable surface area of the band saw table.
A Space-Saving Router Table for Small Shops
One popular way to save space is to build a router table into the extension wing of a table saw. But that arrangement doesn't work with every saw or shop layout.
The band saw offers another possibility.
By attaching a router table alongside the existing band saw table, you can create a convenient station for a palm router while keeping the footprint of the machine essentially unchanged.
The added tabletop also provides more surface area around the band saw, which can be helpful when handling larger workpieces.
Build a Hardwood Frame and Plywood Top

The construction is straightforward.
Start by assembling a hardwood frame sized to fit around the band saw table. The frame supports the router tabletop and provides a sturdy connection to the saw.
Cut dadoes in the frame where necessary to accommodate the band saw's miter gauge track. This allows the added table to fit around the existing features of the saw.
A plywood panel fits inside the hardwood frame to create the router table surface.
The palm router mounts beneath the plywood top, with the bit extending through an appropriately sized opening.
Make sure the router is securely mounted and that the bit has adequate clearance.
Mount the Router Table to the Band Saw
The router table attaches using the existing fence-mounting holes in the band saw table.
This provides a secure mounting point without requiring a separate stand.
Before fastening everything in place, check that the router table doesn't interfere with the band saw blade, table adjustments, or other controls.
The added surface should also leave enough room to operate the palm router safely, including convenient access to its power switch and adjustments.
For routing operations, use a suitable fence or guide, appropriate guarding, and workholding accessories as needed. The added table should never obstruct safe operation of either machine.
A Comfortable Height for Routing Small Parts
One unexpected advantage of this setup is the working height.
Since the router table is mounted to the band saw, it sits higher than many conventional router tables.
That makes it easier to see the work and guide small pieces without bending over.
It's especially handy for routing thin moldings, shaping edges, and other light-duty operations that are well suited to a palm router.
Of course, the compact size makes this setup better suited to smaller routing tasks rather than large panels or heavy cuts.
More Routing Capability Without More Floor Space
This shop-made router table is a practical way to get more use from the equipment you already have.
With a hardwood frame, plywood top, and a few mounting bolts, you can add a convenient routing station to your band saw while keeping your workshop footprint the same.
It's a simple upgrade that makes a palm router even more versatile — and gives you a little extra band saw table space in the bargain.
More Woodworking Tips & Tricks
Making better use of your shop space doesn't always mean adding another tool or workbench. Sometimes a simple shop-made accessory is all it takes.
Discover more practical woodworking tips, space-saving storage ideas, clever jigs, and workshop upgrades that help you get more from the tools you already own.
EXPLORE MORE WOODWORKING TIPS → Smart Shop Solutions for Small Workshops