


How to Install Threaded Inserts Straight With a Simple Jig
Threaded inserts are a handy way to create strong, reusable connections in woodworking projects. They're especially useful for knock-down furniture, adjustable jigs, and shop-made fixtures where parts need to be removed or repositioned.
But installing threaded inserts perfectly straight can be frustrating. Many inserts have a screwdriver slot that allows you to drive them into the wood. Unfortunately, it's easy for the insert to tilt as it starts threading into the hole. A screwdriver can also damage the slot, making installation even more difficult.
A simple shop-made threaded insert installation jig solves both problems. Using a hardwood guide block and a spring-loaded bolt, the jig keeps the insert perpendicular to the workpiece while you drive it into place with a ratchet.
In the video below, we'll show you how the jig works, how to use it, and how to make one for your own woodworking shop.
Why Use a Threaded Insert Installation Jig?
Threaded inserts provide durable metal threads in wood, allowing machine bolts to be installed and removed repeatedly without wearing out the surrounding material.
They're useful for all kinds of woodworking projects, from removable furniture components to adjustable shop accessories.
The challenge is getting the insert started square to the surface.
When using a screwdriver, there's little to prevent the insert from tilting. Once its external threads begin cutting into the wood, correcting the alignment can be difficult.
A threaded insert installation jig eliminates much of this guesswork.
The guide block keeps the installation bolt aligned with the workpiece, while a spring applies light downward pressure to help start the insert.
This allows you to concentrate on turning the bolt rather than trying to hold the insert perfectly straight.
How the Threaded Insert Installation Jig Works
The jig uses a simple combination of hardwood and common hardware.
A sturdy wooden block serves as the guide. A notch cut into one end provides clearance for the threaded insert and installation hardware.
A precisely drilled hole through the block guides a hex-head bolt, keeping it perpendicular to the workpiece.
The bolt passes through a spacer and spring assembly that applies downward pressure as the insert is installed.
A stop nut and washer help secure the insert to the bolt during installation.
When the jig is pressed against the workpiece, the wooden block provides a stable reference surface while the bolt drives the insert into the hole.
The result is a simple installation tool that helps keep threaded inserts straight and flush.

Build a Shop-Made Threaded Insert Installation Jig
One of the advantages of this jig is its straightforward construction.
The body is made from a small block of hardwood, while the installation mechanism uses readily available hardware.
Shape the Hardwood Guide Block
Start with a straight, square hardwood block.
Cut a notch into one end to provide clearance for the threaded insert and the hardware used to drive it.
The notch allows the installation bolt to extend below the block while leaving a flat surface on either side to register against the workpiece.
Drill the Guide Hole
Use a drill press to bore a straight hole through the block.
Keeping this hole perpendicular to the bottom surface is essential because it determines the alignment of the installation bolt.
The hole guides the bolt as it turns, helping the threaded insert enter the workpiece at 90°.
A counterbore provides clearance for the spacer used in the spring-loaded mechanism.
Assemble the Spring-Loaded Bolt
The installation mechanism consists of a hex-head bolt, plastic spacer, spring, stop nut, and washer.
The bolt passes through the guide block, while the spring provides light downward pressure during installation.
The stop nut secures the hardware assembly and allows the insert to be driven into the workpiece.
Because the parts are inexpensive and readily available, the jig is a practical addition to any woodworking shop.

How to Install Threaded Inserts With the Jig
Using the jig is straightforward. The important steps are preparing the hole, positioning the insert, and keeping the guide block firmly against the workpiece.
Step 1: Drill the Correct Hole Size
Start by drilling a hole in the workpiece for the threaded insert.
For many inserts, the pilot hole is approximately the diameter of the insert's body, excluding the external threads. However, the correct size depends on the insert design and the material.
Follow the manufacturer's recommended hole size and test the fit in scrap wood when necessary.
Make sure the hole is deep enough to accommodate the insert and provide clearance for the machine bolt that will eventually thread into it.
Step 2: Chamfer the Opening
Before installing the insert, use a countersink bit to create a slight chamfer around the opening.
This helps prevent the external threads from lifting or tearing the wood fibers as the insert is driven into place.
The chamfer also helps the insert start cleanly.
Step 3: Attach the Insert to the Jig
Slip the washer onto the installation bolt and thread the insert onto the end.
The insert should be securely engaged with the bolt so it can be driven without slipping.
Position the jig over the drilled hole, with the insert centered above the opening.
Step 4: Drive the Insert Into the Wood
Press the jig firmly against the workpiece to keep the guide block seated flat.
The spring provides light downward pressure to help the insert engage the hole.
Use a socket wrench or ratchet to turn the hex-head bolt.
As the bolt turns, the guide block keeps it aligned, allowing the threaded insert to enter the wood squarely.
Continue until the insert is flush with the surface.
Step 5: Remove the Installation Jig
Once the insert is seated, loosen the stop nut using an adjustable wrench.
Then back out the installation bolt, leaving the threaded insert in the workpiece.
The finished insert should be flush with the surface and ready to accept a machine bolt.
Adapt the Jig for Different Threaded Insert Sizes
The jig can also be customized for different sizes of threaded inserts.
For example, one end of the block can be set up for 1/4" threaded inserts, while the opposite end can accommodate another size.
To add a second installation position, cut a clearance notch in the opposite end of the block.
Then drill a properly sized guide hole and counterbore for the corresponding installation hardware.
Install the appropriate bolt, spacer, spring, stop nut, and washer.
This allows one compact wooden block to serve as an installation guide for multiple insert sizes.
Tips for Better Threaded Insert Installation
A few simple precautions will help you get consistent results.
- Choose the correct pilot-hole size. A hole that's too small can split the wood, while an oversized hole may not provide enough holding strength.
- Drill the guide hole square. Use a drill press when making the jig so the installation bolt remains perpendicular to the workpiece.
- Chamfer the opening. A small countersink helps prevent raised fibers around the insert.
- Keep the jig seated firmly. Maintain contact between the guide block and workpiece throughout installation.
- Use light, steady pressure. The spring helps start the insert without requiring excessive downward force.
- Avoid overtightening. Stop when the insert reaches the intended depth.
- Test the setup. Install an insert in scrap material before working on a finished project.
A Simple Jig for More Accurate Woodworking
Threaded inserts are useful for building knock-down furniture, adjustable fixtures, and shop-made accessories. But their performance depends on proper installation.
This simple spring-loaded jig makes the job easier by keeping the insert aligned as it's driven into the wood.
With a hardwood block and a few inexpensive hardware components, you can build a reliable installation tool that will see regular use in your shop.
It's a small project that makes installing threaded inserts faster, easier, and more consistent.
How to Install Threaded Inserts in Wood
Choosing the correct hole size is just as important as keeping the insert straight. Learn how to size and prepare the hole, prevent splitting, and install threaded inserts for reliable woodworking connections.
RELATED ARTICLE ➜ Learn More Threaded Insert Installation Tips
How to Install Threaded Inserts in Plywood Without Splitting
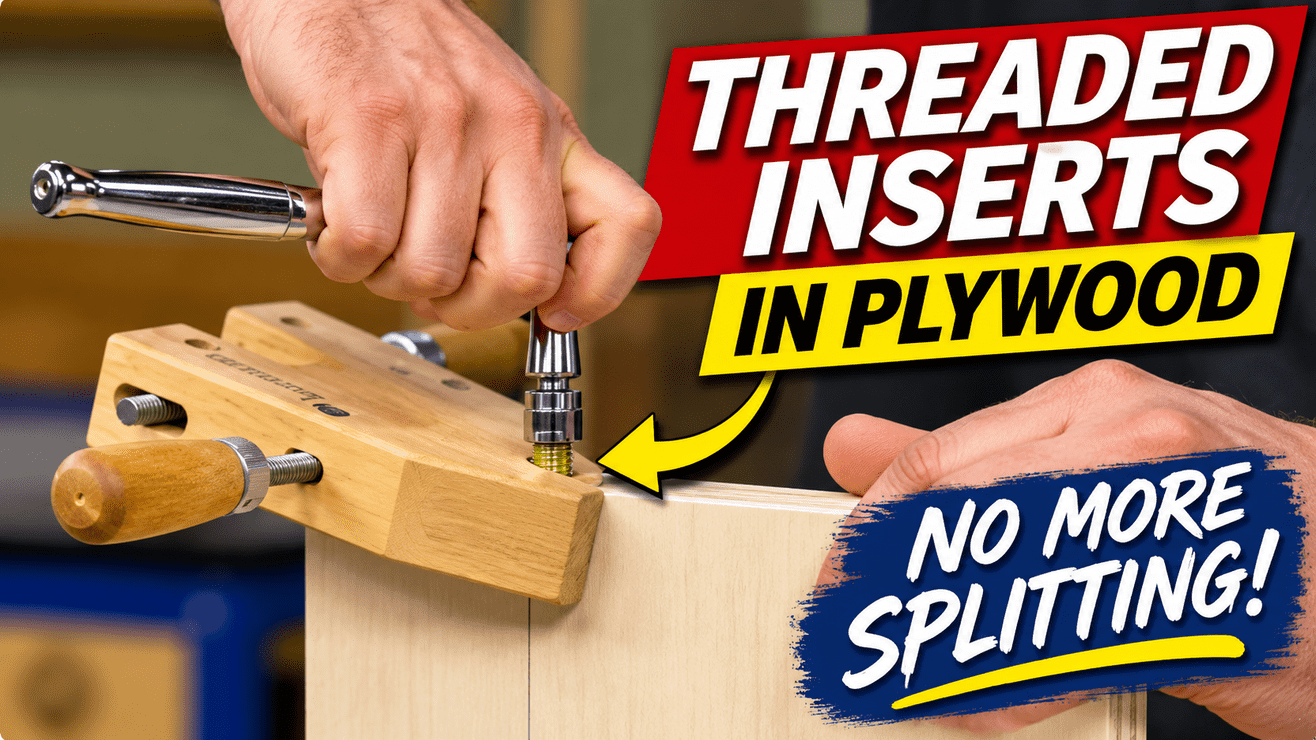
Installing threaded inserts into plywood edges requires a little extra care. Discover how a simple drilling guide and handscrew clamp help keep inserts straight while preventing the plywood layers from separating.
WATCH THE VIDEO ➜ See How to Install Threaded Inserts in Plywood
Threaded inserts are handy pieces of hardware. Unfortunately, installing them perfectly square can be difficult. To solve this problem, I use a handy installation jig.
Using the jig is really quite simple. The first thing to do is drill a hole in the workpiece to match the diameter of the body of the insert. To prevent the edge of the hole from lifting, I like to drill a small countersink around the edge of the hole. Next, slip a washer onto the bolt and thread the insert on. Then set the jig (and insert) in place over the hole. To seat the insert in the hole, simply press the jig down against the workpiece. Now it’s just a matter of turning the head of the bolt with a ratchet until the insert is flush with the surface.
The jig is nothing more than a block of hardwood with a notch cut at one end. A hole drilled through the notch holds the hardware that keeps the insert straight.


