Frame Assembly Made Easy: A Simple Glue-Up Jig
Gluing up small woodworking frames can be frustrating. Between keeping the joints aligned, holding everything flat, and making sure the corners stay square, it sometimes feels like you need more hands than clamps.
That's why I like this simple shop-made frame glue-up jig. It holds a frame securely while the glue dries, using a pair of clamp bars, adjustable dowels, and wooden wedges instead of traditional clamps.
Best of all, the jig is easy to build from plywood scraps and can be adjusted to accommodate frames of different sizes.
How the Frame Glue-Up Jig Works
The jig consists of a plywood base with two clamp bars. One bar is fixed to the base, while the other moves to accommodate the length of the frame.
Two rows of holes in the base accept dowels that act as stops for the wedges.
To apply pressure, simply position the frame between the clamp bars, insert the dowels into the appropriate holes, and tap the wedges between the dowels and the movable clamp bar.
The wedges push the clamp bar against the frame, holding the joints together while the glue dries.
Build the Jig from Plywood Scraps
The base, clamp bars, and wedges are all made from plywood, making this an inexpensive project you can put together with materials already in your shop.
Start by cutting the base and clamp bars to size. Then drill two rows of holes along the base for the adjustable dowels.
These holes allow you to reposition the wedges to accommodate different frame sizes.
Glue one clamp bar permanently to the end of the base, leaving the second bar loose so it can slide into position.
I also like to drill a larger hole near one end of the base so the jig can hang on the shop wall when it's not in use.
Finally, apply a coat of wax to the base to help prevent glue squeeze-out from sticking to the jig.

Glue Up Frames Without Traditional Clamps
Using the jig is straightforward.
First, position the frame parts on the base and apply glue to the joints.
Place the loose clamp bar against the end of the frame, then insert the dowels into the closest set of holes.
Lightly tap the wedges between the dowels and the clamp bar until the joints close.
Check that the frame is square and seated flat against the base, making any necessary adjustments before the glue sets.
Once the glue has dried, simply tap the wedges loose and remove the completed frame.
A Handy Jig for Small Frame Assemblies
This adjustable frame glue-up jig is a practical alternative to traditional clamps when assembling small woodworking frames.
The plywood base provides a flat surface, while the clamp bars and wedges make it easy to apply controlled pressure to the joints.
And because the dowel positions are adjustable, one jig can handle a variety of frame sizes.
It's a simple addition to your collection of shop-made jigs that can make frame assembly faster, easier, and more consistent.
Put This Frame Glue-Up Jig to Work
Ready to put your new frame assembly jig to use? Our No-Miter Picture Frames woodworking plan features six distinctive frame styles that eliminate the hassle of cutting perfect 45° miters.
Instead, these frames use a clever layered construction technique. Two butt-jointed frames are glued together with overlapping corners to create strong, gap-free joints. And the shop-made glue-up jig featured in this article makes assembling the frames flat and square even easier.
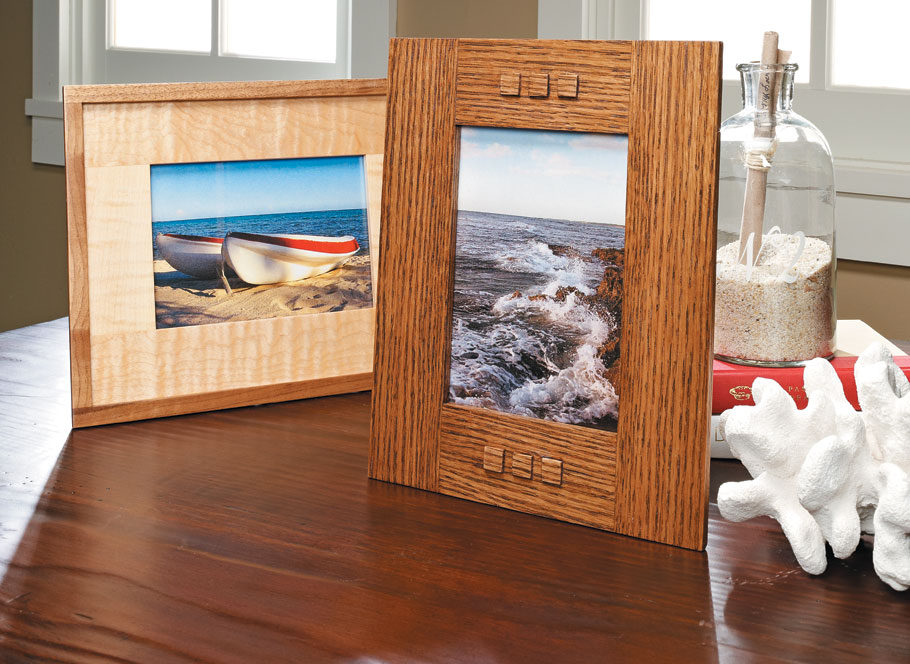
Choose from six designs featuring contrasting hardwood accents, Craftsman-style details, decorative grooves, and elegant curves. They're perfect for displaying family photos, artwork, and more.
GET THE COMPLETE STEP-BY-STEP WOODWORKING PLANS → No-Miter Picture Frames: 6 Easy-to-Build Designs