Sharpening a straight chisel or plane iron with a conventional honing guide is pretty straightforward. But skewed blades can be more difficult to hold at a consistent angle.
I have several tools with skewed cutting edges and found them difficult to sharpen with a standard honing jig. So I built this simple shop-made jig.
The jig is made to fit a specific chisel, plane iron, or turning tool. Once it's set up for that blade, it holds the tool at the same position and angle each time it's sharpened. That makes it easier to maintain the existing cutting edge rather than trying to establish the skew and bevel by hand every time.

How the Sharpening Jig Works
The sharpening jig consists of a hardwood block with a fence and stop that position the blade.
The bottom of the block rides over a flat MDF base. A strip of sandpaper attached to the base provides the abrasive sharpening surface.

I used MDF for the base because its smooth, flat surface provides a good foundation for sharpening.
Acrylic glides attached to the bottom of the hardwood block allow the jig to move smoothly over the base while keeping the blade positioned against the abrasive.
Because the jig is made for a particular blade, its dimensions and angles can be adjusted to suit the chisel, plane iron, or turning tool you want to sharpen.
Build the Jig to Match the Blade
The main block is made from hardwood. The first step is to cut the bevel on top of the block to match the bevel angle of the blade, as shown in Figure 1.
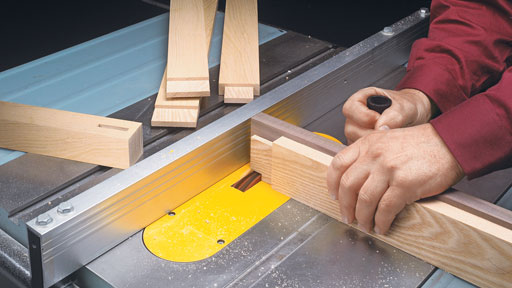
Next, cut a wide dado in the bottom of the block so it straddles the MDF sharpening base, as shown in Figure 2.

The skew angle is established by cutting an angled kerf in the top of the block to match the skew of the blade, as shown in Figure 3.
Finally, cut two pieces of hardboard to form the fence and stop and glue them in place. These position the blade consistently each time it's placed in the jig.
To complete the jig, glue acrylic glides to the bottom at each end of the hardwood block.
Repeatable Sharpening for Skew Chisels & Plane Blades
The advantage of this jig is repeatability. Once it's built for a particular blade, the fence, stop, bevel, and angled kerf establish the blade's position every time you sharpen it.
Instead of trying to recreate the bevel and skew angles by eye, the jig does the positioning for you.
It's a simple solution for a sharpening job that can otherwise be awkward with a standard honing guide.