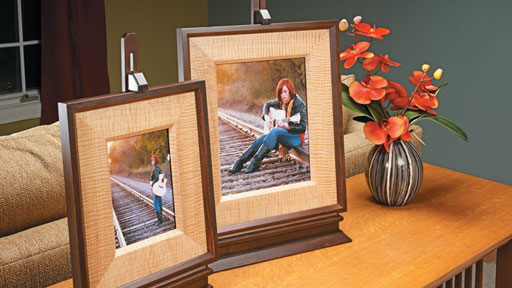
A miter joint is a great choice when you want clean corners without exposing end grain. But there's an easy way to make those corners stronger — and add an attractive woodworking detail at the same time.
The answer is a hardwood spline.
A spline fits into a slot cut across the assembled miter joint. Gluing the spline into the slot adds gluing surface across the corner and helps prevent the miter from opening over time.
Choose a contrasting hardwood for the spline and it becomes more than reinforcement. The exposed ends create a decorative detail that highlights the corner rather than hiding the joinery.

How a Spline Strengthens a Miter Joint
A spline is simply a thin strip of hardwood glued into a slot that crosses the miter.
The important part is its position. Rather than relying solely on the two mating surfaces of the miter, the spline bridges the joint and provides additional surface for glue.
For a box, you can use a single spline at each corner or create a series of evenly spaced splines. Multiple splines also give you an opportunity to turn the reinforcement into a repeating design element.
The challenge isn't making the spline itself. It's cutting the slots accurately and consistently on all four corners.
For that, a simple table saw jig does the trick.
Build a Simple Miter Spline Jig
To cut a spline slot across a box corner at the table saw, the box needs to be supported at a 45° angle as it passes over the blade.
A simple cradle-style jig provides that support.

The jig consists of a short fence with a pair of supports that cradle the box at the proper angle.
This keeps the corner centered over the saw blade and allows the box and jig to move together during the cut.
WOODSMITH TIP: Test the Setup First. Before cutting into a finished box, use scrap pieces to verify the blade height and spline location. It's much easier to fine-tune the setup on scrap than repair a misplaced slot in your project.
Use the Rip Fence to Position the Spline
The spline jig rides alongside the table saw rip fence. This makes the fence the reference for locating each slot along the corner.

Set the fence to establish the location of the first spline. Place the box in the jig and make the cut across one corner.
Then rotate the box and repeat the cut on the remaining corners without changing the fence setting.
This gives you four matching slots located the same distance from the edge.
If you're adding multiple splines, reposition the rip fence for the next location and repeat the process around all four corners.
Cut One Position at a Time
For evenly spaced splines, don't cut every slot on one corner before moving to the next. Instead:
- Set the fence for the first spline location.
- Rotate the box and cut that slot on all four corners.
- Reposition the fence for the next spline.
- Repeat the cuts around the box.
Working this way keeps each set of spline slots aligned around the entire project.
Fit the Hardwood Splines
Once the slots are cut, make hardwood spline stock to fit them.
The goal is a snug slip fit. The spline should slide into the slot without requiring excessive force while still making good contact with the sides.
Apply glue to the spline and insert it into the slot. After the glue cures, trim the projecting portion of the spline close to the box and carefully sand it flush with the surrounding surfaces.
A contrasting wood can make the spline stand out. For a quieter appearance, choose spline stock closer in color to the box.
A Small Detail That Makes a Better Miter
Adding splines doesn't dramatically change the appearance of a mitered box, but that's part of their appeal.
The basic corner still looks clean and uninterrupted. The small pieces of hardwood crossing the joint provide additional gluing surface while creating a deliberate decorative accent.
And with a simple 45° table saw jig, you can cut the slots in matching locations on every corner without a complicated setup.
Put Splined Miters to Work
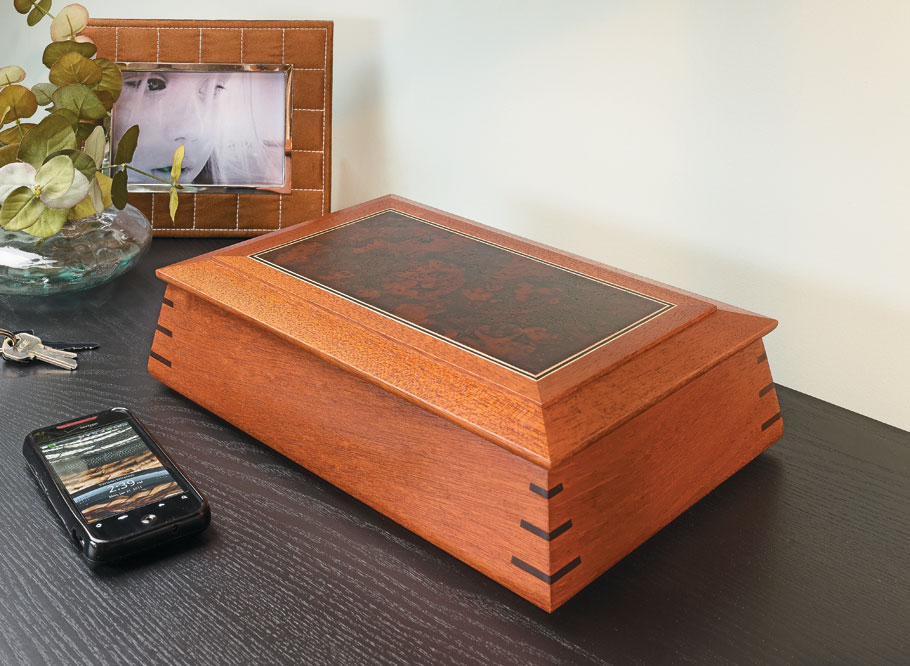
Ready to use splined miters on your next project? This Contoured Keepsake Box combines decorative hardwood splines with graceful curved sides and a veneered lid to create an heirloom-quality box that's perfect for gifts, jewelry, or special keepsakes.
Along the way, you'll put your miter-joint skills to work, learn a straightforward veneering technique, and turn a few small pieces of beautiful hardwood into an impressive finished project.
GET THE STEP-BY-STEP PLANS → Build a Contoured Keepsake Box