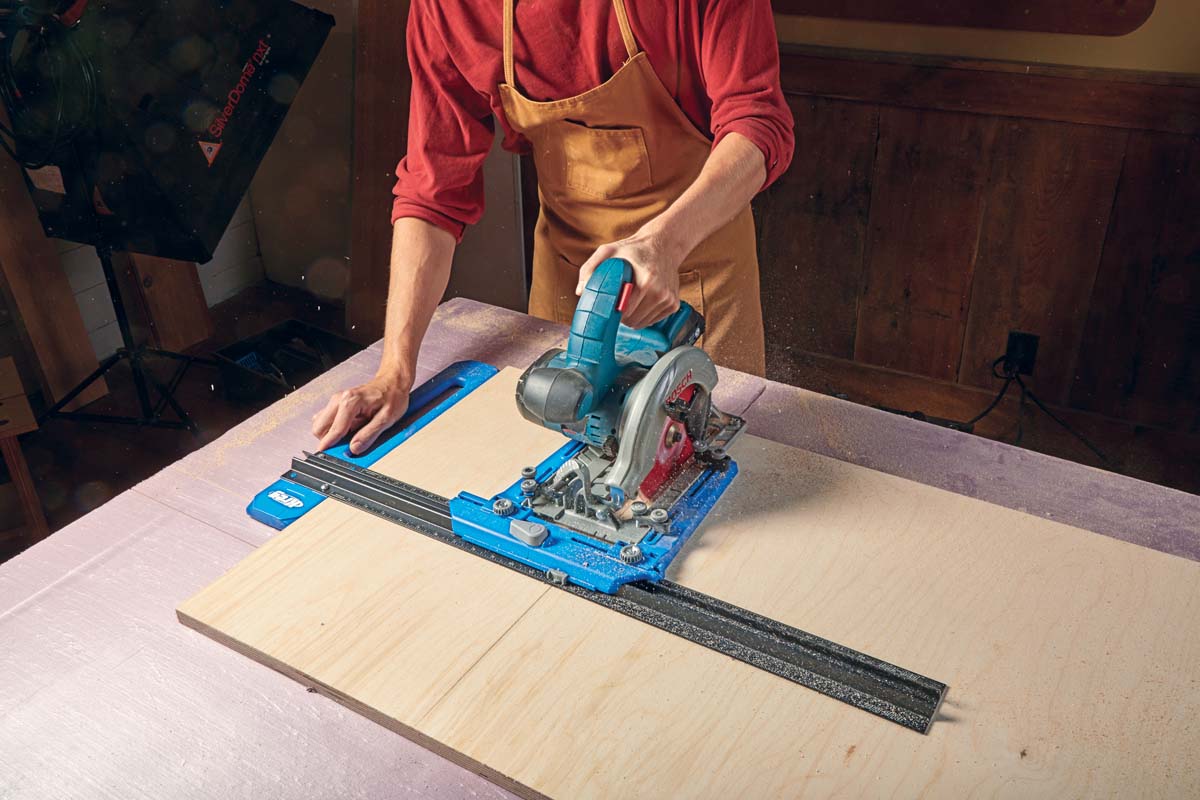
When it comes to adding tools to my shop, versatility is one of the biggest things I look for. When you can afford the shop space (and cost) of specialized tools, they’re wonderful to have. However, for my shop at home — with somewhat limited space — I prefer to keep a smaller selection of tools capable of performing a number of tasks. So I ask when looking at a tool: how much can it do? Does it do those things well? And how many projects will I really be using this on?
In the realm of versatility, the router is a standout. Just reading through ShopNotes or Woodsmith, you can probably tell it’s one of our favorite tools. However, one tool that we don’t speak of often, but can be just as useful (and is likely as common) as the router is its little cousin, the rotary tool.
DREMEL & ROTARY TOOLS.
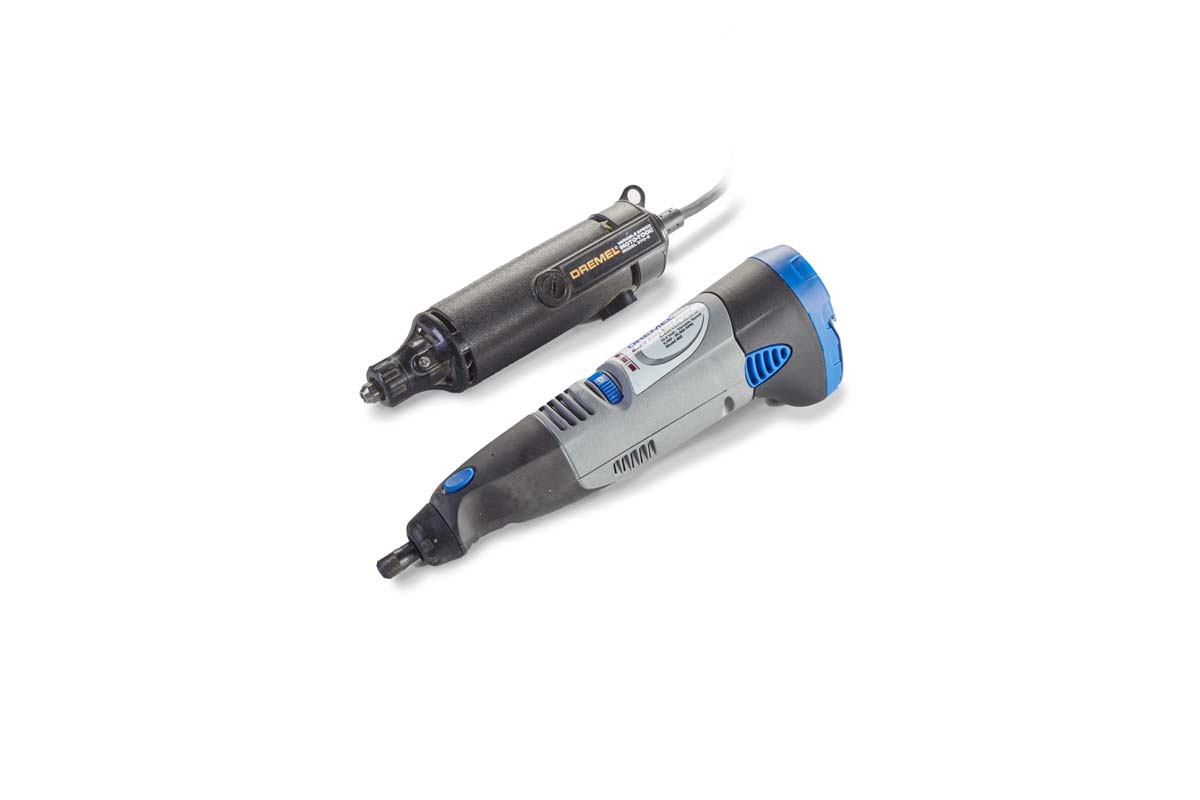  |
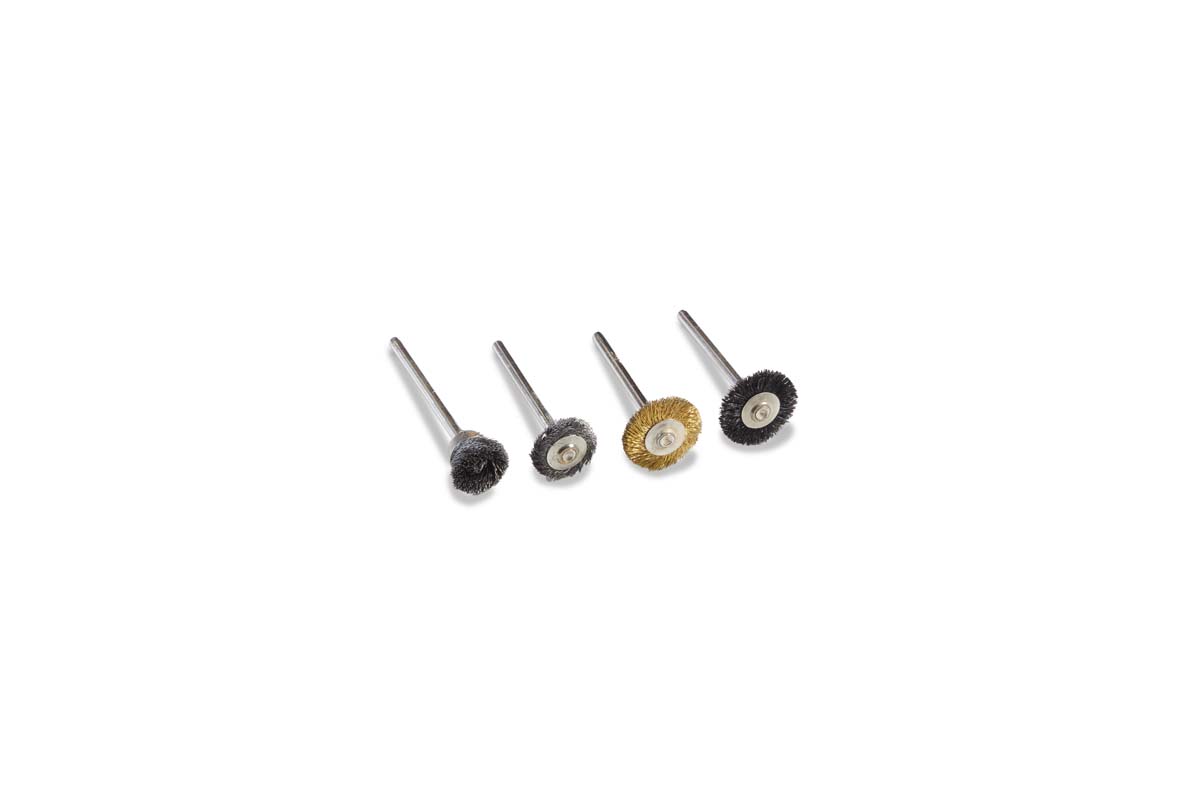
| Innovations have made rotary tools more capable and easier to use, while evolving from a similar design. These abrasive rubber brushes can polish and remove burrs without affecting harder materials. |
Whether as a gift, a one-off purchase, or a dedicated shop investment, a majority of woodworkers likely have a rotary tool tucked away somewhere, and chances are it’s a Dremel. The Dremel company has been a long time manufacturer of rotary tools — to the point they’re often genericized as “Dremels” themselves (like Kleenex and Band-Aid). While Dremel may be the brand you hear of most often, there are other quality manufacturers as well, such as Foredom and RotoZip.
ROTARY ROUTING.
At its heart, a rotary tool is precisely what it appears to be: a pint-sized router. The bits and base at right allow a rotary tool to act as just that. Straight bits, chamfer bits, roundover bits, core box bits, and many others are readily available. Because of their size and precision, they’re often favored by luthiers (the makers of stringed instruments).
 |
 |
| This plunge base attachment turns a rotary tool into a small-scale router capable of small, precise cuts. |
In practice, routing with a rotary tool is nearly the same as routing with a standard plunge router. However, due to the minimal amounts of material being removed, the control you have over the routing is unparalleled.
Routing is just the beginning of what a rotary tool can do though. What these tools may lack in power they more than make up for in control. With the right bits and accessories, they can be used not just for small-scale routing, but also for cutting, carving, grinding, polishing, and sanding various materials.
CUTTING TOOLS
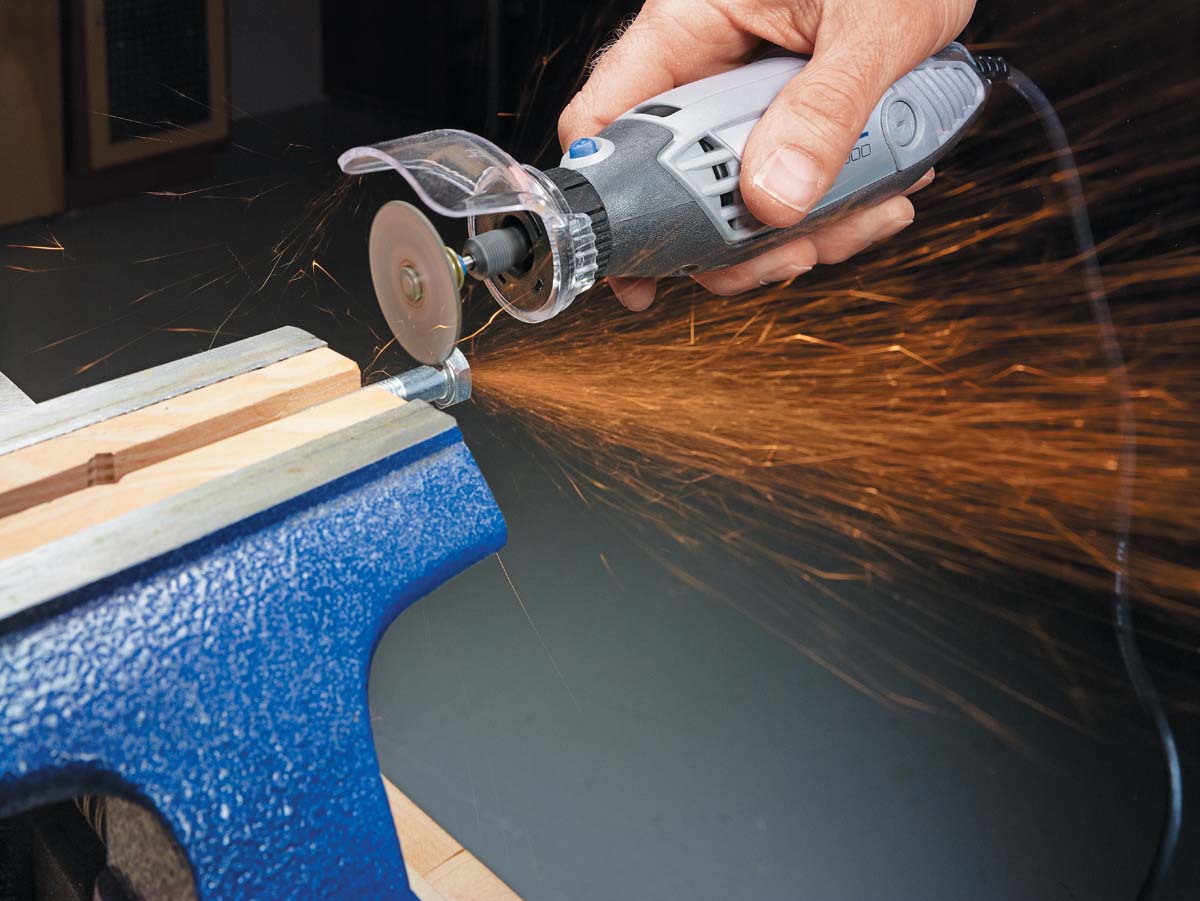 |
| An abrasive wheel allows the rotary tool to function like a mini angle grinder, and works well for cutting small metal objects like bolts. |
Thanks to the ease of control a rotory tool has, it isn’t limited to being used with a base or attached to a table like a router. Instead of using it as a tiny router, a rotary tool also works as a mini angle grinder.
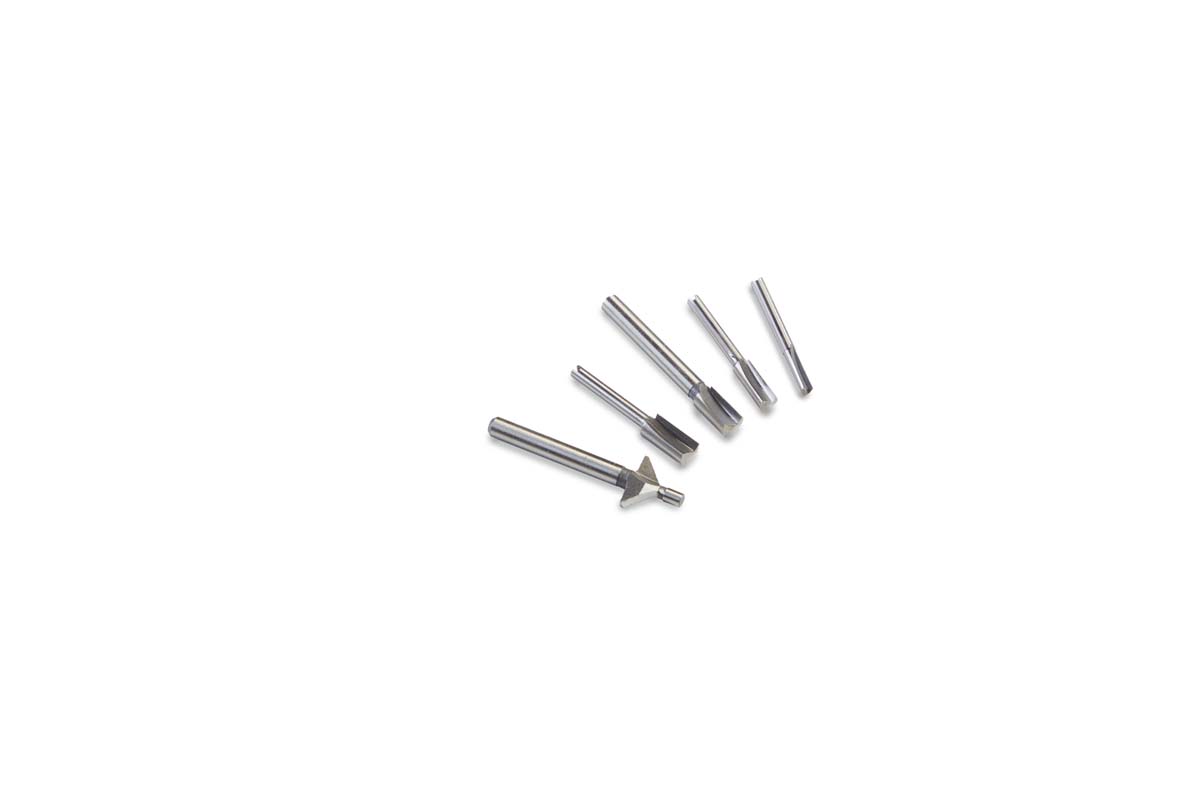
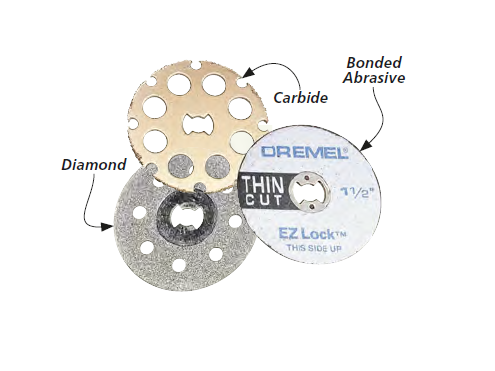
You’ll find that rotary tools have a few different types of cutters.
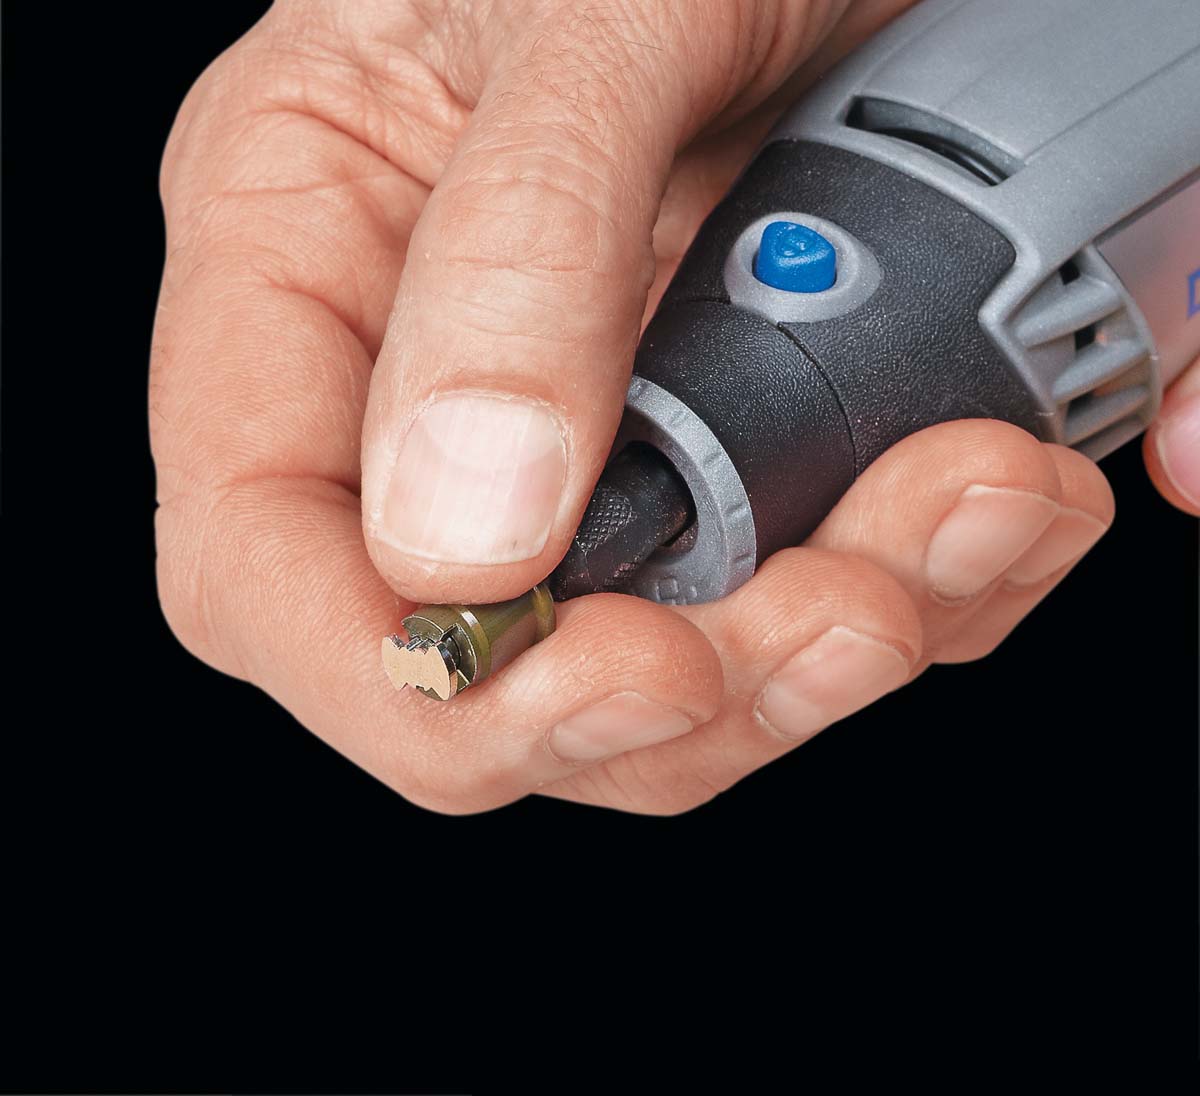
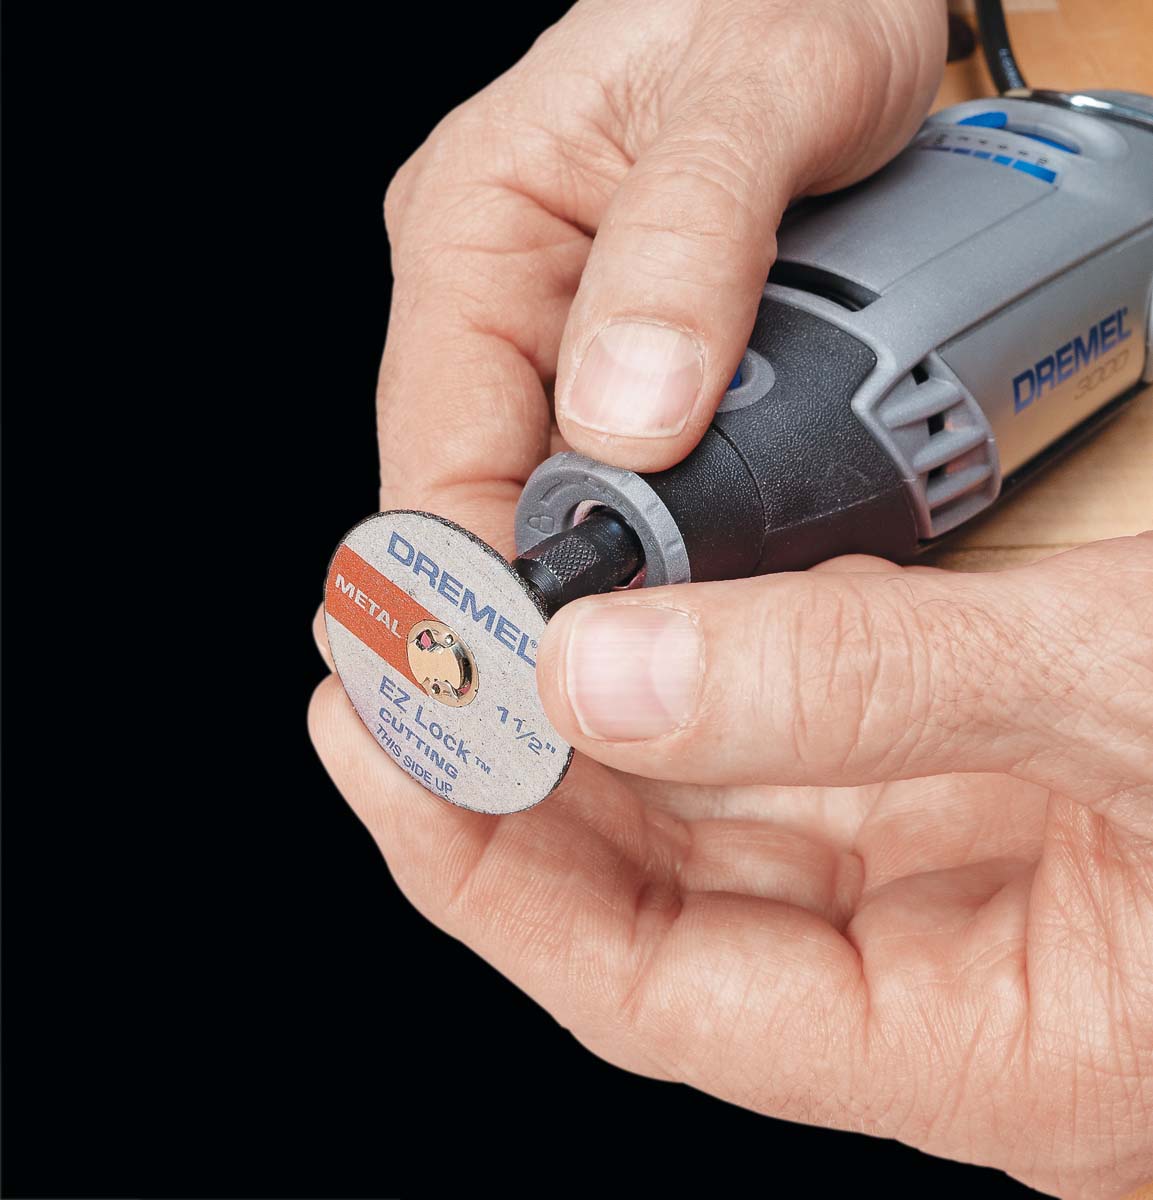
Mandrel Bits A mandrel bit makes replacable cutters, like the ones above, easy to swap out. First, retract the spring-loaded collar (Figure 1), then slip the cutter over the top and rotate (Figure 2). The mandrel bit itself simply chucks into the collet.
 |
 |
 |
While the thickness of what can be cut is limited to about 3⁄8", a rotary tool makes for a quick cutter to keep nearby. The bonded abrasive cutters do well to cut through thin metals and bolts. Carbide-coated cutting wheels make easy work of plywood, hardboard, and laminate, though the freehand nature of the tool makes it best for small cuts.
Diamond wheels are designed to cut through thin concrete or masonry, and while this is a rare operation in my shop, they’re handy to have around the house.
CARVING
Carving with a rotary tool captivated me long before I took it up. It made intimidating designs look attainable, and while there is certainly some skill involved, rotary tools make for quick and efficient carving.
| |
| ---------- |
| |
|Combining this trio of cutters allows you to carve a variety of shapes into wood, plastic, and nonferrous metals.|
|
|
|Combining this trio of cutters allows you to carve a variety of shapes into wood, plastic, and nonferrous metals.|
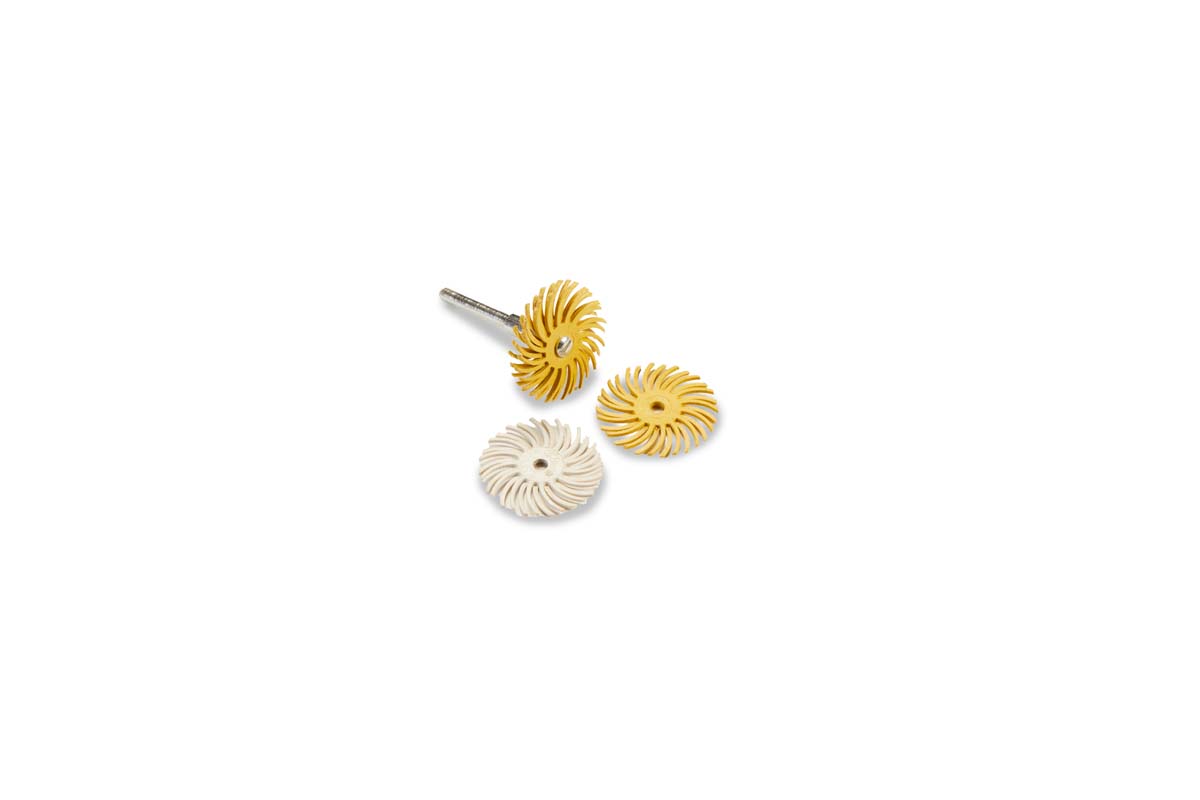
| |
|Silicon carbide is a good material for grinding nonferrous metals, while aluminum oxide is for iron or steel.|
|
|Silicon carbide is a good material for grinding nonferrous metals, while aluminum oxide is for iron or steel.|
WHICH BITS?
There are a variety of sizes and shapes available when it comes to carving bits. However, the three you see at left are my go-tos. The ball cutter creates a rounded channel, while the cylinder creates sharp corners. The arrow bit can be used to etch thin lines, or to contour edges. These three make for a good baseline, and other shapes and sizes can be purchased as needed.
 |
 |
| Ball-shaped cutting bits work well to follow flowing designs like the vines shown on the workpiece above. The ball leaves behind a round-bottom channel for a more organic look. | Arrow-shaped cutting bits form a V-shaped channel, but also work well to create contoured designs, such as the center portions of the leaves shown in the carving above. |
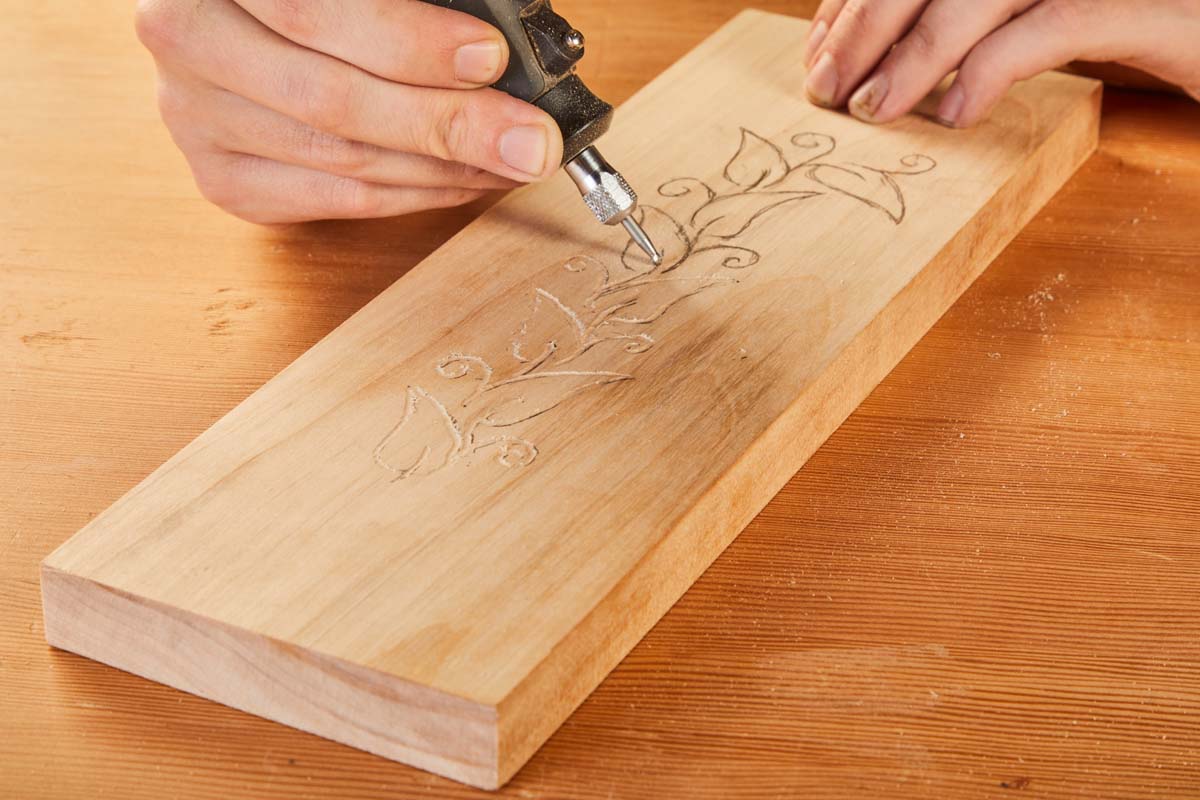
ROTARY CARVING.
Carving with a rotary tool is largely a matter of muscle memory. Thanks to the tool’s freeform use, nearly any shape you can draw and follow can be carved, but there’s some technique to keep in mind. First, keep the rotation of the tool in mind. As with a router, you’ll want to avoid backrouting. For a right-handed individual like myself, my grip means I should work from the upper right to the lower left. For any southpaws, that means upper left to lower right.
I begin carving as in Step 1, lightly establishing my design with either the ball bit or the cylinder bit, depending on what shape of channel I’m looking for. For the vine carving, I wanted a rounded, organic channel, so I used the ball bit. After first establishing the lines, I went back through and worked to my desired depth for the channel.
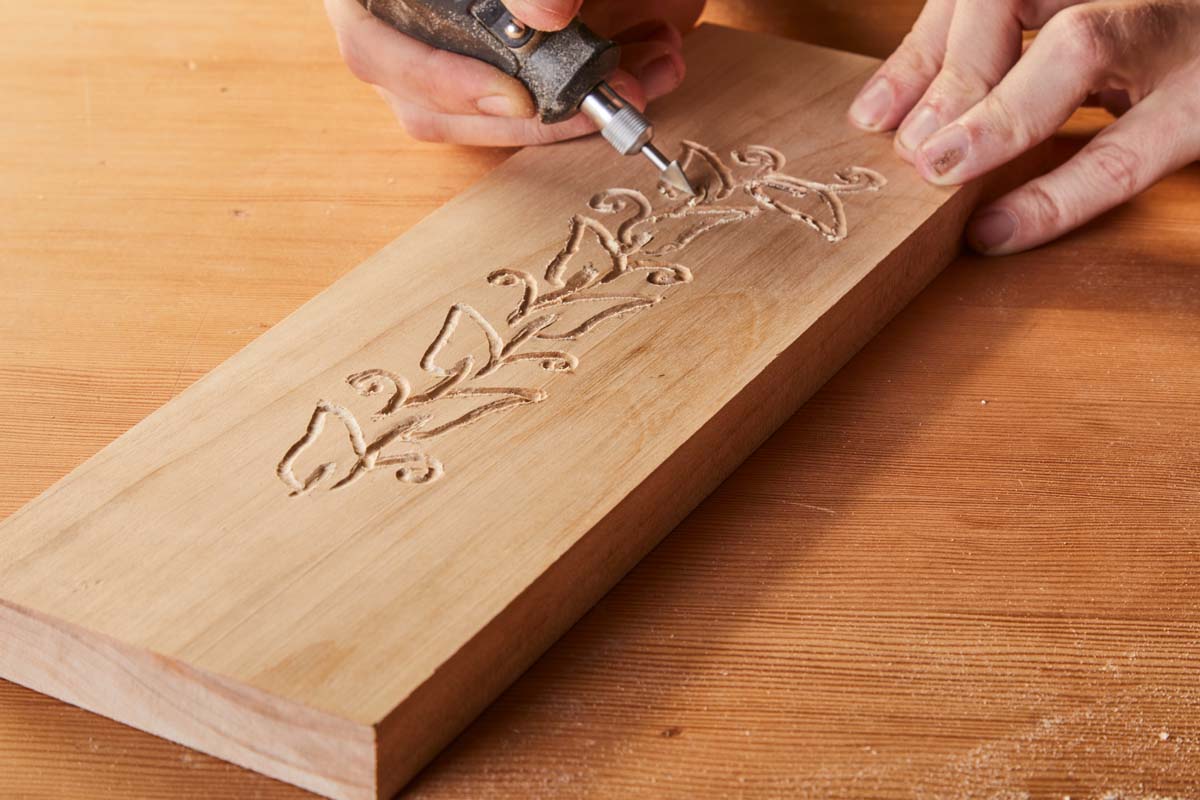
With the main channels shaped, I wanted to add some texture. I did this with the arrow bit, using it to knock down the edges at the center of the leaves, as in Figure 2. After some sanding, this adds a more natural look.
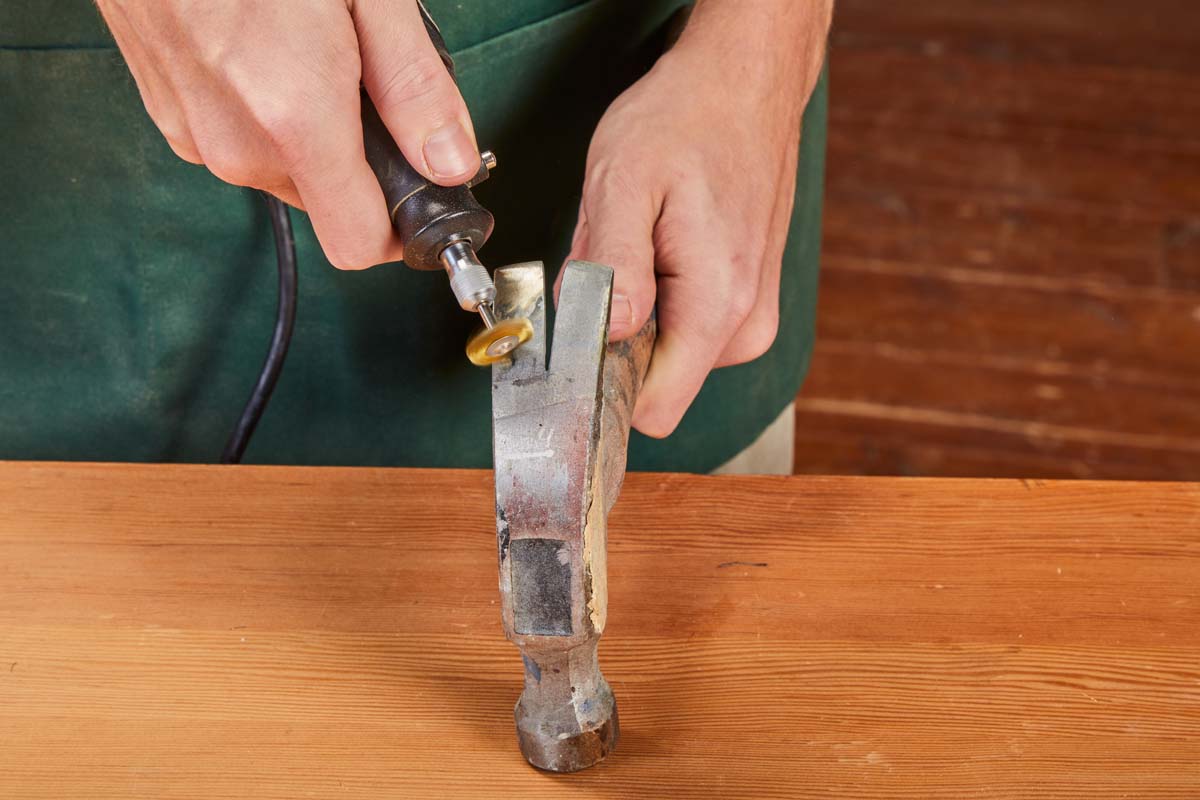
You’ll notice in the photos that the rotary cutters leave quite a bit of small chipout, almost like burrs on a metal edge. These can be taken off with the detail brushes shown on page 46. The soft rubber won’t change the shape of the carving as sanding would, but it will knock off those loose fibers.
ABRADING
The last task to discuss is a simple one: abrading. With the proper bits, rotary tools can grind, polish, and even sand. While you won’t be reaching for one when quantity is the issue, odd shapes, small surfaces, and hard to reach places are the rotary tool’s forte.
GRINDING.
For grinding metals, two materials are commonly used: silicon carbide and aluminum oxide. You’ll find these stones shaped in cones, discs, and cylinders for deburring, shaping, and sharpening metals. Silicon carbide is the most effecient choice for nonferrous metals, but you’ll need aluminum oxide for iron and steel.
POLISHING.
 |
 |
| Wire brushes work wonders when it comes to polishing. Steel brushes work well to remove rust, while brass and nylon are good at removing paint and gunk without marring a metal surface. |
Along with grinding, polishing away rust and gunk is also a great task for a rotary tool. Brushes come in wheel and cup form, and a variety of materials from steel to brass to nylon.
SANDING.
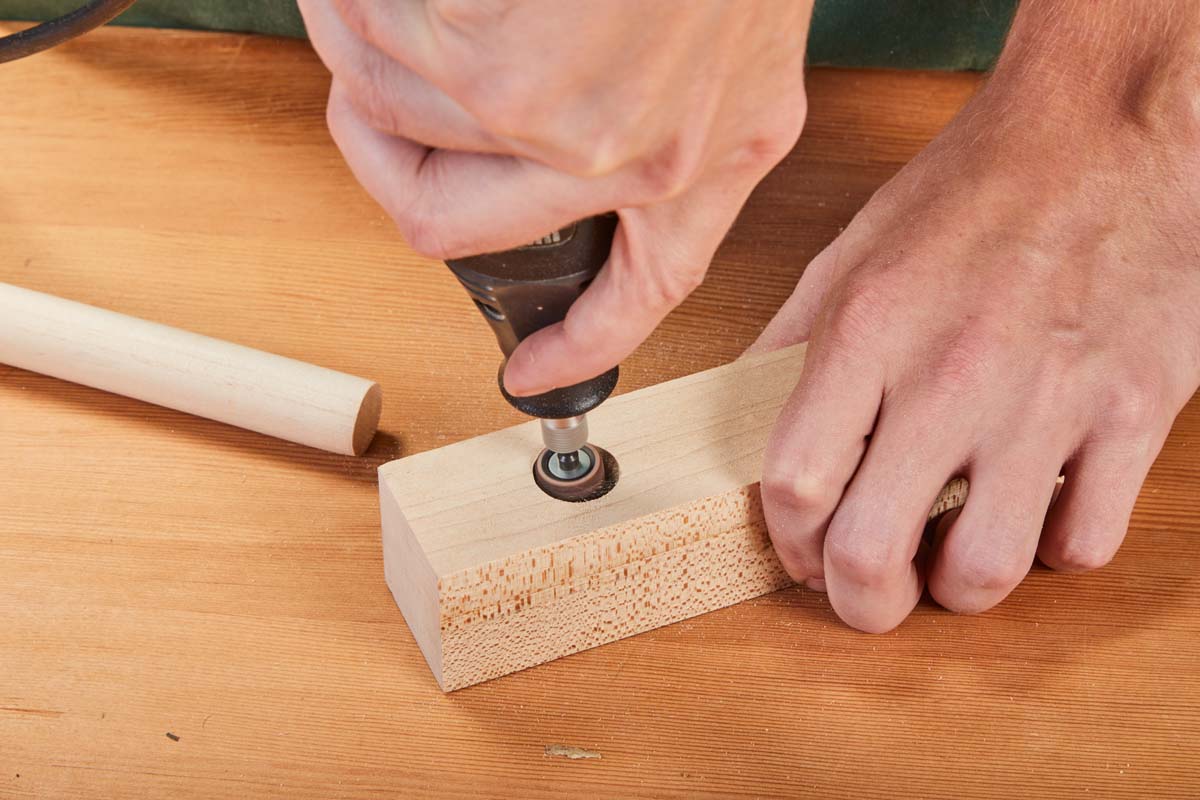 |
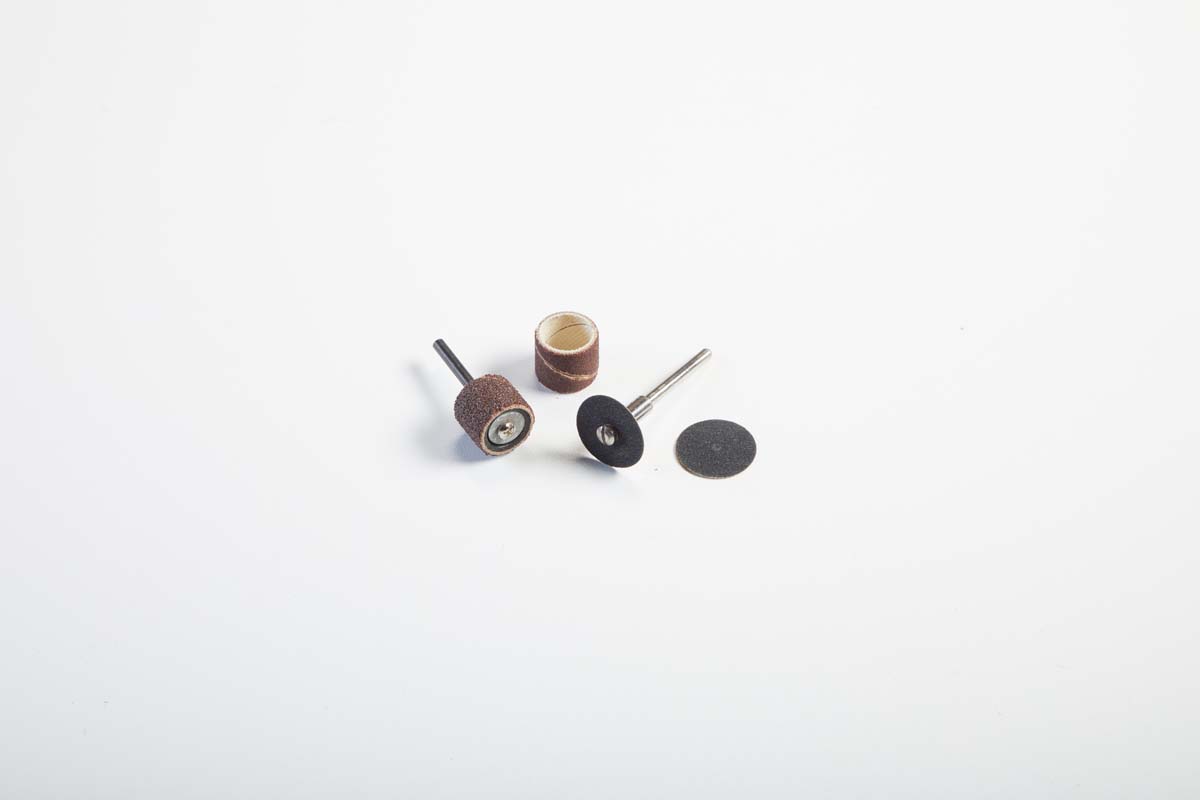 |
| Sanding drums and discs allow you power-sand with a rotary tool for a wide range of operations, from sanding the crests and valleys of a carving with a flexible disc to reaming out a dowel hole with a sanding drum. |
The drums and discs you see below are excellent for niche sanding operations. The discs work well in tight corners or on uneven shapes, while the drums are excellent for flowing profiles or dowel holes.
All in all, a rotary tool is a useful helper to keep in the shop. Whether for dedicated carving or routing, or for odd jobs like cutting and polishing, these little tools are a welcome addition.