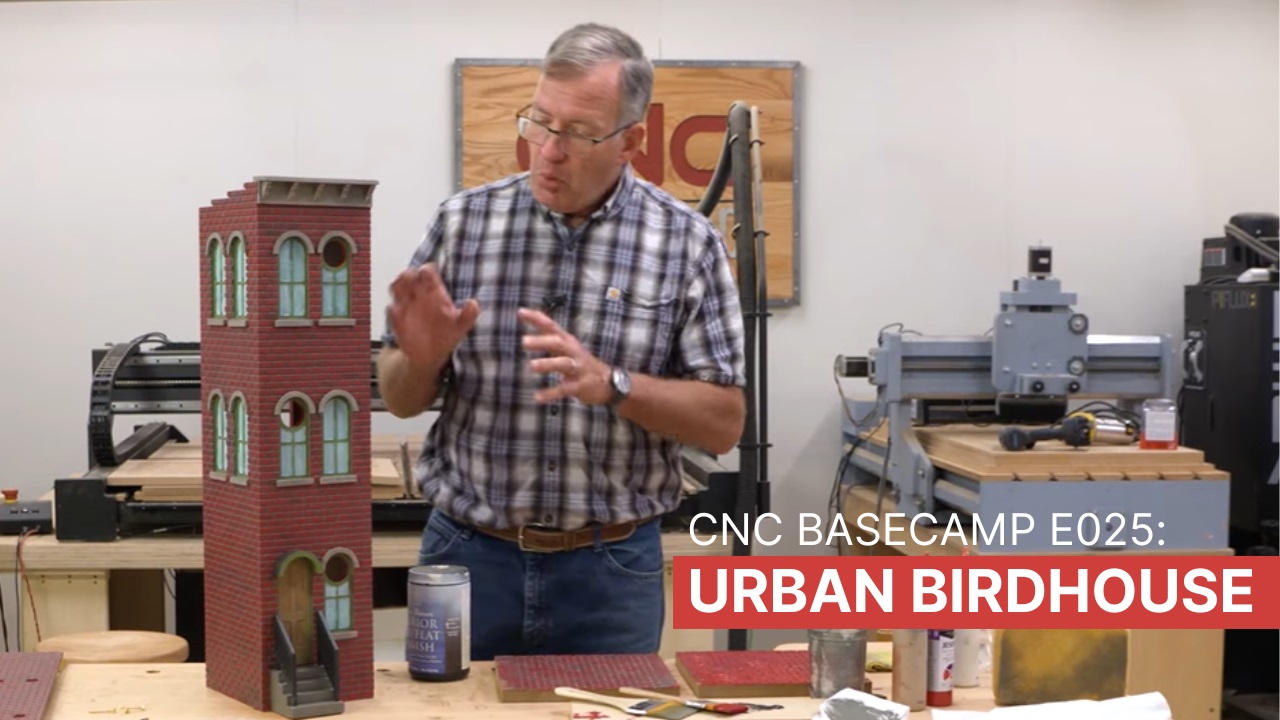
Creating detailed carvings in wood or acrylic is one of the most impressive things you can do with a CNC router. With a 3D model, a few carefully chosen router bits, and the right setup, you can create intricate designs that would be extremely time-consuming to carve by hand.
In this episode of CNC Basecamp, Chris Fitch explores the basics of 3D CNC carving and shows how the same fundamental process can be used to carve both wood and acrylic plastic.
The possibilities are nearly endless. CNC carvings can add detail to cabinet doors, box lids, furniture panels, signs, awards, architectural elements, artwork, and other woodworking projects. You can even use your CNC router to carve a logo, emblem, or signature into a finished project.
Start with a 3D Model
Every CNC carving begins with a digital model. If you have experience with 3D modeling software, you can create your own design. Programs capable of producing models for CNC carving include Vectric Aspire, Rhino, and other 3D modeling applications.
But you don't have to become a 3D modeling expert before trying CNC carving.
There are thousands of CNC-ready 3D models and clip-art designs available online. These range from wildlife and landscapes to decorative flourishes, architectural details, signs, and geometric patterns.
Once you've found a model, import it into compatible CAM software. From there, you can scale and modify the design to fit your project. A model can be made larger or smaller, deeper or shallower, or adjusted in width and height.
Different Ways to Create a CNC Carving
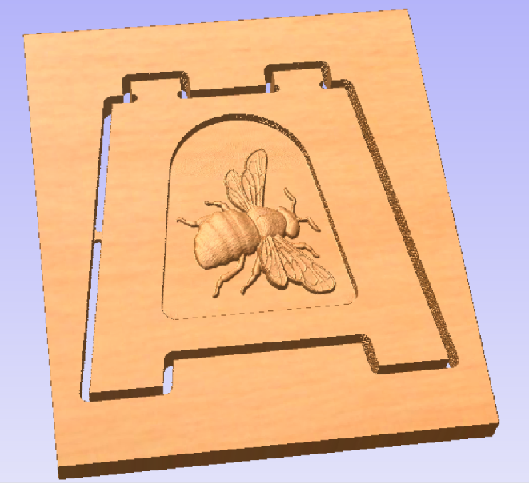
Most CNC router carvings use a high-relief design, but there are several ways to incorporate them into a project.
A carving can be recessed below the surrounding surface in a pocket or dish. You can also leave the carved design standing proud of the surrounding material.
Another option is to machine the carving separately from its surrounding stock. The completed carving can then be attached to a cabinet, furniture panel, box, sign, or other project as a decorative element.
Whatever approach you choose, the next step is turning that digital model into toolpaths your CNC router can follow.
Roughing Out a 3D CNC Carving
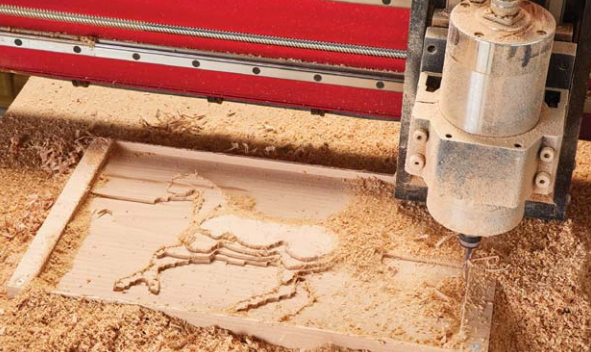
Most detailed 3D CNC carvings are machined in two stages: a roughing pass followed by a finishing pass.
The purpose of the roughing pass is speed. Rather than trying to create every small detail, the CNC removes the bulk of the waste and leaves behind a rough version of the finished shape.
A spiral upcut bit works well for this operation. It can remove material efficiently while helping clear chips from the cut.
At this stage, the carving may look crude or low-resolution. That's perfectly normal. The fine details come during the next operation.
Creating the Detail with a Finishing Pass
The finishing pass is where a CNC carving really comes to life.
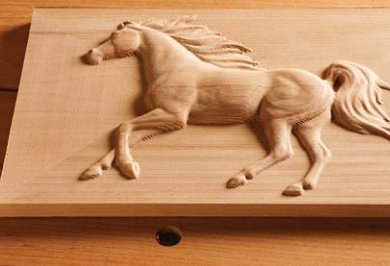
Instead of the straight cutter used for roughing, the finishing toolpath typically uses a ball nose or tapered ball nose bit. The rounded tip allows the cutter to follow subtle contours in the 3D model and create smooth transitions across the surface.
Bit size depends on the size and complexity of the carving. A larger ball nose bit can complete a project faster, while a smaller bit can reproduce finer details.
For example, a larger carving might use a 1/4" bit for roughing followed by a 1/8" ball nose bit. More intricate work may benefit from a 1/16" tapered ball nose cutter or an even smaller bit.
Stepover Makes a Big Difference
Choosing the correct router bit is only part of getting a great CNC carving. Stepover has a major effect on both surface quality and machining time.
Stepover is the sideways distance the cutter moves between passes.
A larger stepover removes material more quickly but leaves a more pronounced pattern on the surface. Reducing the stepover places the cutting paths closer together, producing greater detail and a smoother surface — at the cost of additional machining time.
For a roughing pass, speed is usually the priority, so a relatively large stepover makes sense. During the finishing pass, you'll need to balance the amount of detail you want against how long you're willing to let the CNC run.
Finding that balance is one of the keys to producing high-quality 3D carvings with a CNC router.
Don't Forget to Re-Zero the Z-Axis
There's one easy-to-overlook step between the roughing and finishing operations.
When you replace the roughing bit with your ball nose finishing bit, remember to re-zero the Z-axis.
Even a small difference in cutter length can affect the final carving. Re-zeroing ensures that the CNC knows exactly where the new cutter is in relation to the surface of your workpiece.
It's a simple step that can save an otherwise successful project.
CNC Carving Acrylic
The same basic process used for carving wood also works for CNC carving acrylic and other plastics.
You'll still create a digital model, generate roughing and finishing toolpaths, and machine the project in stages. The biggest difference is tooling.
For the best results, use cutters designed specifically for machining plastic. Proper tooling helps produce cleaner cuts while reducing heat and the possibility of melting the acrylic.
Acrylic also gives you some interesting design possibilities that aren't available with wood. Its transparency and ability to transmit light can turn a carved design into a dramatic decorative element.

Add CNC Carving to Your Projects
Once you understand the basic workflow, CNC carving opens up a huge range of creative possibilities.
You don't need to be an expert in 3D modeling to get started. CNC-ready artwork is readily available, and the machining process comes down to a few core concepts: choose the right model, select appropriate bits, create separate roughing and finishing passes, and adjust your stepover to achieve the level of detail you're after.
Master those basics and you'll be ready to add intricate carvings to furniture, boxes, signs, artwork, and countless other CNC woodworking projects.