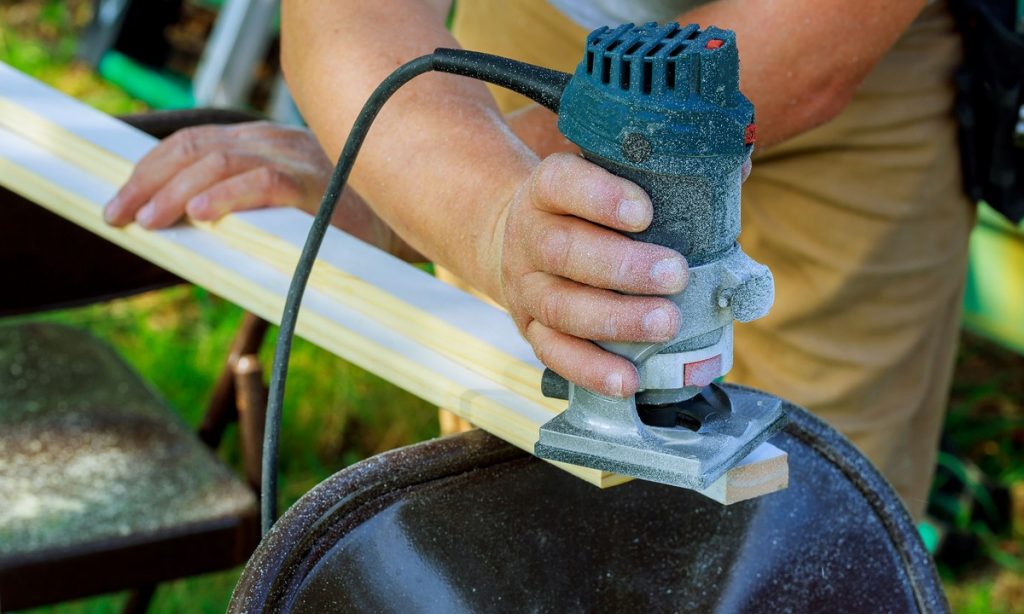
How To Use a Plunge Router To Make Precise Cuts for Any Project

Whether you are a skilled craftsman or a first-time DIYer, you likely enjoy being creative and precise with your work. With a plunge router, you can make tight and intricate cuts that produce detailed patterns for your projects. Plus, they’re relatively easy to use and don’t require much skill. If you’ve never used a plunge router before, you might be overwhelmed. In this post, we’ll explain exactly how to use a plunge router so you can easily make cuts for your projects without added stress. We’ll discuss the different types of plunge routers, the safety measures you should take, how to make the perfect cut, and how to make the most of a plunge router.
Getting To Know Your Plunge Router
Parts of a Plunge Router
The parts of a plunge router include the housing, the motor, the baseplate or soleplate, the speed adjustment dial, the depth adjustment rod and gauge, the plunge release lock, the power cord, the switch, and the collet nut and collet nut wrench. Some routers also come with additional accessories, such as dust collection attachments and template guides.
Attaching a Router Bit
The first step to using a plunge router is attaching a suitable router bit for your project. To do this, begin by loosening the collet nut using a wrench. Insert the router bit into the collet nut and tighten it using the wrench until it’s securely fastened. Only use bits that are specifically designed to be used with plunge routers, other types of bits may not be suitable for use with this type of router.
Prepping Your Work Area
Clamping Down the Wood
Once you’ve chosen your router bit and attached it to the plunger router, prepare your work area by firmly clamping down the wood you’ll be cutting. It’s important to securely clamp down your project so it won’t move while you’re routing it. This will ensure accuracy and safety when making cuts with your plunge router.
Utilizing a Router Table
If possible, use a router table to hold your workpiece securely while routing it. Not only will this help ensure accuracy and safety when making cuts with your plunge router, but it will also make routing easier by making it easier to maneuver the plunge router around your project.
Preparing Your Router for the Cut
Setting the Cut Depth
To make precise cuts with your plunge router, start by setting the cut depth so that you know how deep you want to route into your workpiece before beginning each cut. To set cut depth, turn on your plunger router, unlock the plunger release lock, and adjust the depth adjustment rod until you reach your desired cut depth. Make sure that you adjust it in small increments so that you don’t overshoot or undershoot your desired cut depth as you make adjustments.
Setting the Bit Speed
Before starting each cut with your plunger router, set an appropriate bit speed for each particular project. Depending on the type of material being routed, choose a bit speed that is suitable for making perfect cuts without overburning or damaging your material in any way. Generally speaking, harder materials such as hardwood require slower bit speeds, and softer materials require faster bit speeds when using a plunge router.
Making the Cut
Plunging In
Once you have prepped your workspace and chosen an appropriate bit speed for each project, start making cuts by plunging in at your desired location on either side of your workpiece. Make sure that you maintain control over both the movement of the plunge router and of the handle as you move it around your project so that you don’t damage or deviate from the design in any way while routing it.
Moving the Router
Once you have successfully plunged into one side of your workpiece with your plunge router, slowly and steadily begin moving it around according to its design specs while maintaining control over both movement of itself and its handle. As you make each cut using your plunging router, take special care not to press too hard or move too quickly when maneuvering around curves or corners, as these can cause errors or inaccuracies in accuracy if done improperly.
Finishing Touches
Sanding the Edges of the Cut
Once all of your cuts have been successfully made using your plunge router, finish off each one by sanding down any sharp edges or uneven surfaces using fine-grit sandpaper. This will help achieve a smooth finish for each project along with uniform thickness throughout.
Conclusion
Using a plunge router can be tricky, but it allows you to make precise, intricate cuts for any project. In this post, we’ve gone through all the steps you need to know to make perfect cuts with your plunge router. From getting to know your plunge router, prepping your work area, setting the cut depth and speed, and making the cut, you now have all the tools you need to master this handy tool.
