With the sled assembled except for the fence. Attach a scrap of plywood to the base of the sled with double-sided tape.

At the table saw, make a pass through the front bridge and the plywood scrap. Now, pry off one of the scrap pieces.

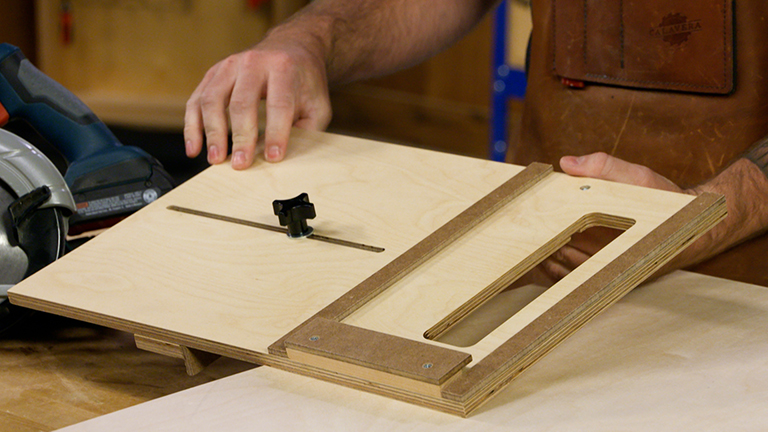
Align a large square to the cut edge of the scrap. Then, position the fence against the square and tighten it to the base from underneath. To finish, pry the scrap alignment block from the base.
When making my crosscut sled, I was having problems squaring the sled fence to the blade of my table saw. Things kept shifting slightly when trying use my square to align the fence to the kerf that I cut in the sled base. I found a simple solution for this. I attached a temporary plywood scrap to the sled with double-sided tape. Then I made the initial pass through the sled and scrap block. Doing this creates a solid reference point for a square to rest against. The steps shown in the three photos give the details on how I went about this. The bigger the scrap, the better, as it will provide you with more surface to set your square against. To simplify the process, I attached one end of the fence loosely to the base before aligning it to the square. Once I was happy with the fence position, I screwed everything in place.