It's hard to overestimate the value of a router in the workshop. Often, the tasks you can perform in seconds with a router would take much longer with any other tool. And one way to get the most out of your router is to use it for making perfect duplicate or mating parts for a project. Usually this involves working with a template.
You might already be familiar with the idea of template routing from using a dovetail jig. In this application, a router equipped with a guide bushing follows the fingers of a dovetail template to cut perfectly spaced, tightfitting dovetails in minutes. This same concept opens up a lot of possibilities for creating matching inlays. Once you learn to make pieces, tight-fitting joints, or seam your own templates and choose the right router bit for the task at hand, there are almost no limits.

SELECTING ROUTER BITS. Chances are, you already have at least one of the most common template routing bits. A flush trim bit, like one shown in the photo above, is the perfect choice for templates designed to fit beneath the workpiece. With a bearing at the tip riding against the template, a flush trim bit levels the edge of the workpiece to match.
This same combination works in a router table as well. Only at the router table, you can have the template on top of the workpiece instead of below. A good example of this is routing matching top rails for "tombstone" cabinet doors.
But in some instances, when using a template with a hand-held router, you'll need to attach the template to the top of the workpiece. For this situation you have a couple of options. Usually, I turn to a pattern bit, also shown in the photo above.
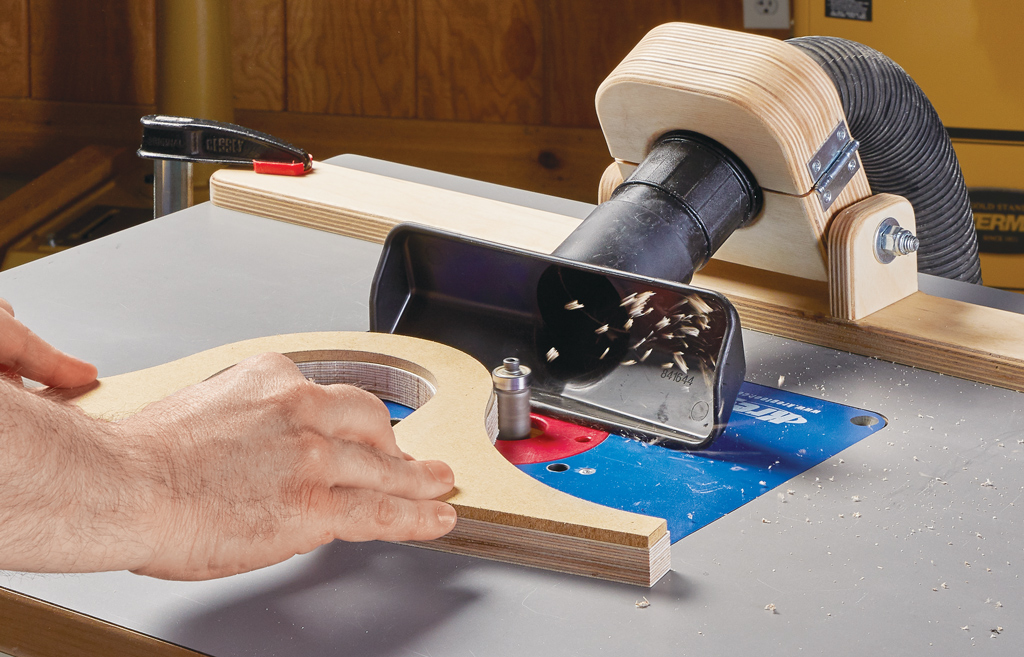
Often mistakenly called a flush trim bit, a pattern bit has the bearing on the shank of the bit instead of at the tip. This allows you to secure a template on top of a workpiece and clamp them both to your bench to rout the shape. And pattern-style bits aren't limited to straight cutters. The bowl-routing bit shown below is simply a different profile with a bearing on the shank to follow a template.

GUIDE BUSHINGS. The other way to rout a pattern from above the workpiece is to use a guide bushing. The bushing locks into the hole in the baseplate of your router to follow a template. Bushings are available in several different diameters so you can use a variety of router bits with them. (You can see an example of a guide bushing in the router inlay kit shown in the box below.)
The thing to keep in mind when using a guide bushing is that it will create an offset between the template and the workpiece. This means you'll need to account for the distance from the edge of the bushing to the cutting edge of the bit in your template design.
MAKING TEMPLATES. With a design and the right bit in mind, all that remains is to make a template. There are commercially made templates for all kinds of tasks and patterns. But it's worth taking the time to learn how to make your own, not only to save money but to accommodate the designs of your own projects. And it's not a difficult skill to master.

MDF. Templates can be made from many kinds of material. MDF is a readily available option, and it's usually my first choice.
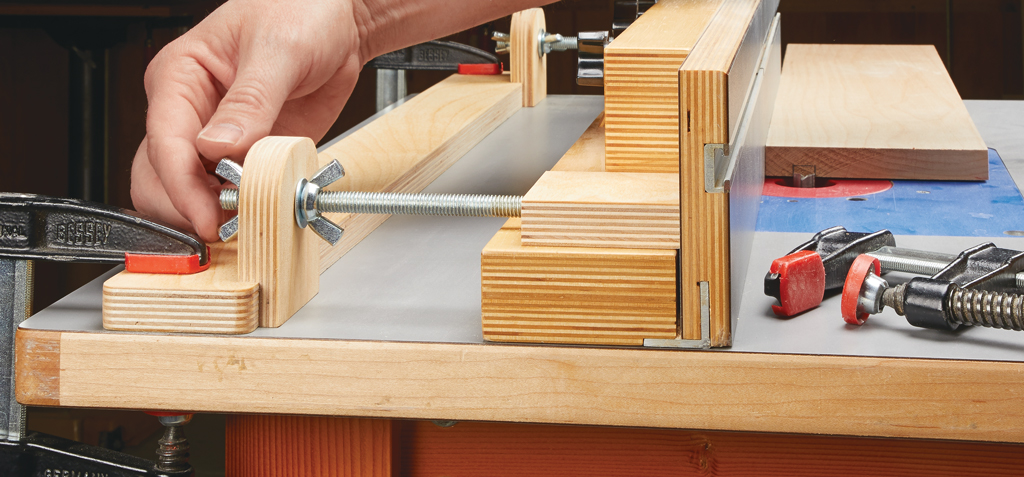
The reason I prefer MDF is that it's perfectly flat and very easy to shape with files and sandpaper. The template I use for making curved rails for cabinet doors shown in the photo above is a good example. To make it, I simply laid out the curve with a compass, cut out the shape at the band saw, and smoothed the curve, first with a file and then with a simple, shop-made sanding strip, seen below.

OTHER OPTIONS. Hardboard is another commonly used material. And occasionally I use acrylic, especially for those applications where I need to see more of the workpiece to orient the template to the grain of the wood.

On the other hand, a template can be as simple as small pieces of hardwood joined with pocket screws. This is an easy technique for making a template that conforms to a rectangular shape. All you need to do is fit the pieces together to form a template with the inside dimensions equal to the desired size and fasten them together.
With a little imagination, you can make a template for just about any shape you need for your projects. Whatever the application, you'll find that learning to make and use templates with your router will guarantee top-notch results.

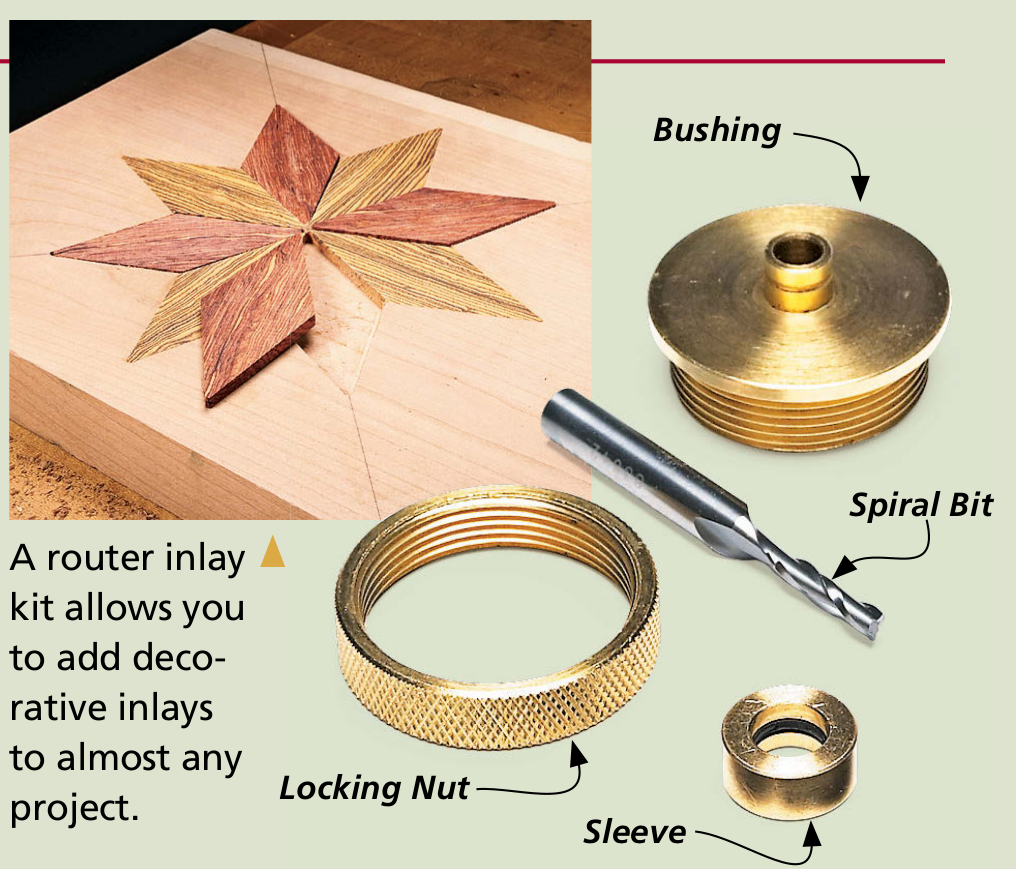
Worth a Look: Router Inlay Kit
One of my favorite ways to spice up a project is to add a decorative inlay made from contrasting woods. A specialized guide bushing with a removable sleeve makes this an easy operation. With the bushing installed, you can cut both the recess and the inlay piece using a single template.
ROUTING THE RECESS. After selecting a template for your design, start by positioning the template on the workpiece and securing it with double-sided tape. Then, with the sleeve on the bushing, simply rout the outline of the recess and the remainder of the waste by following the template. If necessary, square up the corners with a chisel.
THE INLAY. Now you can attach the template to the stock you've chosen for the inlay. After removing the sleeve, just rout the outline of the inlay and lift the router. Free the inlay from the board by resawing the piece at the band saw. With just a little practice, you can make perfect-fitting inlays in no time.